Build a Durable Stack: How to Make Beaded Bracelets That Never Snap

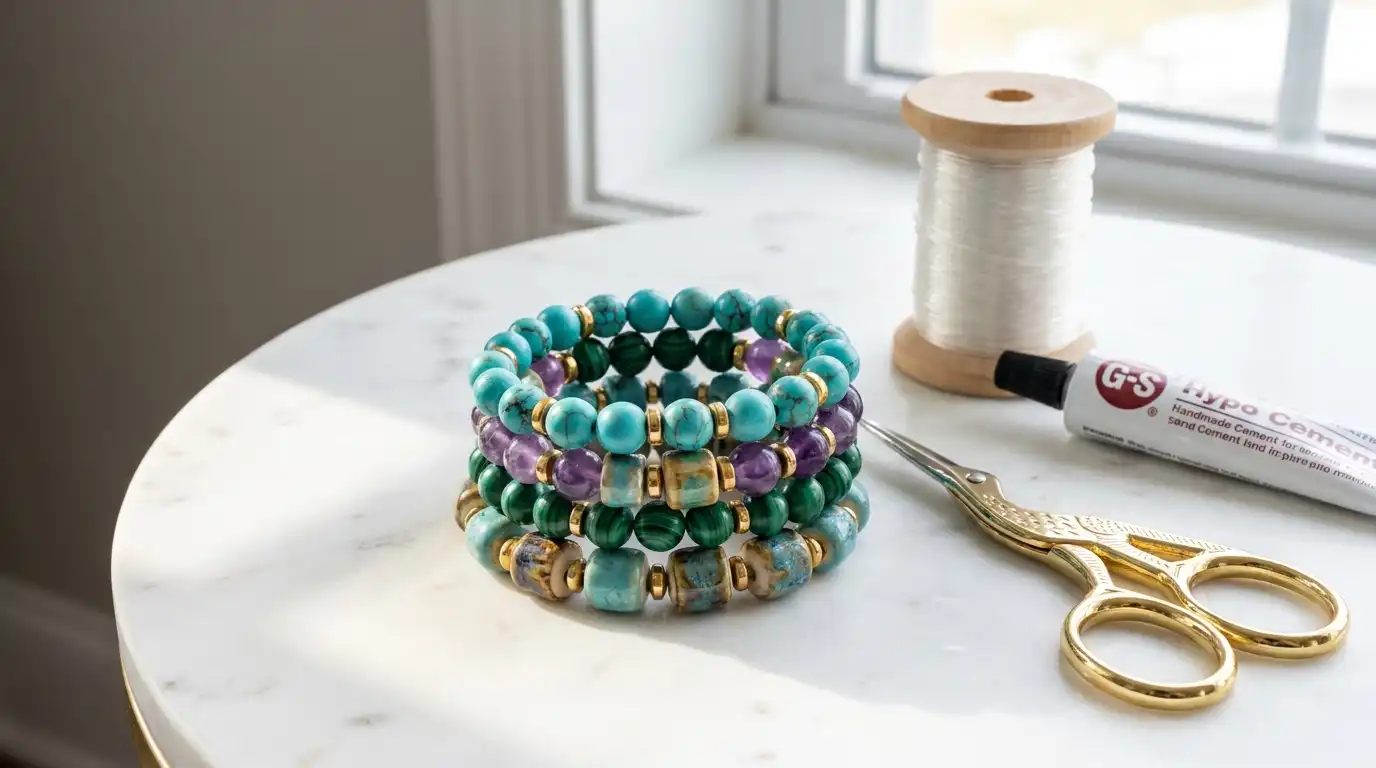
Most first-time jewelry makers watch their hard work scatter across the floor because of a weak knot or brittle elastic.
You spend an hour choosing colors, stringing tiny pieces together, and wearing it once before it catches on a sleeve and snaps. It leaves you cleaning up a mess and feeling defeated.
This guide will teach you exactly how to make beaded bracelets that handle daily wear without losing their shape or stretching out over time.
We are focusing on proper tension, a specific reinforced knotting technique, and securing the cord so it stays locked forever. Using the right clear elastic and a tiny hidden drop of adhesive changes everything.
The entire process takes less than 20 minutes of active crafting time, but it saves you from losing your favorite beads later.
Grab your materials, clear off a flat kitchen table or a bead mat, and let’s build a durable stack that you can wear with confidence every single day.
1. Measure your wrist for a comfortable fit

Wrap a flexible measuring tape around your wrist bone exactly where you want the bracelet to sit.
Note the exact measurement, then add 0.5 inches to that final number so the elastic doesn’t strangle your skin or leave deep red marks by evening.
If you lack a flexible tape measure, wrap a plain strip of printer paper around your arm, mark the overlap point with a pen, and lay it flat against a standard ruler to find your size.
2. Cut the elastic cord with extra working room

Pulling a length of 0.7mm elastic cord from the spool until it hits 12 inches ensures you have enough room to finish the job safely.
Leaving this much excess feels wasteful when your wrist is smaller, but you absolutely need the extra slack to tie the final knot without dropping your project.
Dull scissors will shred the plastic edges, making it impossible to thread through small bead openings, so use a dedicated pair of sharp craft shears.
3. Pre-stretch the cord to prevent future sagging
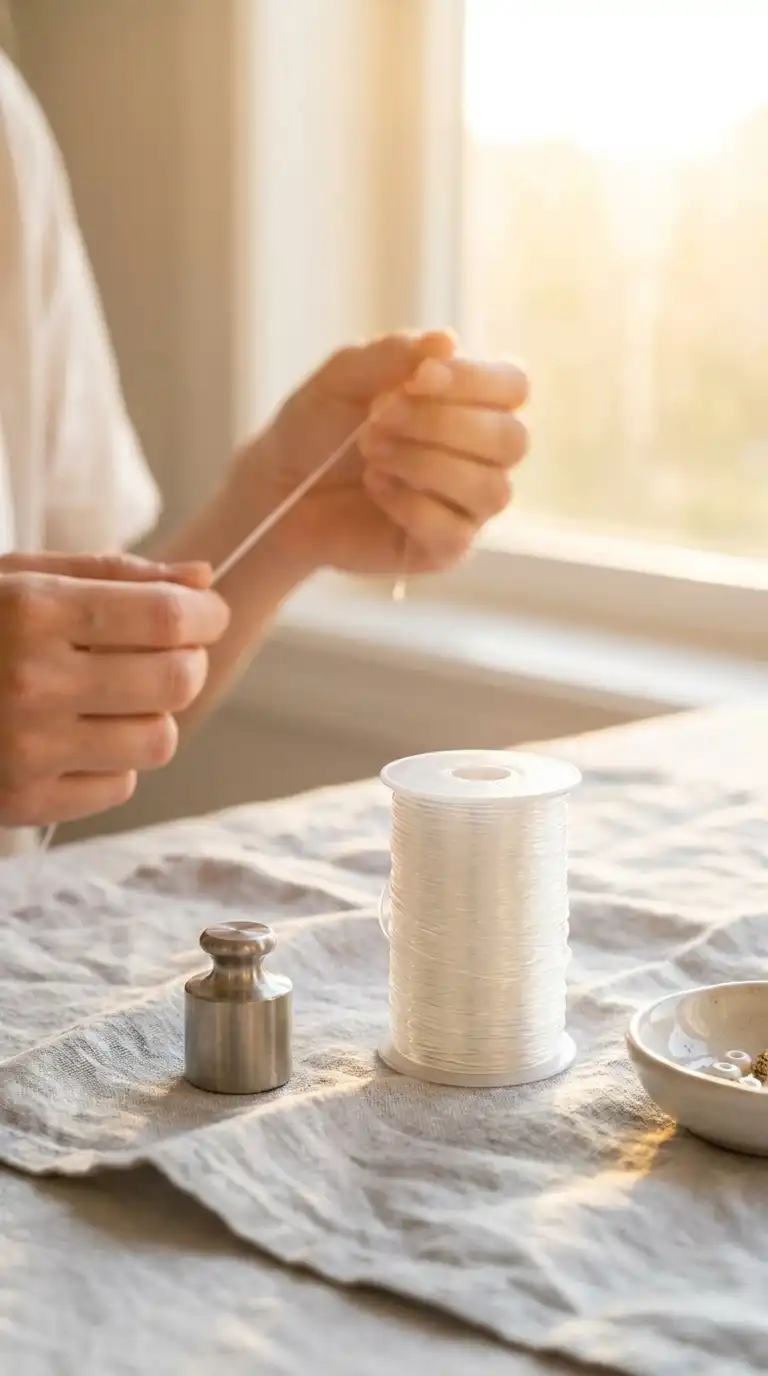
Grab each end of your cut cord firmly and pull it wide three or four times until it reaches its maximum resistance point.
Elastic cord naturally stretches out during your first few wears, and skipping this step means your finished project will permanently sag within a week.
Tug firmly but avoid jerking the material, as sudden snaps can create invisible micro-tears that cause the bracelet to break unexpectedly later on.
4. Arrange your layout to map out how to make beaded bracelets properly
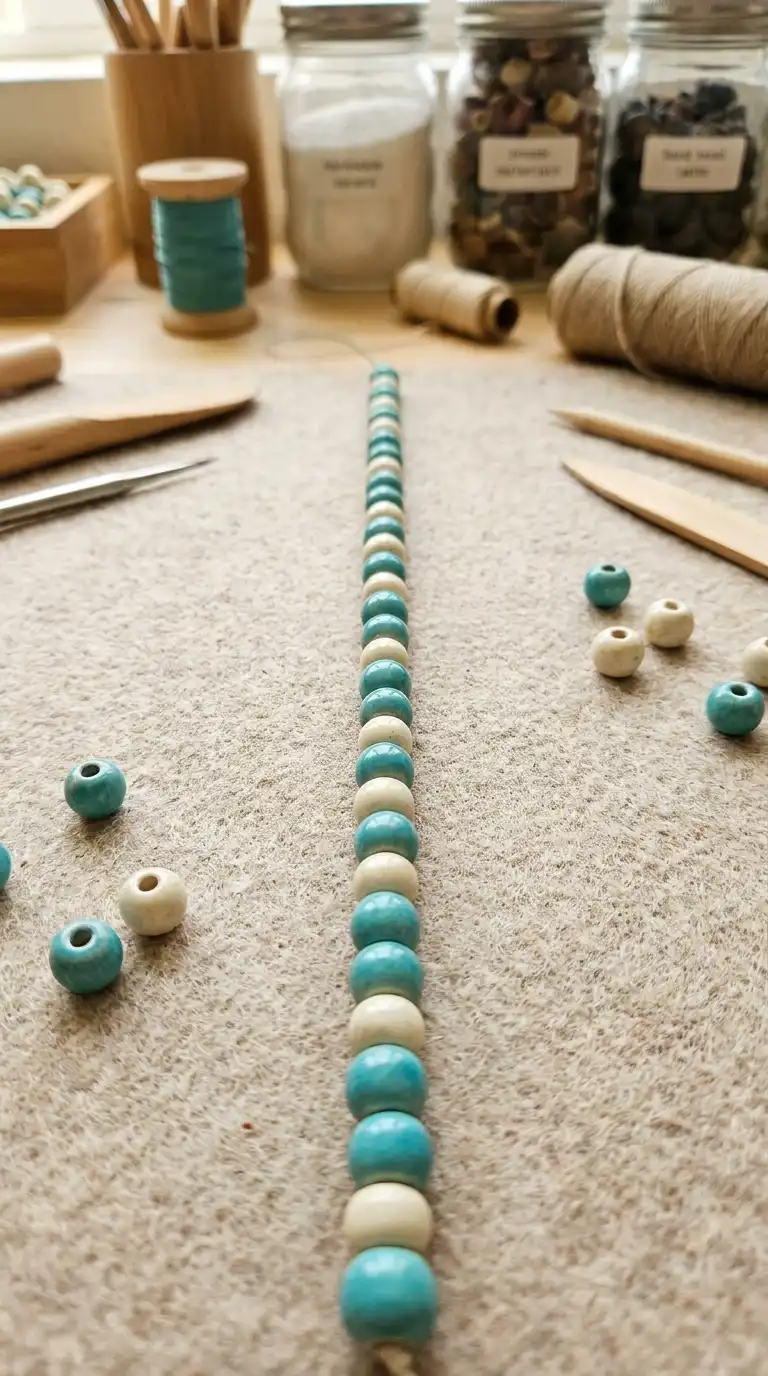
A textured bead mat or a clean, folded cotton hand towel keeps your materials from rolling off the table onto the floor.
Line up your beads in a straight row next to a ruler, arranging the pattern until it matches your total calculated wrist measurement exactly.
If you are using a large-hole focal bead to hide the knot later, place that specific piece at the very end of your layout line.
This visual check ensures you do not run out of pieces or mess up the symmetry mid-way through the project.
5. String the beads using a temporary stopper
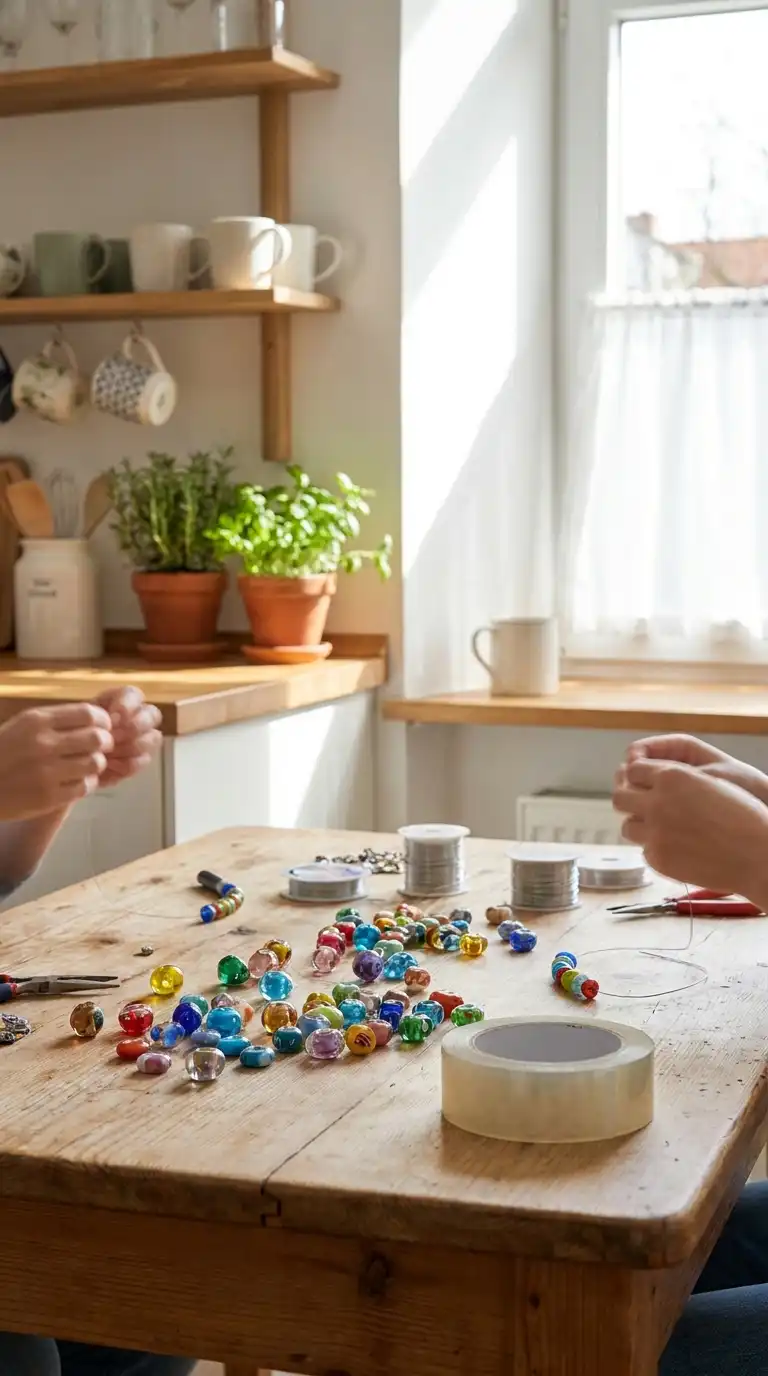
Folding a piece of scotch tape tightly over the last 1 inch of your cord creates a reliable barrier that stops your progress from sliding right off the opposite end.
Thread each piece onto the un-taped end one by one, sliding them gently down toward your tape boundary.
Keep your fingers about 2 inches away from the active tip to prevent accidental fraying while pushing the cord through narrow channels.
If a bead has a blocked center, push an unbent paperclip through the pathway to clear out leftover manufacturing dust.
6. Tie a reinforced surgeon’s knot
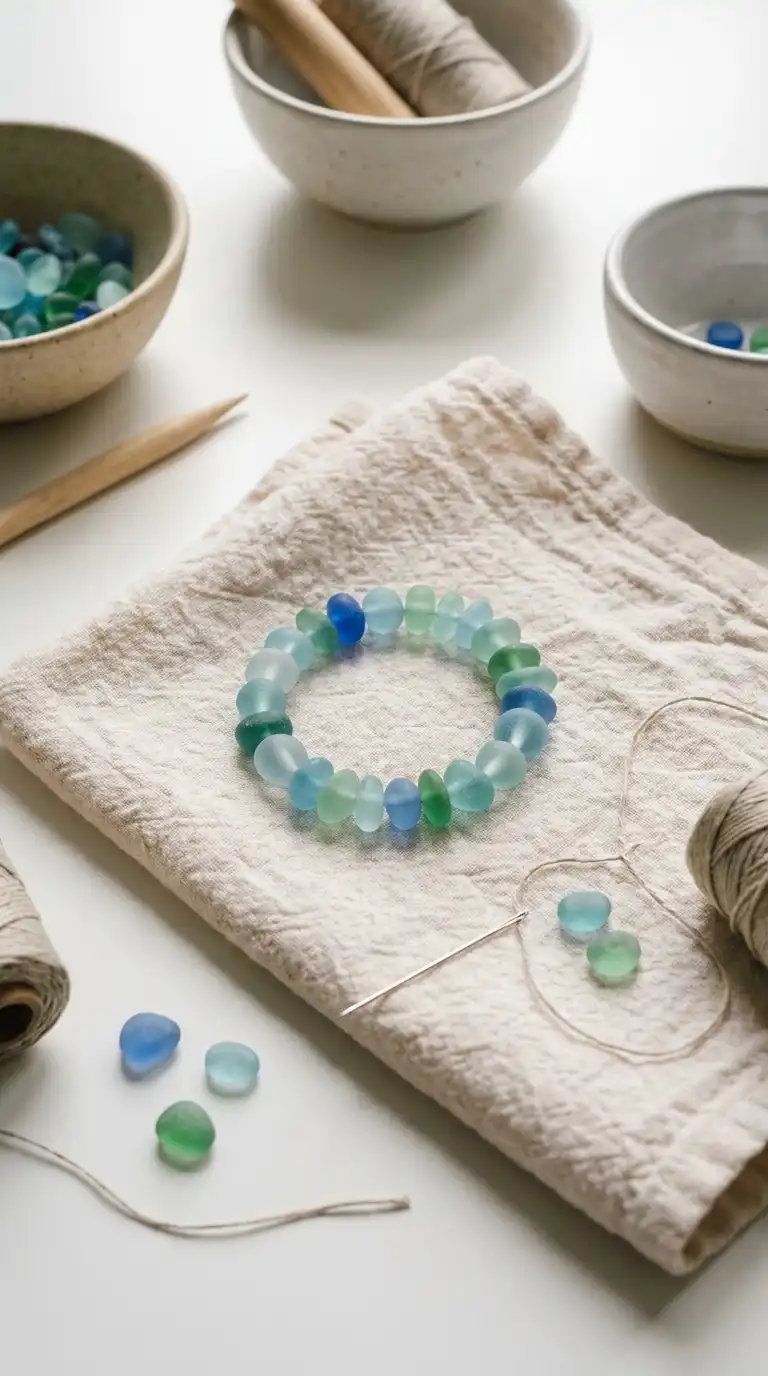
Tensioning the cord correctly before you lock it down ensures your project won’t have raw elastic showing between the pieces.
Cross the two free ends over, wrap one side under twice instead of once—exactly like starting a standard shoelace knot but with an extra loop—and pull it firm.
Avoid yanking the cord, or you will snap the internal fibers. Follow this immediately with a classic top knot to lock the structure in place.
7. Seal and hide the knot securely

Use a toothpick to apply one microscopic drop of G-S Hypo Cement or clear jewelry glue directly onto the core of your finished knot.
Let the adhesive set completely for 5 minutes before attempting to touch or pull the cord.
Once it dries clear, grip the beaded section immediately next to the knot and pull firmly until the bundle slides entirely inside the inner channel of your adjacent large-hole bead.
Trimming the excess tails down to 1/16 of an inch prevents them from poking out and irritating your skin during daily wear.
Using Clear Nail Polish on High-Stretch Cord
While nail polish works fine for rigid threads, it dries way too brittle for stretch plastic. Every time your bracelet expands to clear your hand, the brittle polish cracks, causing the knot to unweave itself within a few hours.
Clipping the Cord Tails Too Flush
Trimming your leftover cord ends right against the base of the knot leaves zero safety margin. When you slide the bracelet over your knuckles, the knot naturally tightens and pulls a tiny fraction of material into itself, meaning flush-cut tails will pull right out and open the loop.
Buying the Wrong Elastic Thickness
Thick cord (1.0mm+) won’t slide into standard gemstone holes, while thin cord (0.5mm) is too weak for heavy glass or clay. Matching 0.7mm cord to average jewelry beads prevents early structural breakdown.
The checklist
The 7 fast steps
Measure your wrist and add exactly 0.5 inches for comfort.
Cut a clean 12-inch strand of elastic with sharp shears.
Pull the cord wide 3 or 4 times to pre-stretch the fibers.
Line up your design pattern flat against a solid ruler layout.
Anchor one end with tape and thread your beads onto the opposite tip.
Tie a double-wrap surgeon’s knot while maintaining steady downward pressure.
Apply a dot of clear cement, dry for 5 minutes, and tuck the knot away.
Final Thoughts
You now hold the secret to mastering how to make beaded bracelets that handle the wear and tear of daily life without snapping. Your finished pieces are tight, balanced, and structurally secured from the inside out.
Your next step is to pick out three complementary color palettes to build a stylized, cohesive stack that matches your favorite seasonal outfit.
If you found these step-by-step sizing and knotting steps helpful, pin this guide to your favorite DIY Jewelry board on Pinterest so you can reference it for your next weekend crafting project!