How to Make Friendship Bracelets: Easy Step-by-Step Pattern

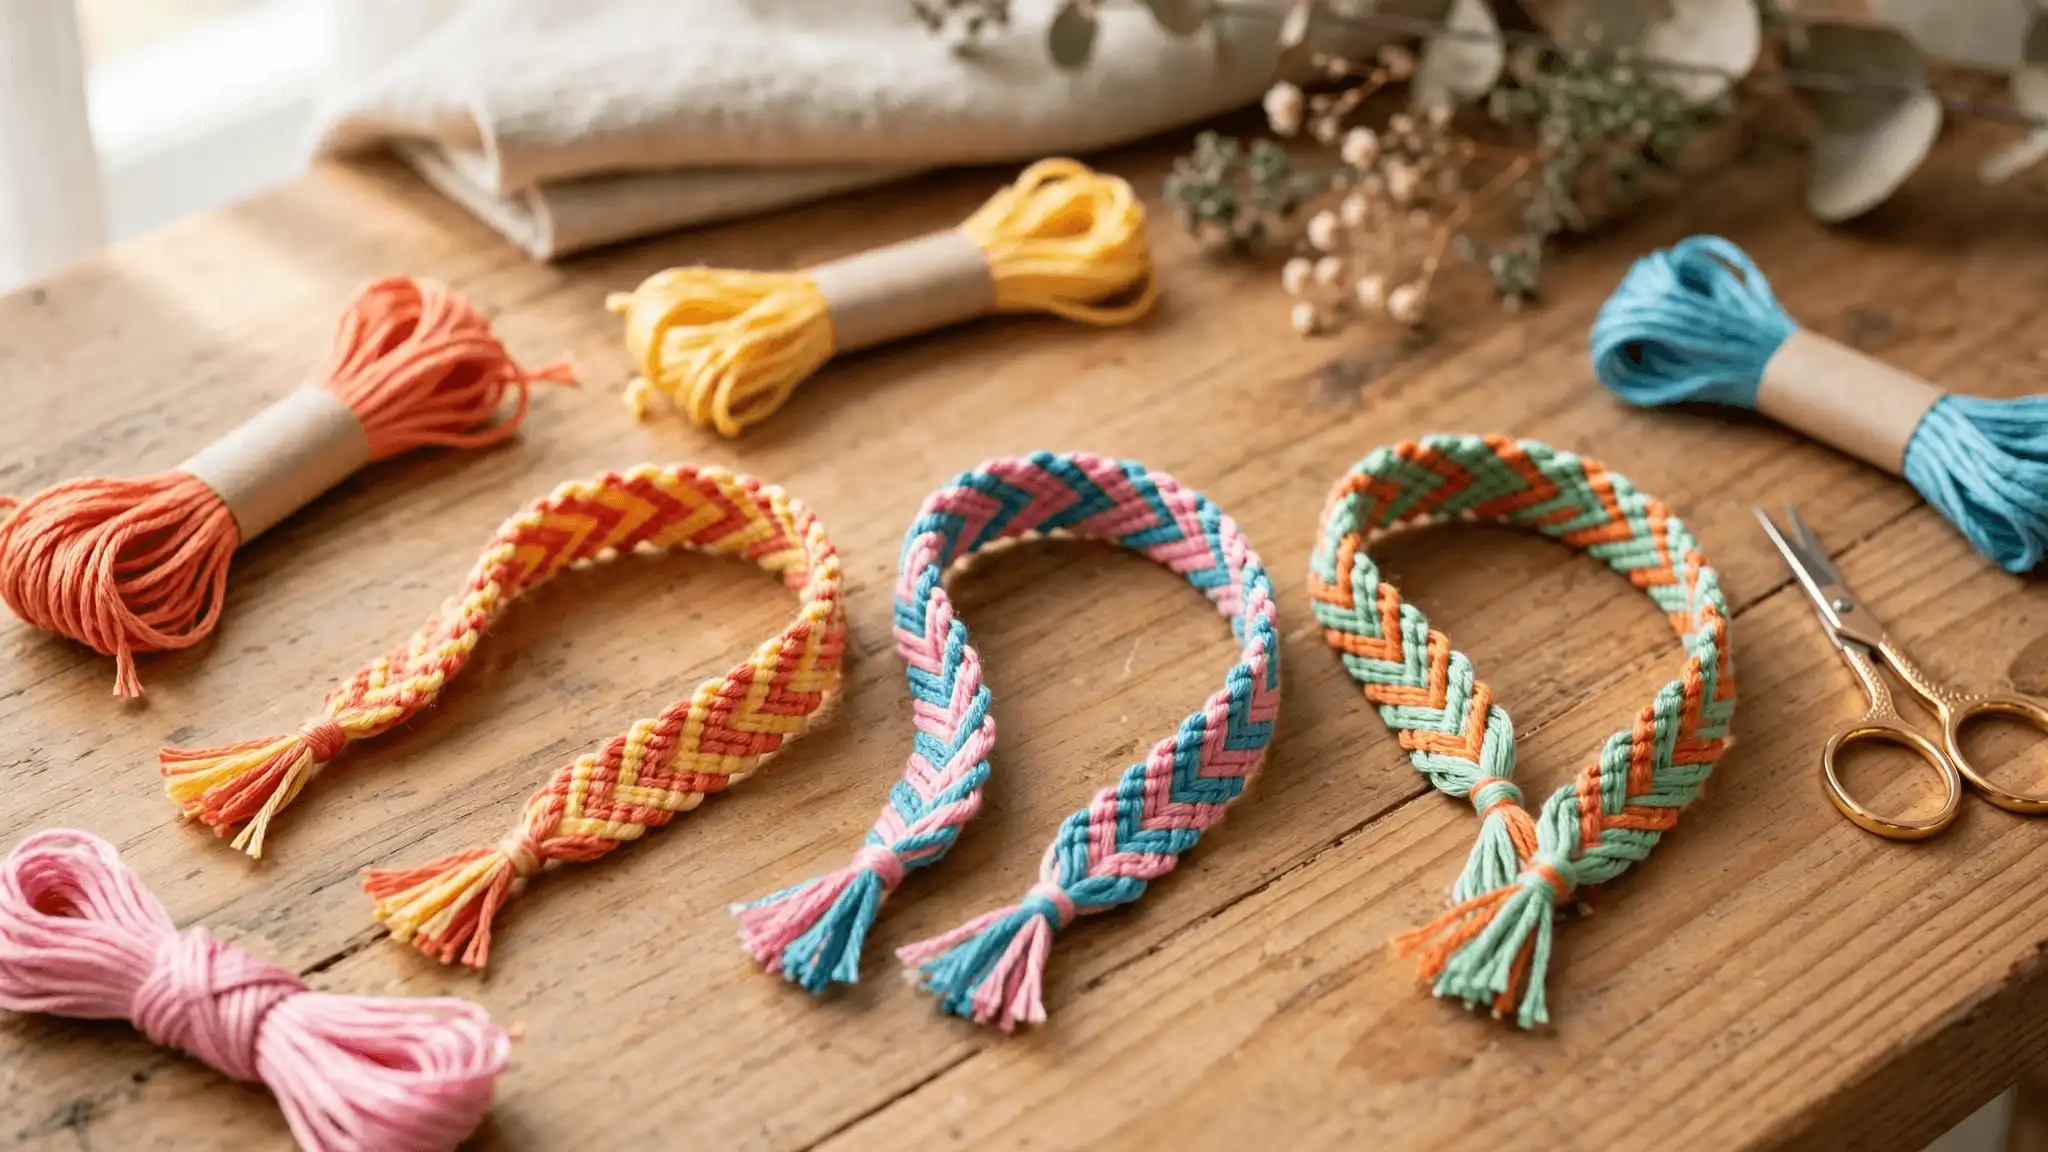
You’ve probably seen those diagonal-striped friendship bracelets all over Pinterest and wondered how anyone ties something so neat by hand.
Learning how to make friendship bracelets like this comes down to one single knot, repeated over and over. Once your fingers learn that one motion, the pattern almost makes itself.
This guide walks you through the classic embroidery floss method, the same one you might remember from summer camp.
By the end, you’ll have a finished, wearable bracelet with a clean diagonal stripe pattern, tied entirely by hand. No sewing machine, no special tools — only floss, tape, and knots.
Here’s why this method works so well for beginners: forward knots. Rather than juggling several knot types, you master one movement and repeat it in a specific order. That repetition is what makes the pattern appear on its own.
Be honest with yourself about time. Tying the knots takes about 45 minutes to an hour once you get going, though your first few rows will be slow while your hands learn the rhythm.
That’s normal, and it gets faster fast. Grab six colors of embroidery floss, a roll of tape, and a flat surface, and let’s get started.
- 🎨 Embroidery floss — 6 colors, 1 skein each
- ✂️ Sharp scissors
- 🩹 Masking tape or a clipboard
- 📏 Tape measure or ruler
- 📌 Safety pin (optional, for pinning to fabric)
- 🔘 Small bead or button (optional, for the closure)
- Gather your floss and tools
- Cut six strands to length
- Line up strands in color order
- Tie an overhand knot to bind them
- Secure the knot to a surface
- Practice the forward knot motion
- Tie your first row of forward knots
- Build the diagonal pattern row by row
- Check your pattern for mistakes
- Measure the bracelet on your wrist
- Tie a finishing knot at the bottom
- Braid and trim the tail ends
1. Gather Your Embroidery Floss and Tools

Embroidery floss comes in skeins at any craft store, usually for under $1 each. Pick six colors that look good side by side — three main colors and three accent shades works well for a first bracelet, though any combination you like will work fine.
You’ll also need sharp scissors, a roll of masking tape or a clipboard, and a flat, steady surface to work against, like a table, a clipboard on your knee, or even a large book.
A tape measure helps for exact lengths later, though a regular ruler does the job too.
2. Cut Six Strands to the Right Length

Each of your six strands needs to be 24 inches long. Slightly too long is never a problem — extra floss trims away at the end.
Too short means starting over completely, so measure generously rather than exactly.
For an adjustable tie-on closure instead of a clasp, add another 6 inches to every strand.
3. Line Up Your Strands in Your Chosen Color Order

Pattern order matters more than color choice at this stage.
For a simple diagonal stripe, arrange your six strands side by side in the exact sequence you want repeated across the bracelet — for example, red, orange, yellow, green, blue, purple.
Lay them flat on your table before tying anything, and check the order twice. Once knotting begins, swapping strands means undoing several rows of work to fix it.
4. Tie an Overhand Knot to Bind the Strands
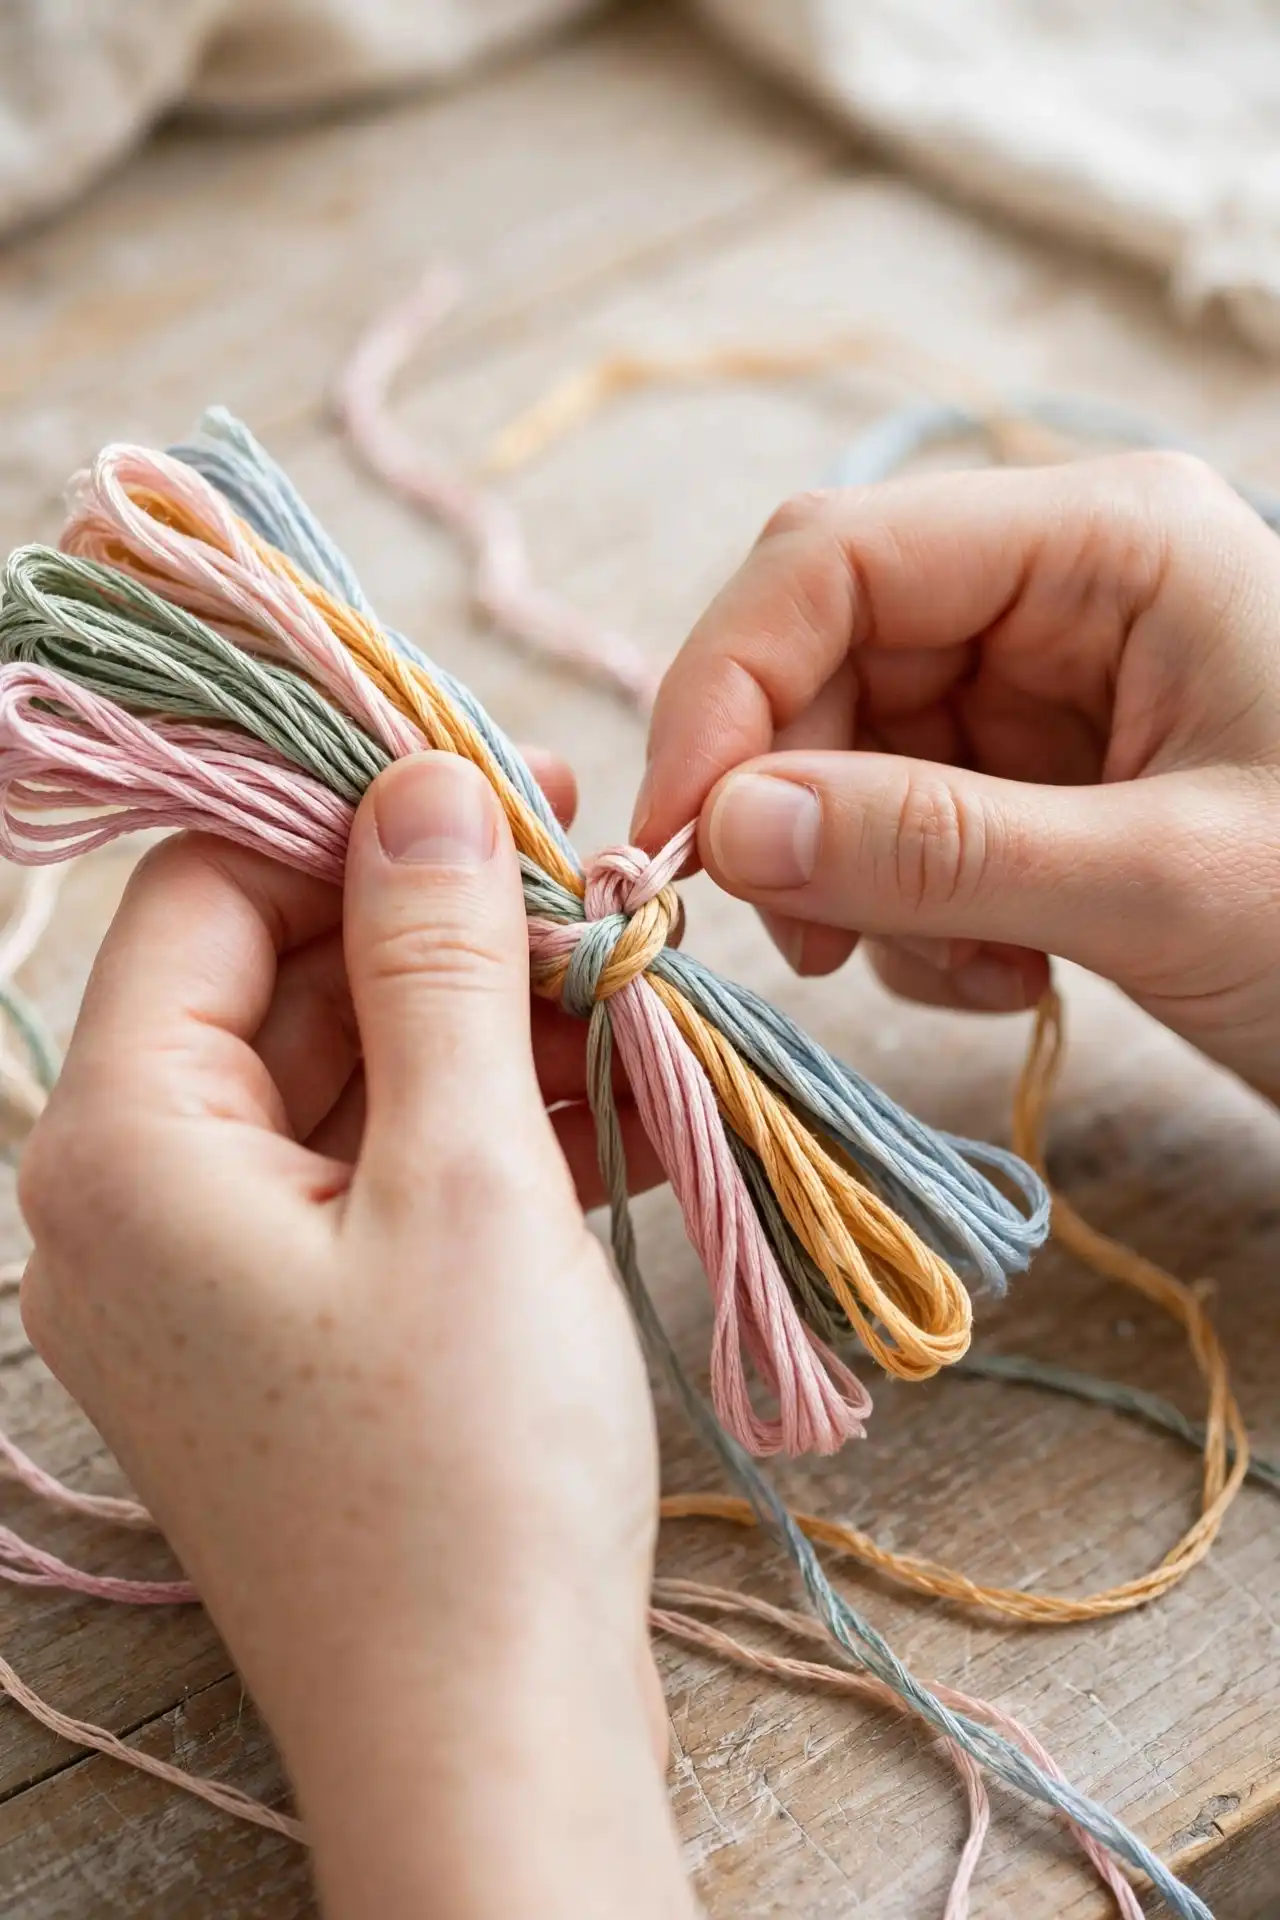
Two inches of loose floss above your knot gives you room to work with later, so don’t pull your strands flush before tying.
Gather all six strands evenly, holding them together between your fingers so no single strand is longer than the rest, then tie one simple overhand knot about 2 inches from the top ends.
This knot anchors everything that follows.
5. Secure the Knot to a Steady Surface

If your knot slips even a little while you’re tying, every row after it loosens along with it.
Tape the knot firmly to your table, edge of a clipboard, or the arm of a chair, leaving the six strands fanned out below it.
A safety pin through the knot into a couch cushion or pair of jeans works just as well if you don’t have tape handy.
6. Practice the Forward Knot Motion
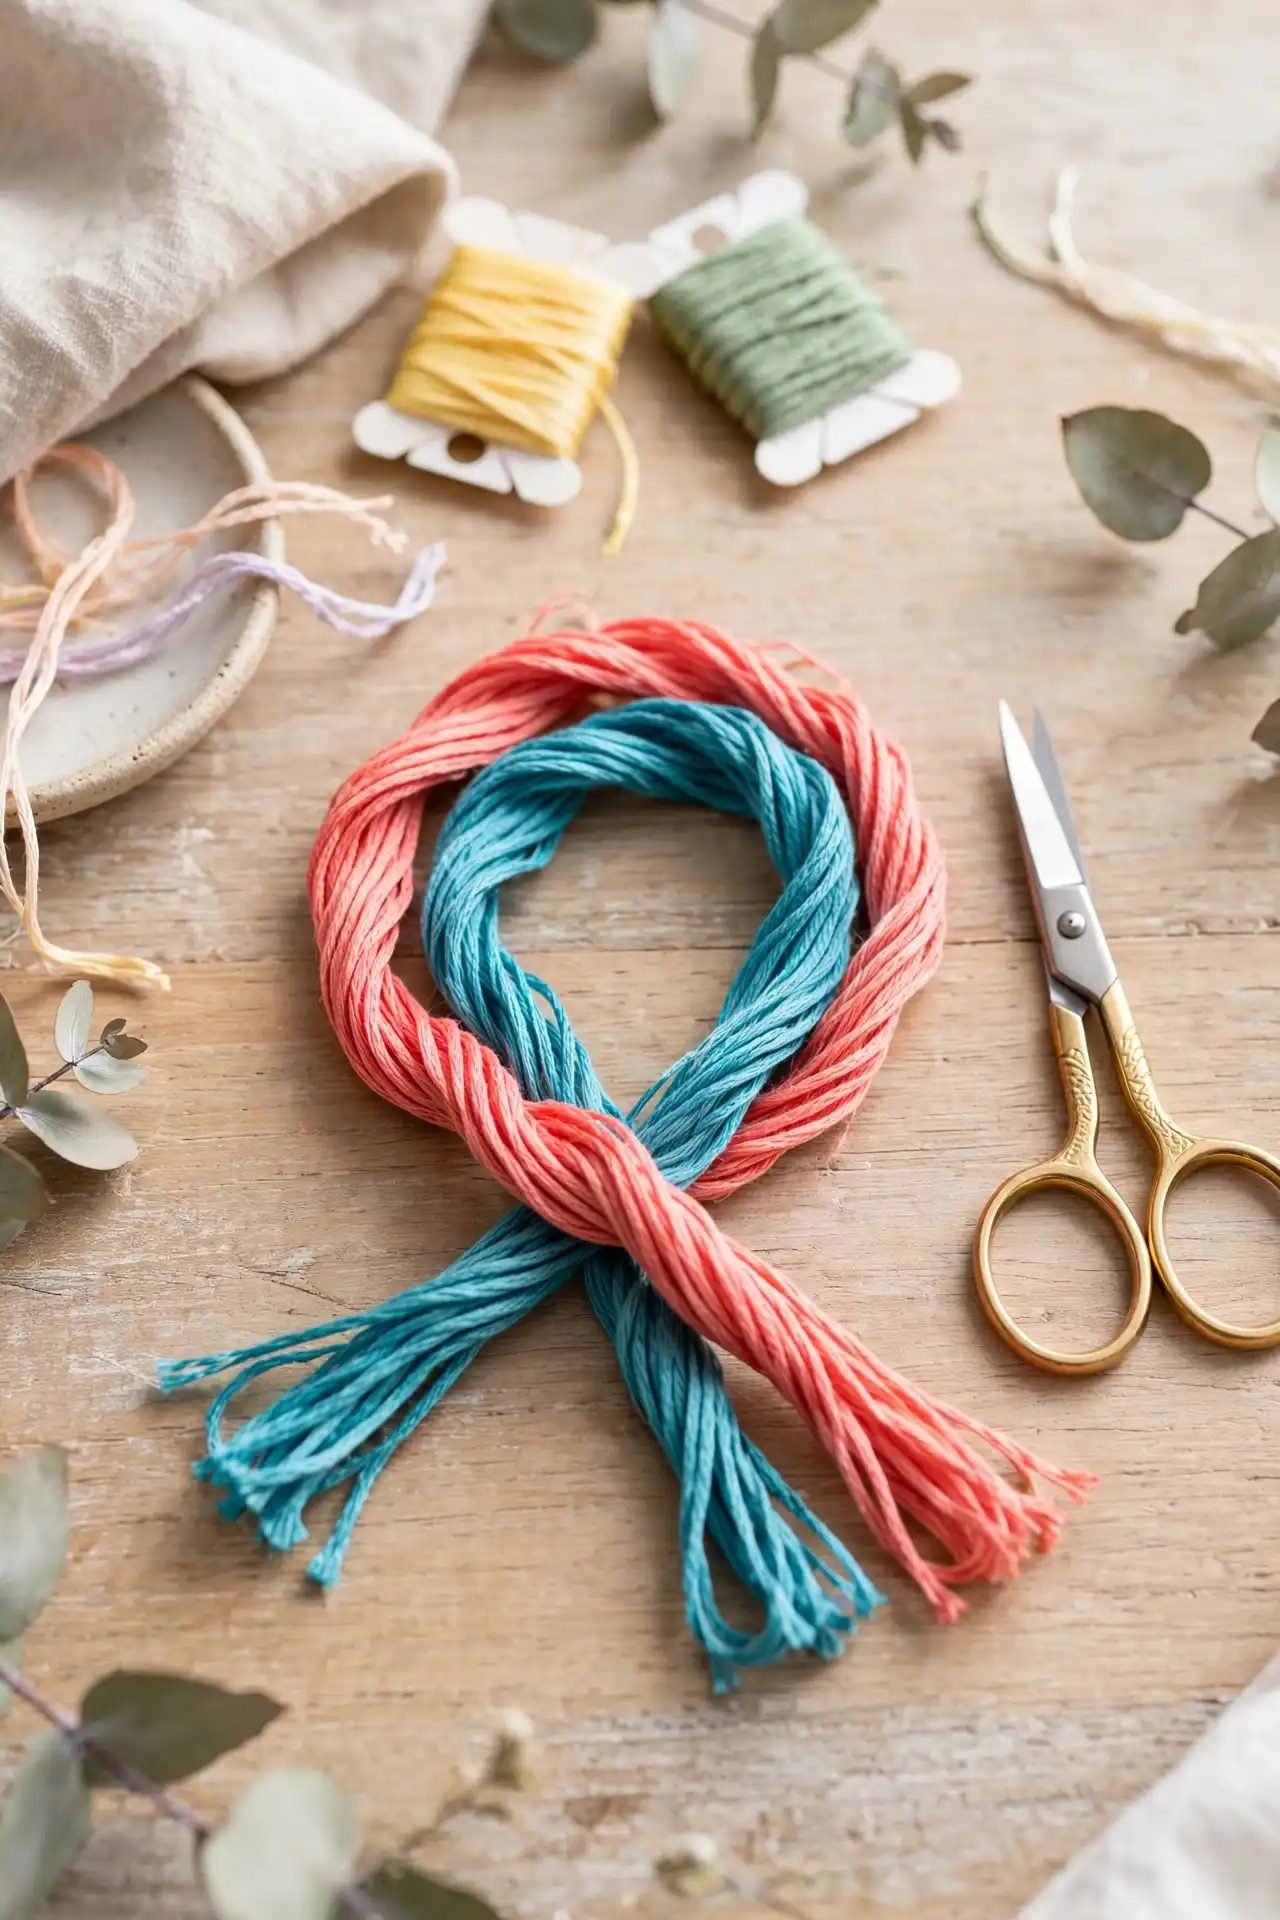
Everything in this pattern comes down to one repeated movement. Before working into actual rows, practice it once on two loose strands so your hands know the motion when it counts:
- Cross the left strand over the right strand, forming a shape like the number 4
- Thread the tip of the left strand up through the loop you just made
- Pull straight upward, not sideways, to seat the knot snugly against the top
- Repeat that same motion once more on the same two strands before moving on
Doing the motion twice on the same pair is what locks the knot in place instead of letting it slide loose later.
7. Tie Your First Row of Forward Knots

Working from the left, pick up the first strand as your “working strand” and tie two forward knots onto the second strand, using the same motion you just practiced.
Once both knots sit snug, that working strand has moved one position to the right.
Set it down and repeat the process, always using the leftmost strand as your working strand, until every strand has shifted over once and the original left-most strand now sits on the far right.
8. Build the Diagonal Pattern Row by Row
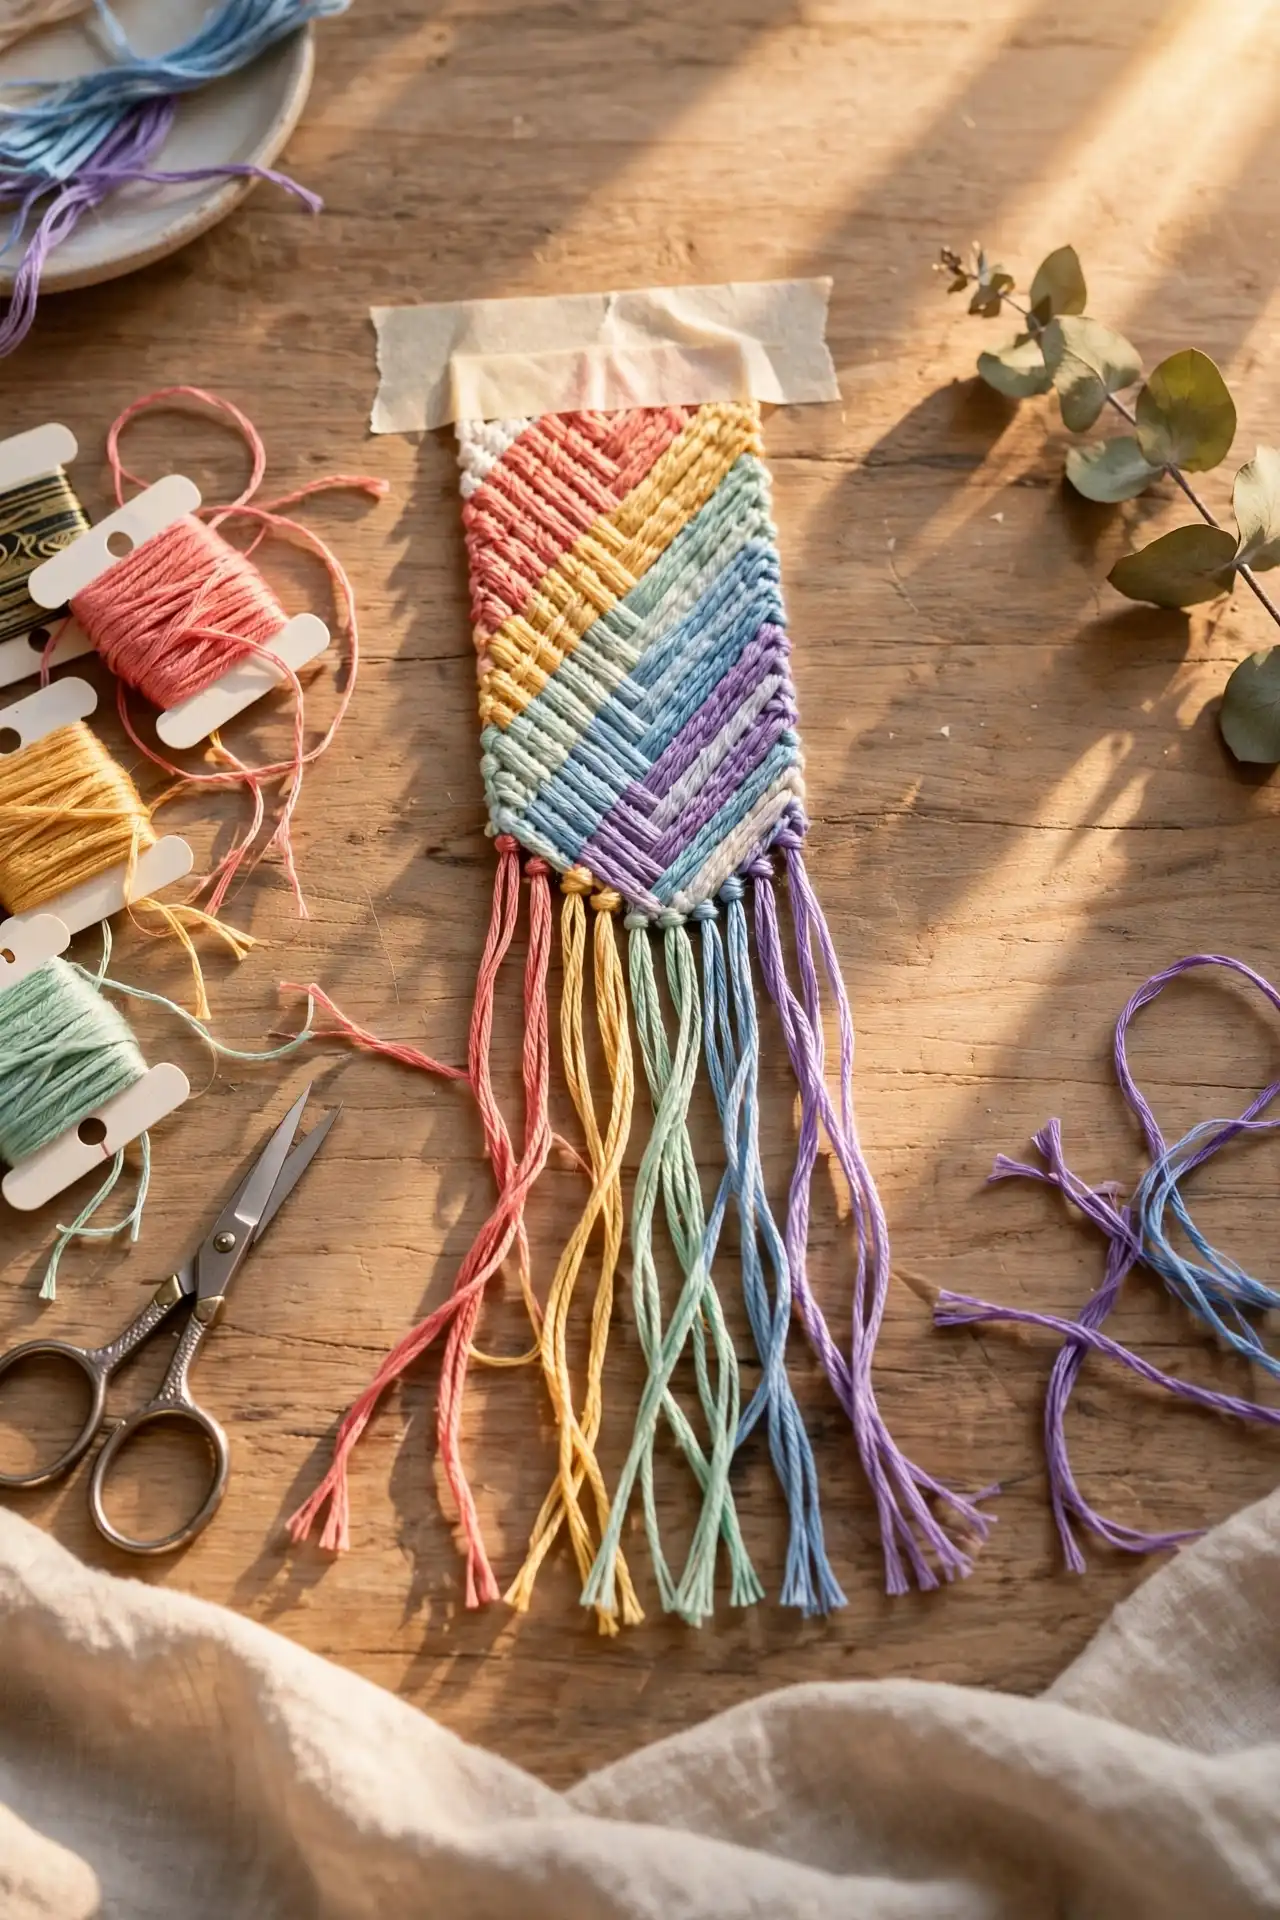
This is where the stripe starts to appear. Each new row follows the exact same rule as the first: take the strand currently on the far left, tie two forward knots across each strand to its right, one at a time, and let it travel all the way to the far right side before starting the next row.
Speed will come after 10 or 15 rows. Until then, check after every row that your working strand made it fully across before you begin the next one — skipping ahead is the easiest way to lose the pattern.
9. Pause to Check Your Pattern for Mistakes
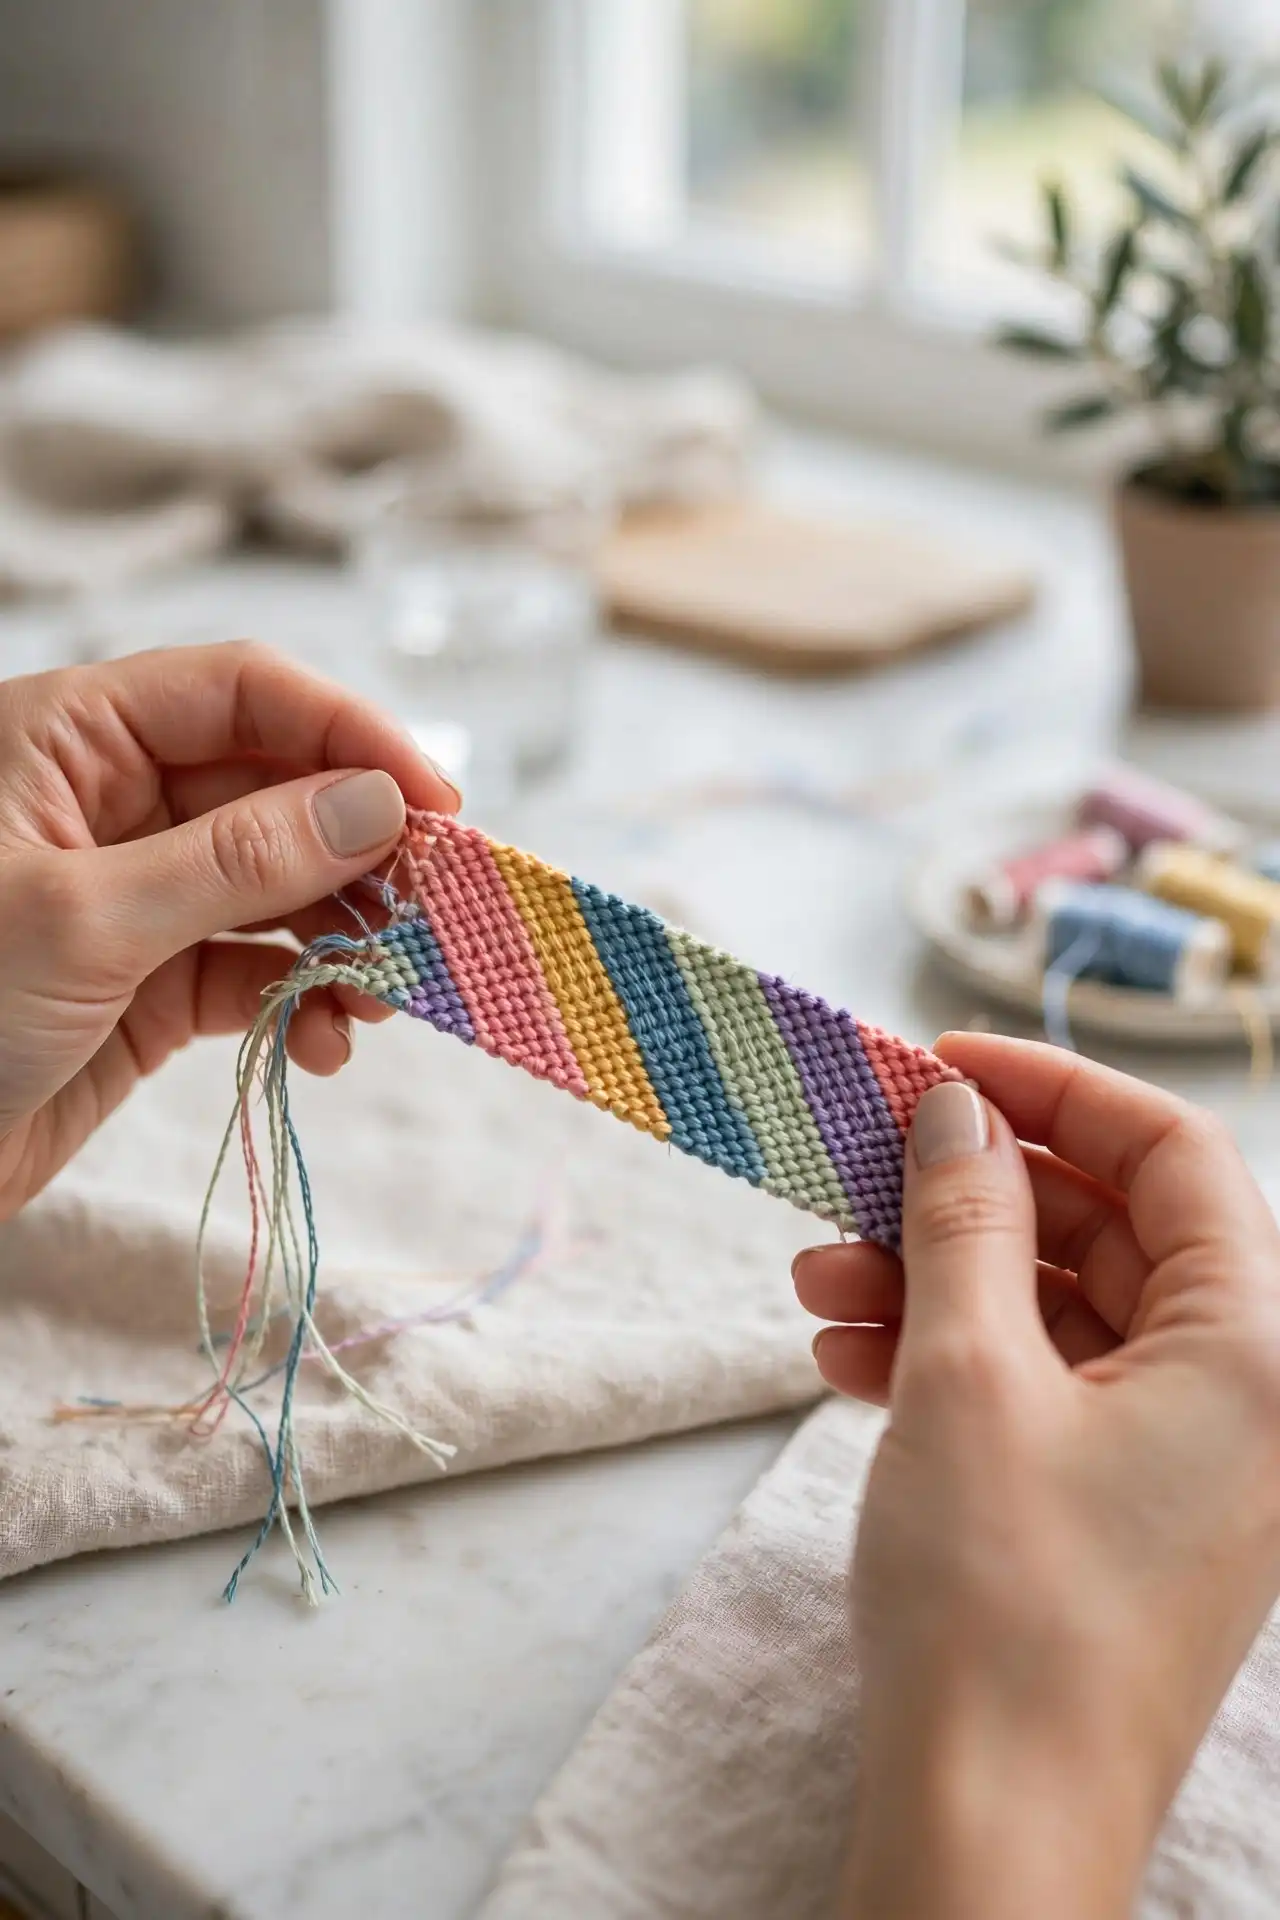
A twisted knot or a skipped strand rarely stands out row by row, but it shows up fast once you compare against the full pattern.
After roughly one inch of knotting, lay the bracelet flat and look at the diagonal lines running through it.
Every stripe should run at the same clean angle, edge to edge. If one line jogs sideways or breaks, that’s your marker for where to unpick.
10. Measure the Bracelet Against Your Wrist
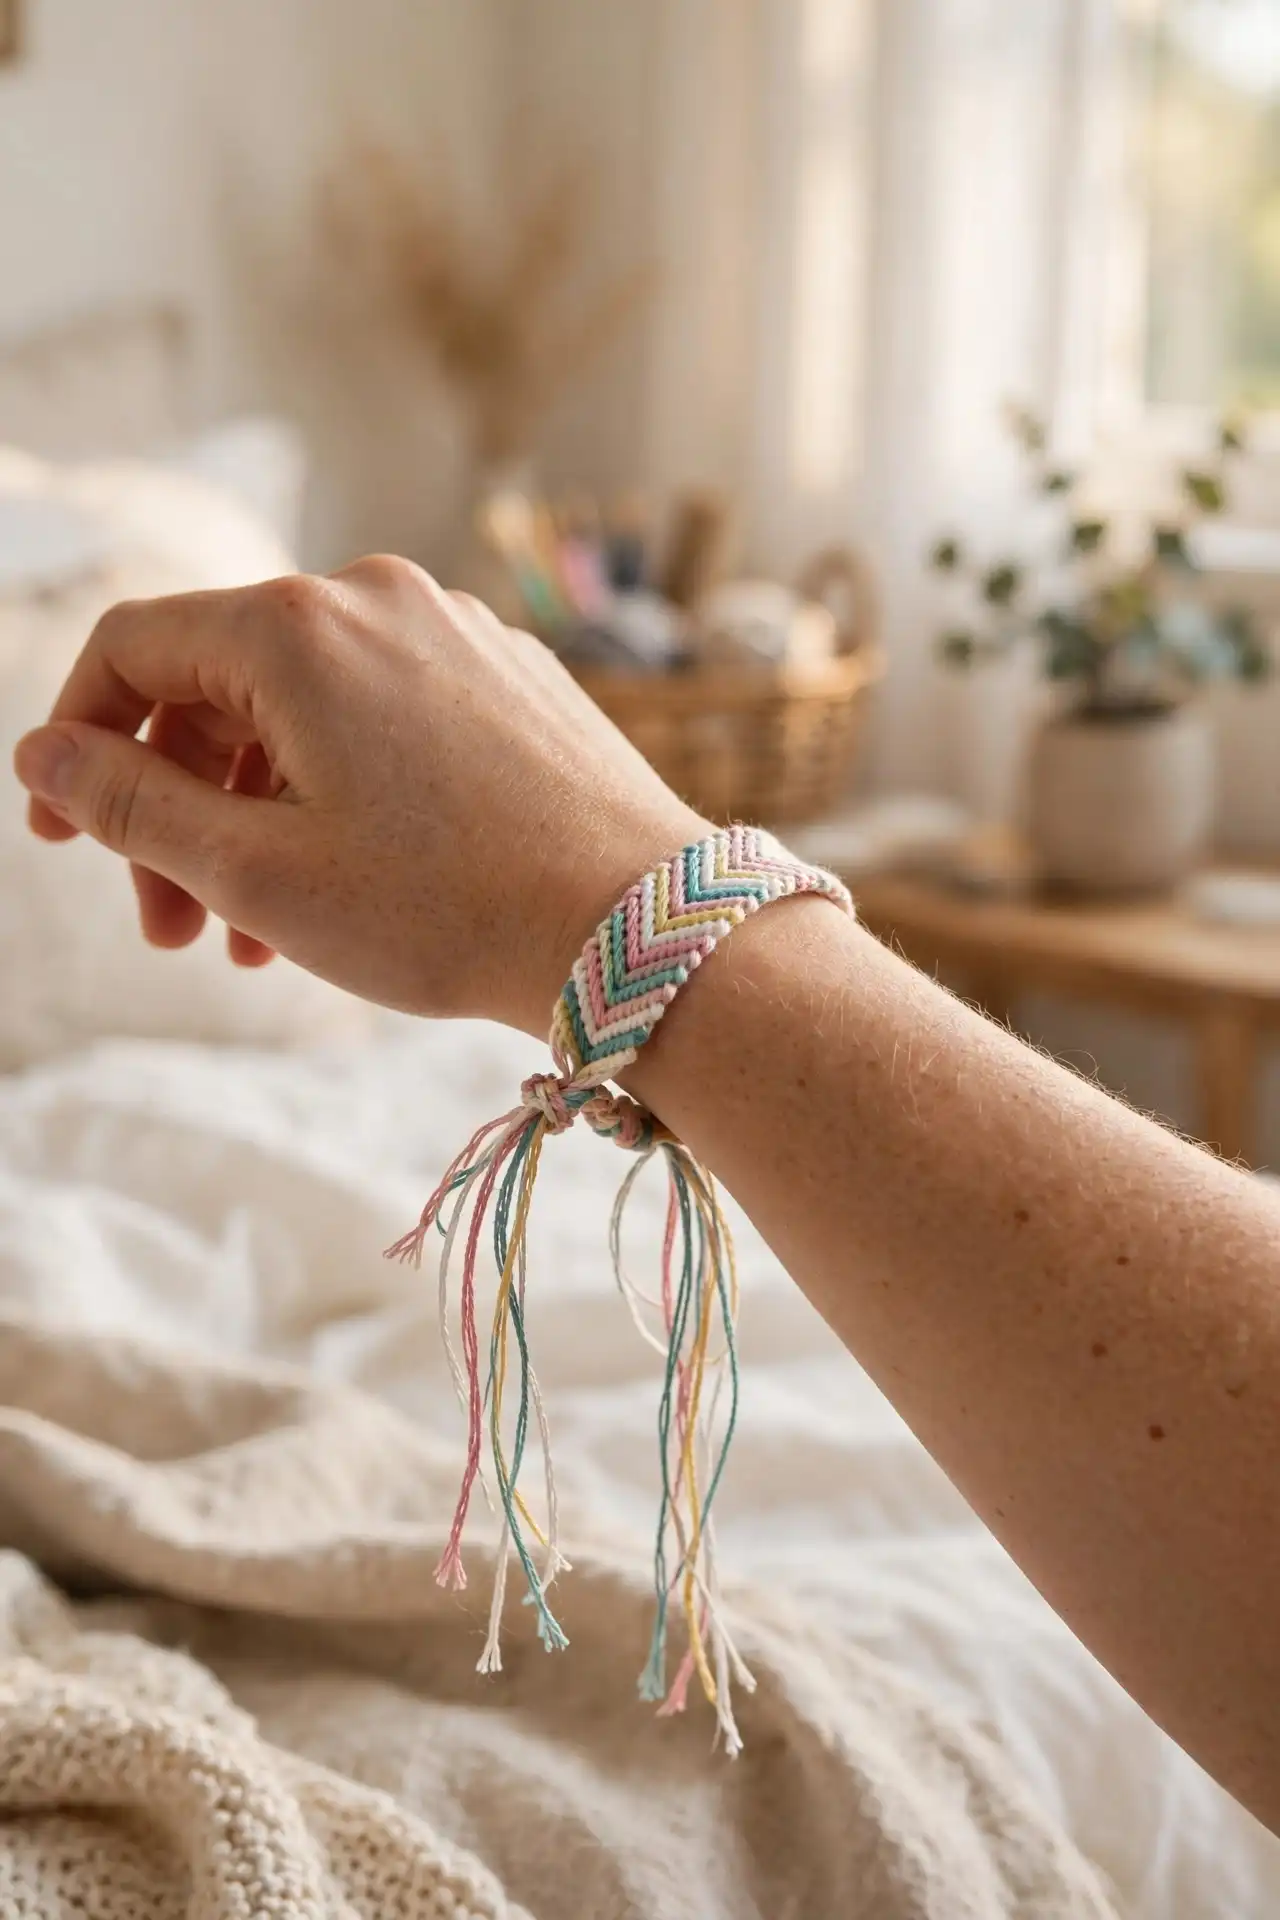
Wrap the knotted section around your wrist, snug but not tight, and note where the end of the pattern lines up.
Most adult wrists need about 6 to 7 inches of knotted pattern, though it’s worth checking your own rather than trusting an average.
Leave the strands taped down and keep knotting until you reach that length, then stop before tying anything off.
11. Tie a Finishing Knot at the Bottom
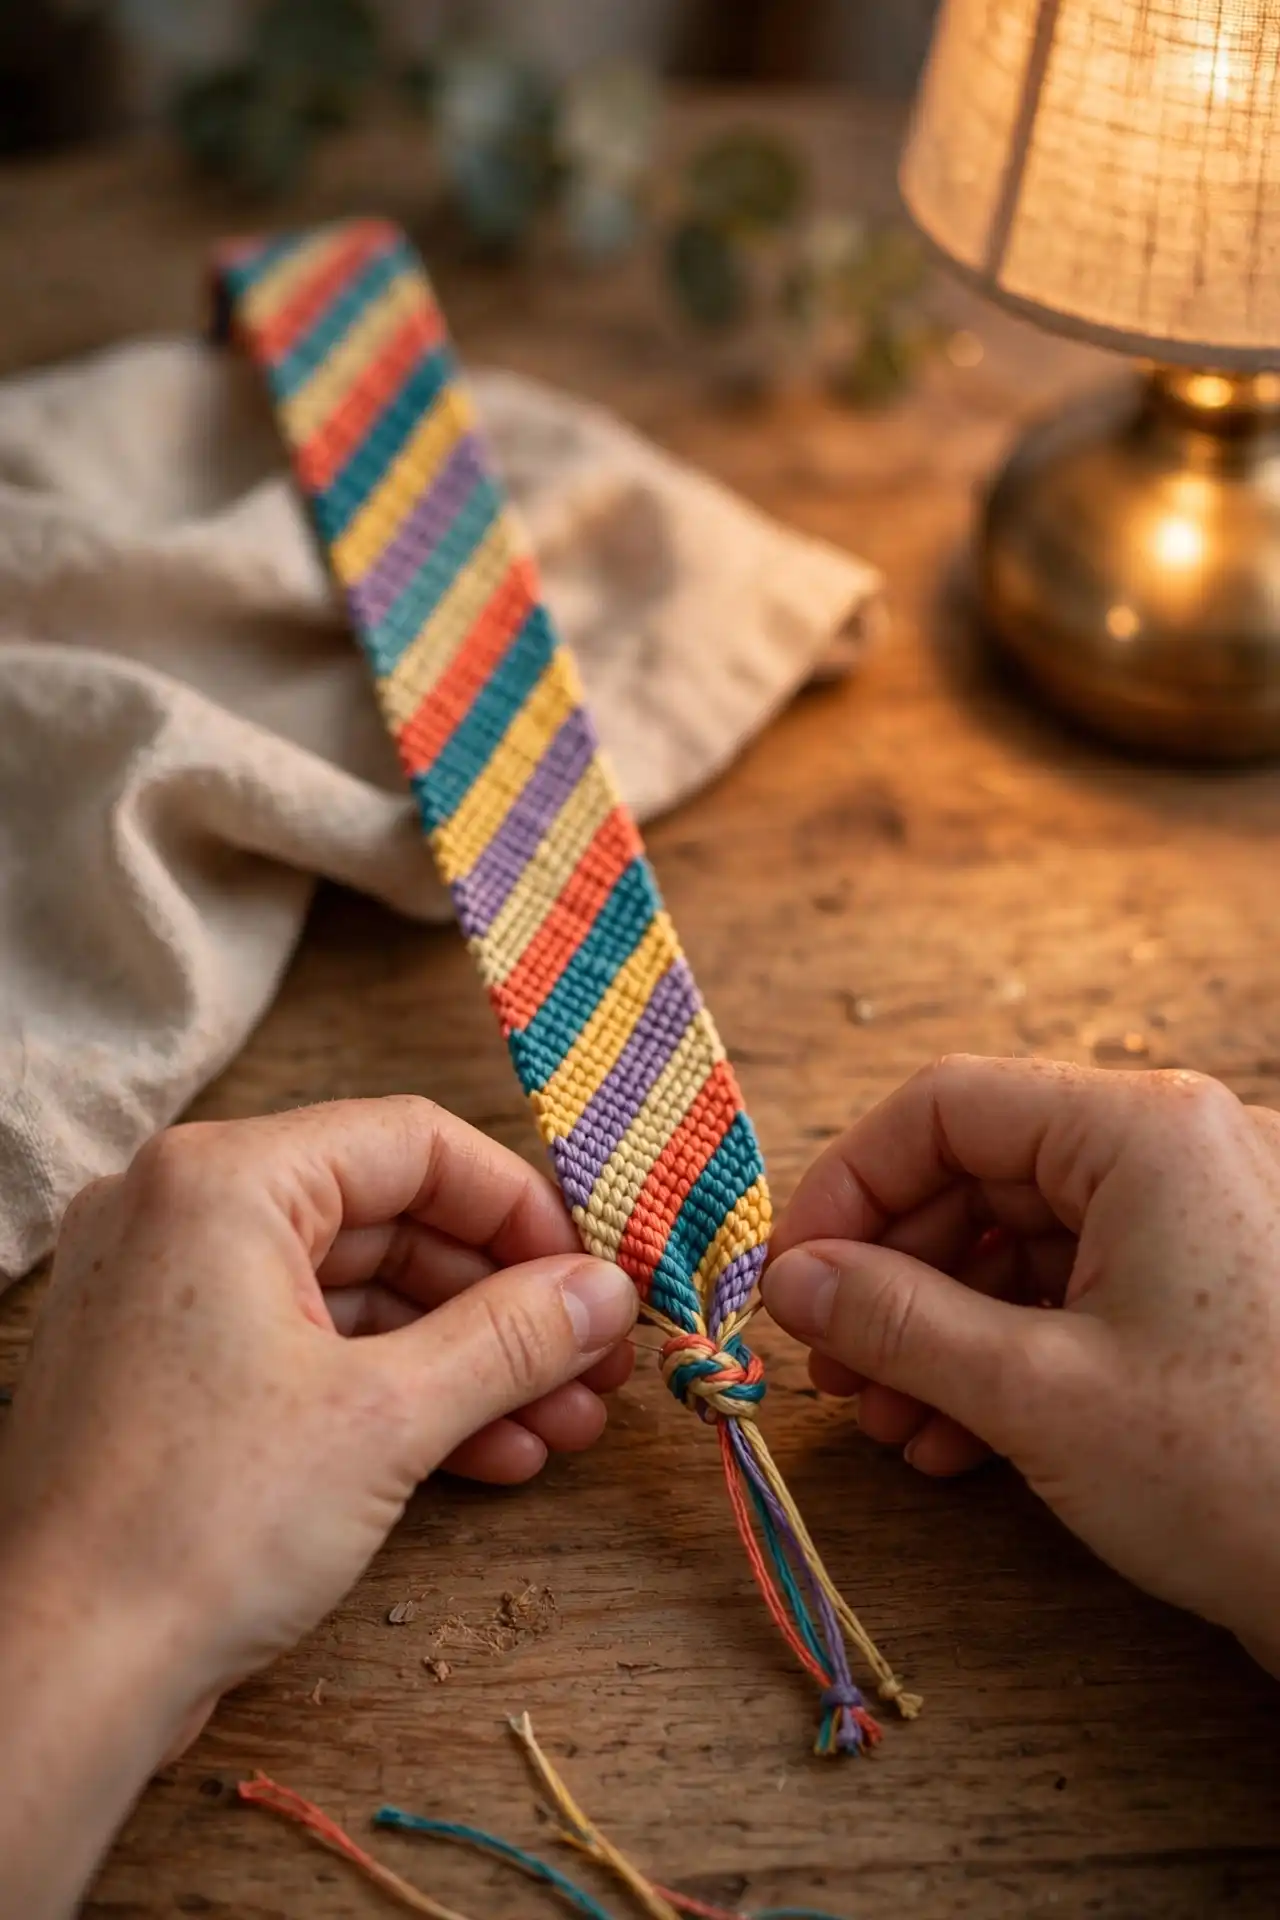
Untape the piece from your surface and gather all six strands together in one hand, keeping them in whatever order they landed in.
Tie a single overhand knot as close to the bottom of your pattern as you can get it, mirroring the knot you started with.
A bead or button threaded onto the tail before this knot gives you a built-in closure, since it can loop through the knot at the top to fasten the bracelet shut.
12. Braid and Trim the Tail Ends
Six loose strands hanging off the bottom look messy and fray fast without something to hold them together.
Split them into three even pairs and braid them for about 2 inches, then secure the end with a small overhand knot.
Trim the extra length to about half an inch past that final knot, leaving enough to tie the bracelet on comfortably without it looking chopped off.
| If This Happens | Try This |
|---|---|
| Knots feel loose and the pattern looks gappy | Pull straight up on each knot, not sideways. Sideways pulls seat the knot at an angle instead of snug against the row above. |
| You lost track of which strand is the working strand | Stop and lay the bracelet flat. The working strand is always the one furthest left that hasn’t finished crossing yet — trace the diagonal line to find it. |
| A stripe jogs sideways instead of running straight | Untie back to the row where the jog starts, one knot at a time, then redo it slower with the strand order rechecked. |
| Strands keep tangling as you work | Tape isn’t holding them fanned out enough. Widen the spacing between strands where they meet the knot so each one has its own lane. |
| The bracelet turned out too tight or too loose on your wrist | Add or remove rows before the finishing knot next time. Once tied off, the only fix is untying back into the pattern. |
Do I need a special kind of embroidery floss?
No. Any standard six-strand embroidery floss from a craft store works fine. Avoid thin sewing thread, since it snaps under the tension of repeated knotting.
Can I use more or fewer than six strands?
Yes. Four strands makes a thinner bracelet, and eight makes a wider one. The knotting method stays exactly the same either way.
Why does my bracelet curl instead of laying flat?
This usually means the knots are being pulled too tight. Ease off the tension slightly on your next attempt and let the knots sit snug rather than cinched.
How long does the floss actually last on the wrist?
With the nail polish seal on the finishing knot, most bracelets hold up for several months of daily wear, including showers.
Can kids make these on their own?
Kids around age 8 and up usually manage the motion fine with a little supervision at the start. Younger kids often do better with an adult tying the first few rows.
- Gather floss and tools
- Cut six 24-inch strands
- Line up strands in color order
- Tie an overhand knot to bind them
- Secure the knot to a surface
- Practice the forward knot motion
- Tie the first row of forward knots
- Build the diagonal pattern row by row
- Check the pattern for mistakes
- Measure against your wrist (6–7 in)
- Tie a finishing knot
- Braid and trim the tail ends
Conclusion
You’ve got a finished friendship bracelet, tied entirely with your own two hands.
That one repeated knot is now something your fingers will remember the next time you sit down with floss.
Once this pattern feels easy, try swapping in a chevron layout or adding a bead partway through — the same forward knot carries over to both.
Save this pin so you’ve got the steps ready the next time you want to learn how to make friendship bracelets for a friend, a sibling, or yourself.