
How to Set Up and Clean Up a Resin Station on Your Kitchen Counter

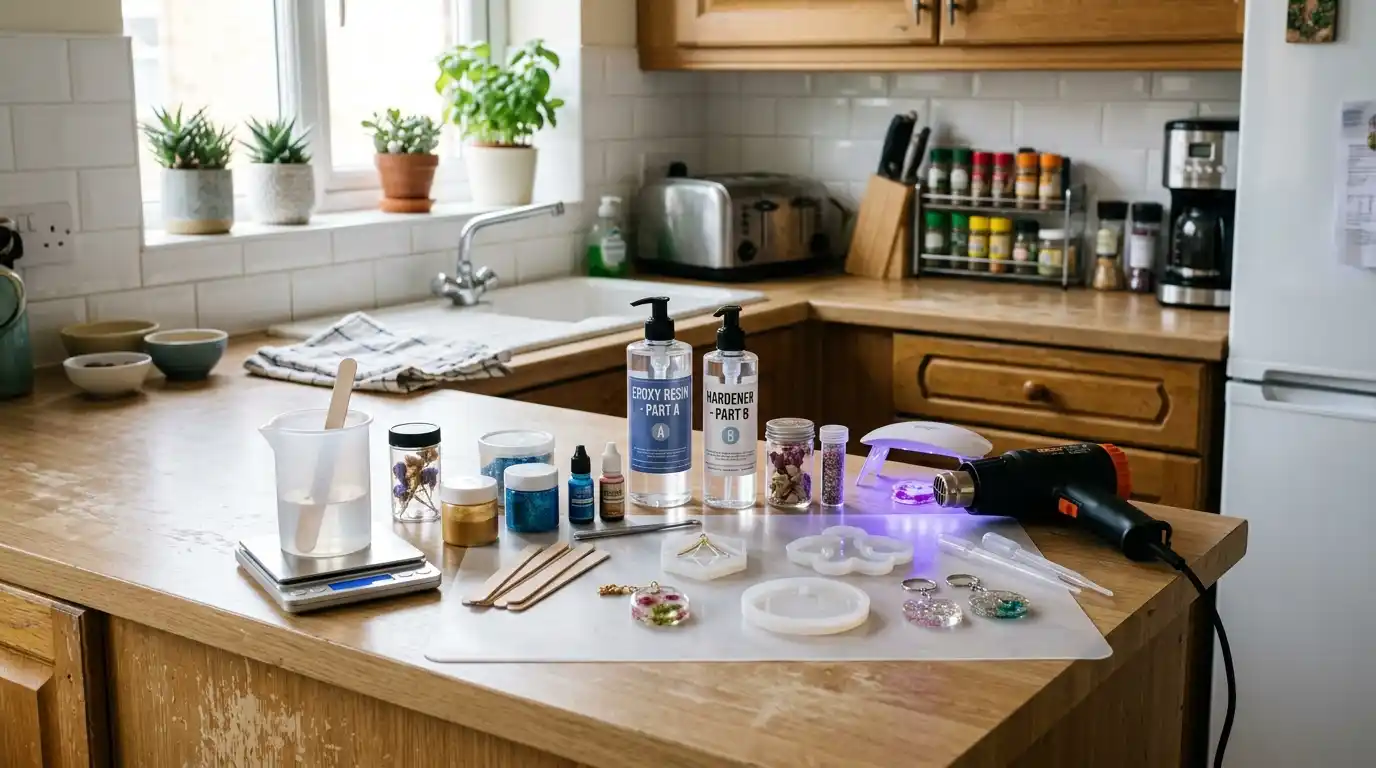
Quick answer: cover the surface with a heavy silicone mat and wipe fresh spills immediately using 91% isopropyl alcohol and paper towels. Cured resin must be peeled off flexible silicone or scraped gently from rigid surfaces using a plastic razor blade. Always wear nitrile gloves.
You want to craft with epoxy resin at home, but the thought of ruining your rental counter stops you before you even mix a drop. Figuring out how to clean up resin in small kitchen layouts feels risky when you prepare food on the exact same surface.
By the end of this guide, you will have a temporary, foolproof mixing station that protects your counters from permanent damage. The secret is layering the right barriers and treating wet spills like glue rather than water.
This method works because isopropyl alcohol breaks down uncured epoxy on contact, while silicone prevents cured resin from bonding. Set aside a solid hour for the project, keeping in mind that resin needs undisturbed space to cure overnight.
What You Need
- 1 large silicone craft mat (minimum 18 by 24 inches)
- 1 heavy-duty plastic trash bag
- 1 roll of blue painter’s tape
- 1 bottle of 91% isopropyl alcohol
- 1 roll of heavy-duty paper towels
- 1 box of disposable nitrile gloves
- 1 plastic scraper or plastic razor blade
- 4 small plastic mixing cups
- 4 wooden mixing sticks
How Long It Takes and What It Costs
| Total time | 24 hours |
| Hands-on time | 35 minutes |
| Cost | $15 to $35 |
| Difficulty | Beginner |
Steps at a Glance
- Clear and protect the counter surface completely.
- Lay down a dedicated silicone craft mat.
- Set up a secure mixing station on one side.
- Put on protective nitrile gloves before handling resin.
- Mix your epoxy resin in small batches.
- Pour your mixture while keeping wet cups on plastic.
- Master how to clean up resin in small kitchen layouts.
- Let your resin cure undisturbed on a level surface.
- Clean up cured drips with a plastic scraper.
Clear and protect the counter surface completely
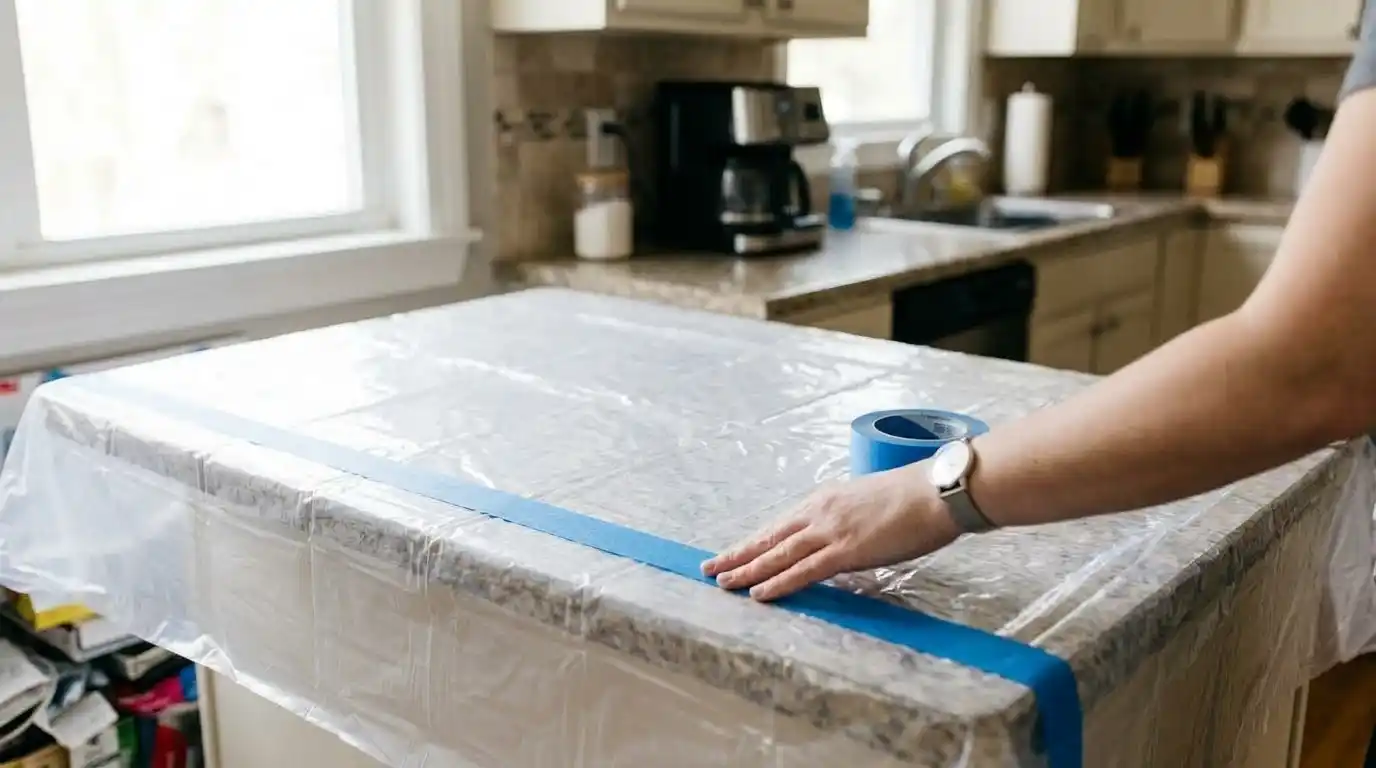
Move all appliances, food items, and utensils at least 3 feet away from your workspace. Airborne resin dust from sanding or accidental splashes will contaminate anything nearby.
Cut open the heavy-duty trash bag along the seams to create a large sheet. Tape this flat across your counter, wrapping the front edge over the lip so drips cannot run down your cabinet doors.
Lay down a dedicated silicone craft mat
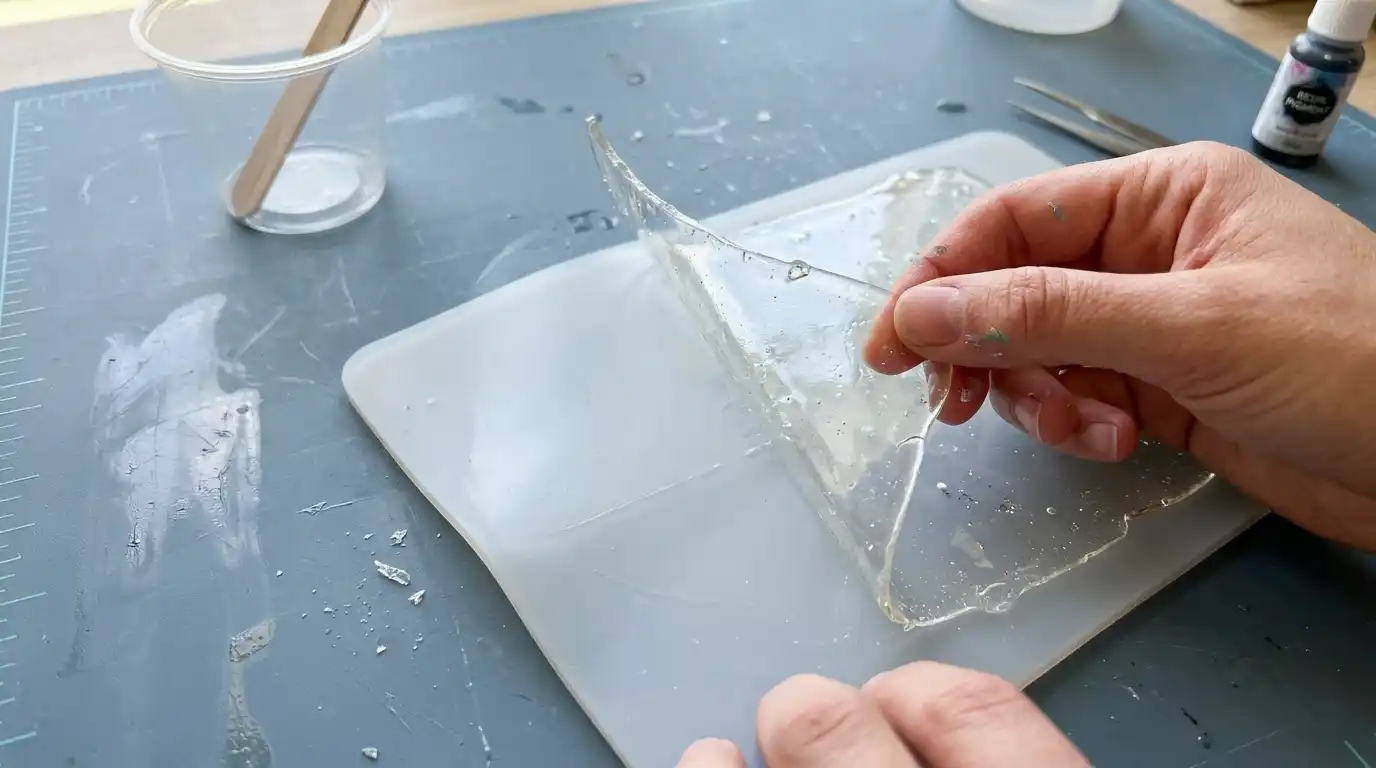
Your silicone mat goes directly over the center of the taped plastic sheet. Epoxy resin does not bond to silicone, making this your primary defense against permanent damage.
Press the mat flat to push out any trapped air bubbles beneath it. Keep the edges of the mat at least 2 inches away from the edge of the counter to create a plastic buffer zone for large spills.
Set up a secure mixing station on one side
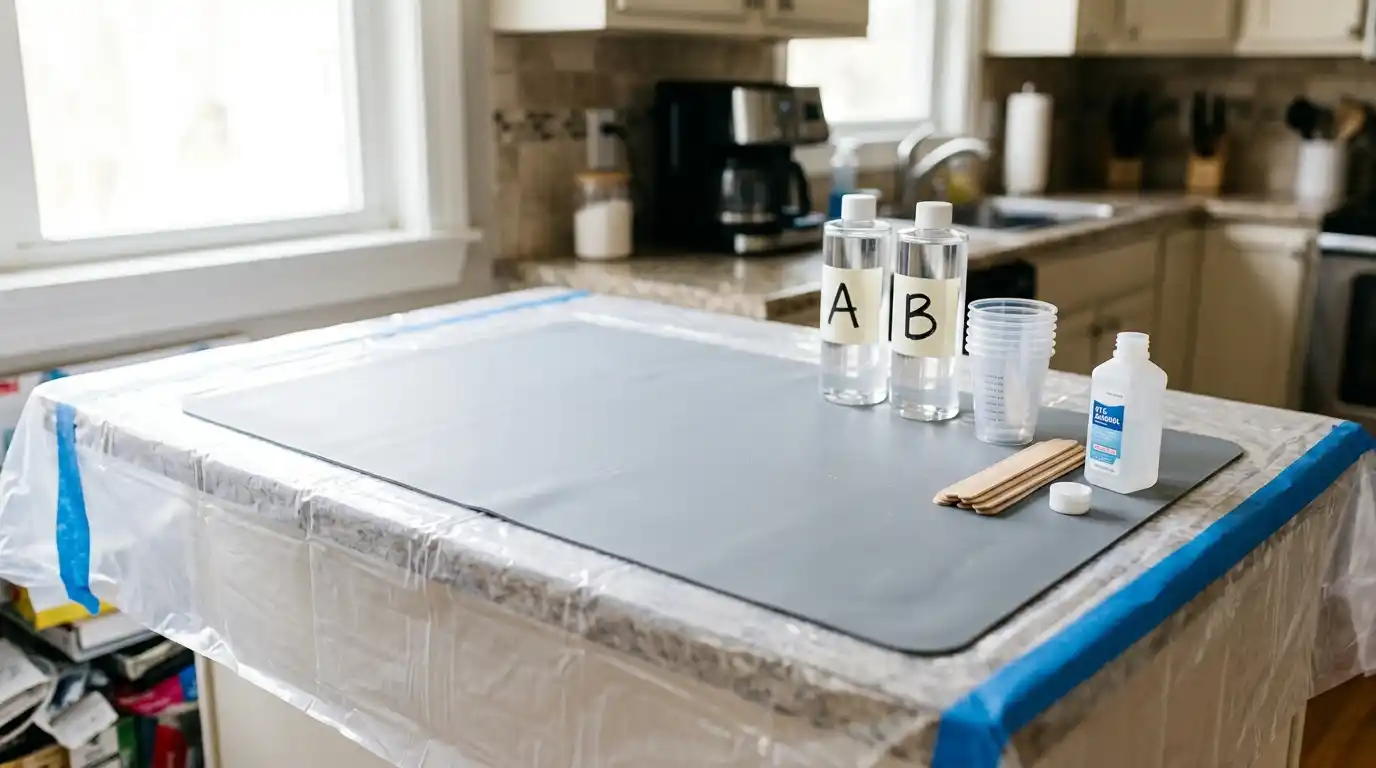
Group your mixing cups, wooden sticks, and resin bottles on the left or right side of the mat. Keeping the messy materials in a tight zone reduces the chance of knocking a bottle over.
Uncap your bottle of 91% isopropyl alcohol now, leaving the lid resting loosely on top. If a spill happens, you can grab it instantly with one hand.
Put on protective nitrile gloves before handling resin
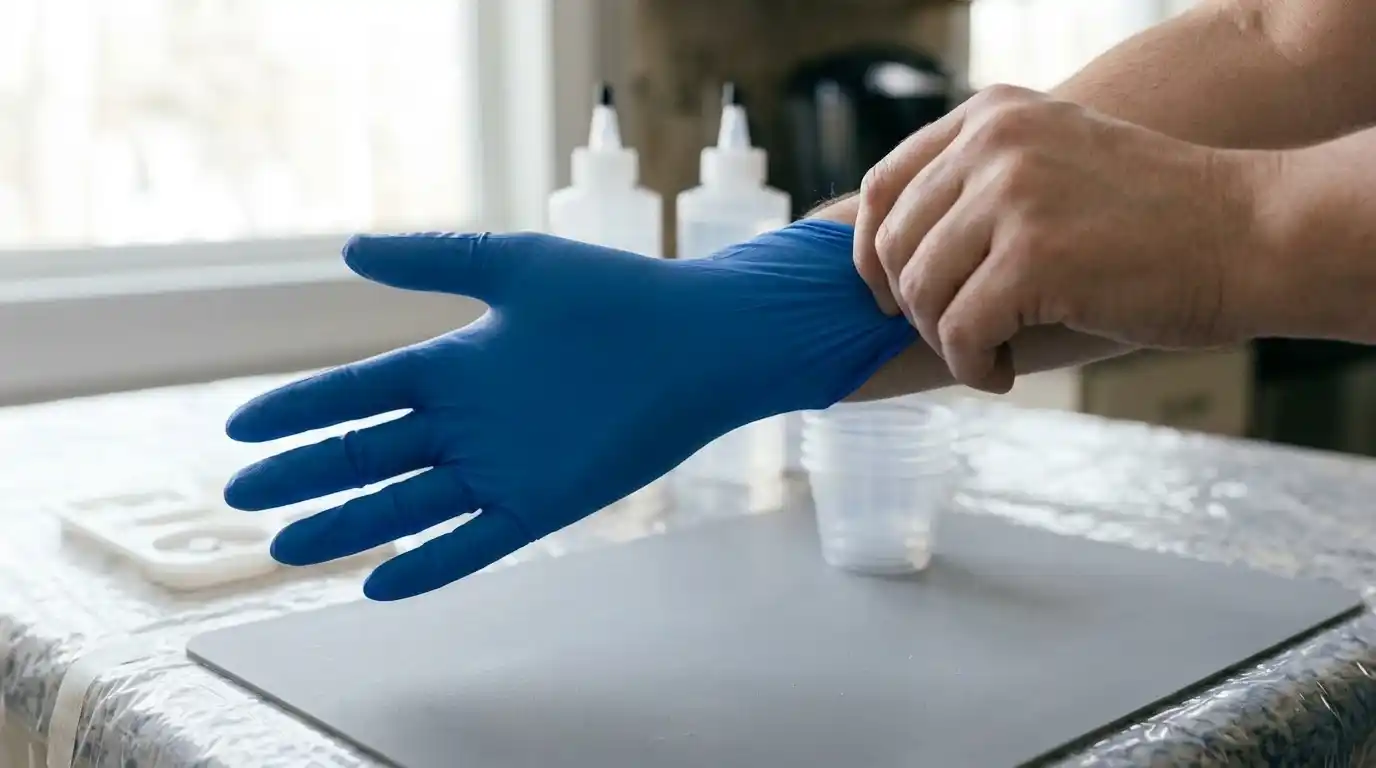
Disposable nitrile gloves are mandatory for this project. Latex gloves do not provide a sufficient chemical barrier against liquid epoxy, and skin contact can cause severe allergic reactions over time.
Heads up: Never wipe wet resin off your skin with paper towels alone, as this pushes the chemicals deeper into your pores. Wash immediately with soap and water or a pumice hand cleaner.
Keep the box of gloves nearby. You will likely need to change them midway through the project if they become sticky.
Mix your epoxy resin in small batches
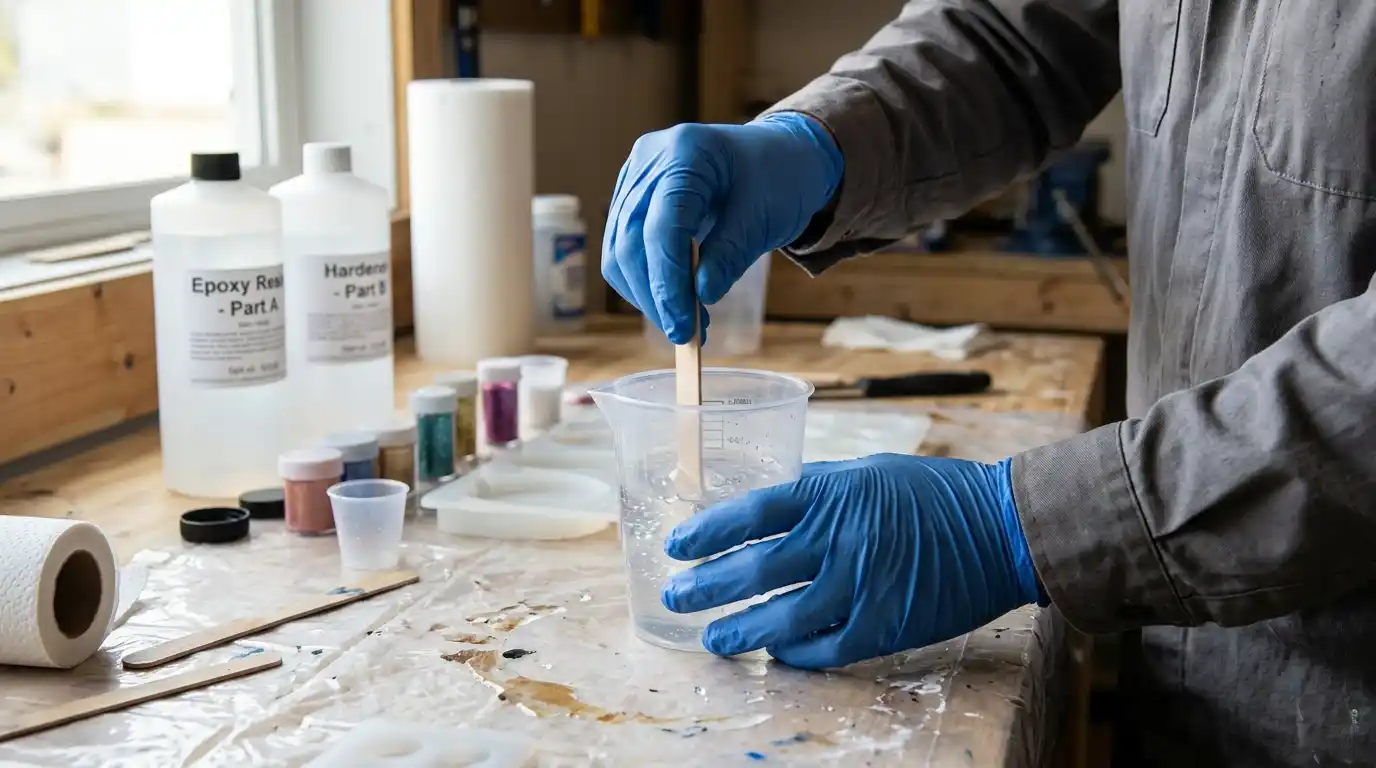
Pour equal parts of resin and hardener into a plastic cup, keeping the total volume under 4 ounces for counter work. Small batches generate less heat and are easier to control.
Scrape the sides and bottom of the cup continuously with your wooden stick for 3 minutes. Unmixed resin will remain sticky forever and ruin your piece. Set the stick down flat on the silicone mat, never on the bare plastic sheet.
Pour your mixture while keeping wet cups on plastic
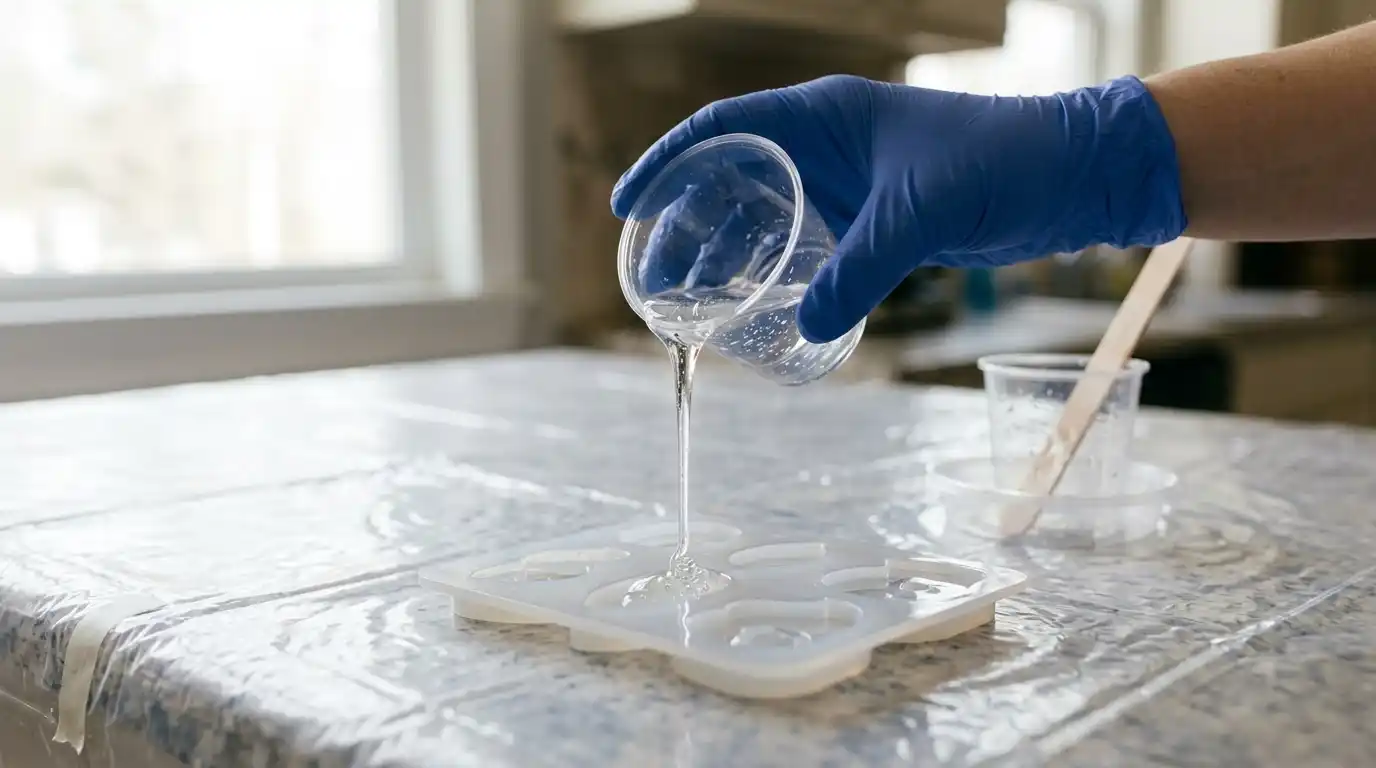
A low pouring height prevents splashing and reduces trapped air bubbles. Hold the mixing cup close to your mold to minimize the distance the liquid falls.
Pro tip: Rest the dripping mixing cup inside a second, larger clean cup when you finish pouring. This catches drips before they hit your work surface.
Leave any leftover resin inside the mixing cup to harden. Do not attempt to wash liquid epoxy down your kitchen sink, because it will cure underwater and destroy your plumbing.
Master how to clean up resin in small kitchen layouts
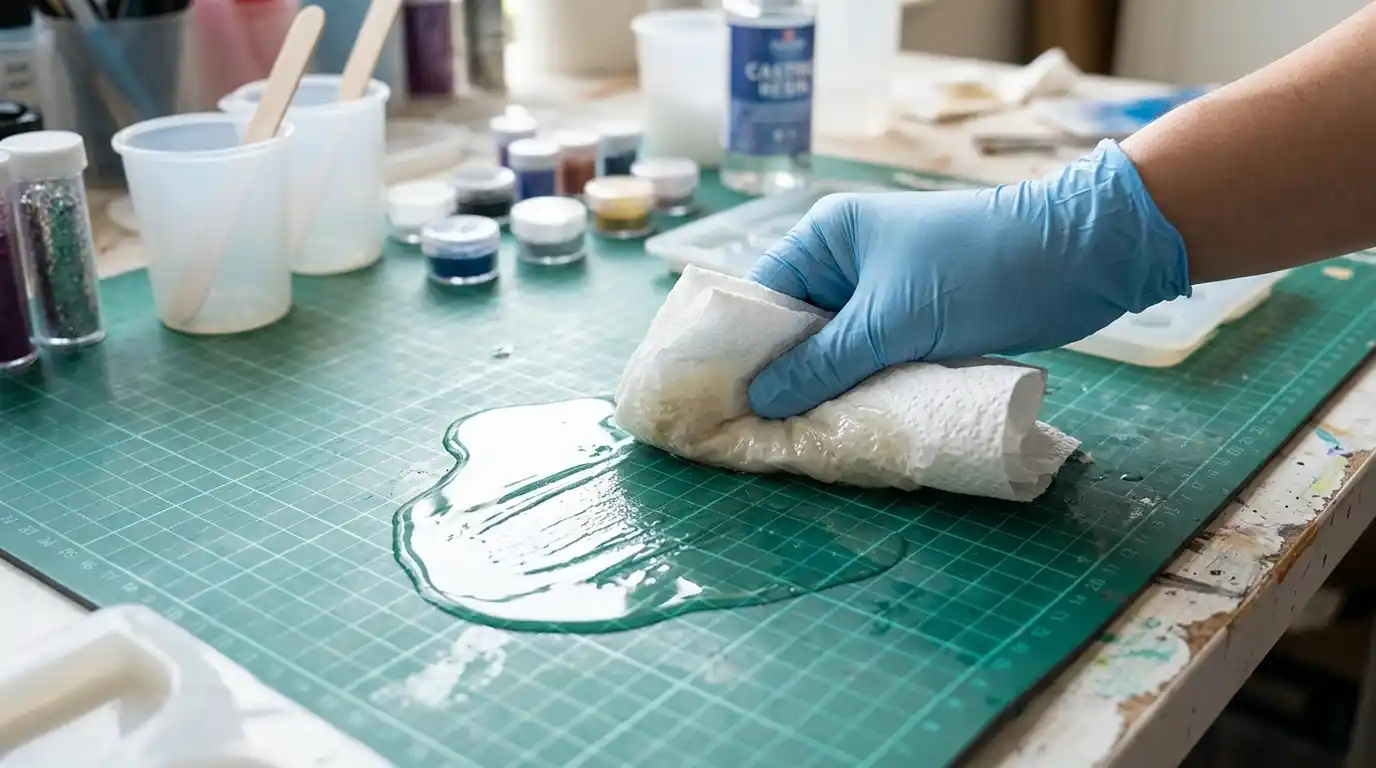
When wet epoxy hits the plastic sheet or a bare counter edge, act immediately. Pour a splash of isopropyl alcohol directly onto a folded paper towel.
Scrub the sticky spot aggressively until the surface feels slick again. The alcohol breaks the chemical bonds of the uncured resin.
Throw the sticky paper towels directly into a dedicated trash bag, not your main kitchen bin. Curing resin generates heat, so keep the trash bag away from flammable materials.
Let your resin cure undisturbed on a level surface
Cover your filled molds with a large cardboard box or an upside-down plastic bin. This blocks dust and pet hair from settling into the sticky surface during the long curing window.
Leave the setup alone for at least 24 hours. While you wait, do these quick cleanup tasks:
- Cap all resin and alcohol bottles tightly.
- Wipe the outside of the bottles with an alcohol-soaked towel.
- Discard your gloves and wash your hands with soap.
Clean up cured drips with a plastic scraper
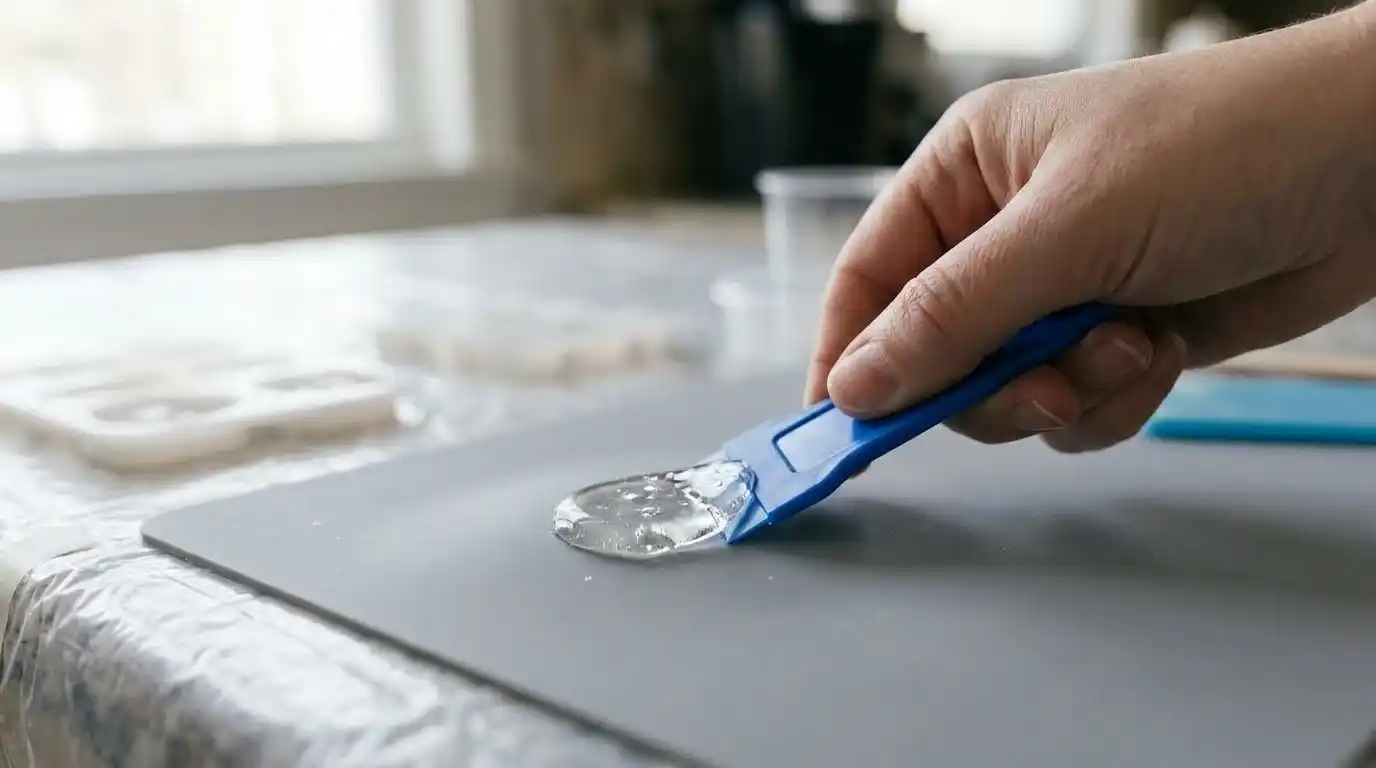
The leftover resin in your mixing cups will be rock solid the next day. Bend the silicone mat slightly to pop off any cured drips.
Use a plastic scraper to pry up any hardened resin on the plastic sheeting. Never use a metal razor blade on your kitchen counter, because it will slice through the protective tape and gouge the stone below.
Roll the plastic sheeting inward on itself, trapping all the trash inside, and throw the entire bundle away. Wash the silicone mat in warm soapy water.
Common Mistakes
| Do this | Not this |
| Tape down a heavy plastic barrier | Use newspaper or cardboard, which resin seeps through |
| Work near an open window | Mix epoxy in a closed room with no airflow |
| Clean spills with 91% alcohol | Try to wipe up wet resin with water |
Frequently Asked Questions
Can you use rubbing alcohol on cured resin?
No. Isopropyl alcohol only breaks down wet, uncured epoxy. Once the resin hardens completely, alcohol will not dissolve it or make it soft enough to wipe away.
How do you get resin off skin?
Wash the area immediately with an abrasive hand soap or a mixture of baking soda and dish soap. Never use chemical solvents like acetone on your skin to remove epoxy.
Is epoxy resin safe to use in a kitchen?
It is safe only if you use a zero-VOC resin, maintain excellent ventilation, and completely cover your food preparation surfaces. If you cannot open a window or keep pets away, move to a garage.
What do you do if resin spills on clothes?
Uncured resin can sometimes be blotted out with isopropyl alcohol before it sets. If the resin has already cured into the fabric, the piece of clothing is permanently ruined.