16 Kente Print Decor Ideas Beyond Just a Throw Pillow


A single Kente pillow on the couch is not decorating. It is a nod. If that pillow is doing all the work in your living room, the rest of the space is probably still waiting for you to commit.
Most people stop at the pillow because it is the safest, cheapest entry point. Fabric stores sell precut squares, pillow covers are a five minute project, and nobody has to commit to a bigger idea.
But Kente cloth has structure and rhythm built into the weave, and that pattern deserves more than one corner of a couch.
This list is about spreading that pattern through the rooms where it actually gets used.
Kente print decor ideas for the home work best when the fabric shows up in places people touch, sit on, and walk past every day, not just where it looks nice in a photo.
Here are fifteen ways to bring the pattern in further, room by room, without turning your whole house into one giant print.
16 Kente Print Decor Ideas Beyond Just a Throw Pillow
1. Frame your gallery wall in Kente instead of matting
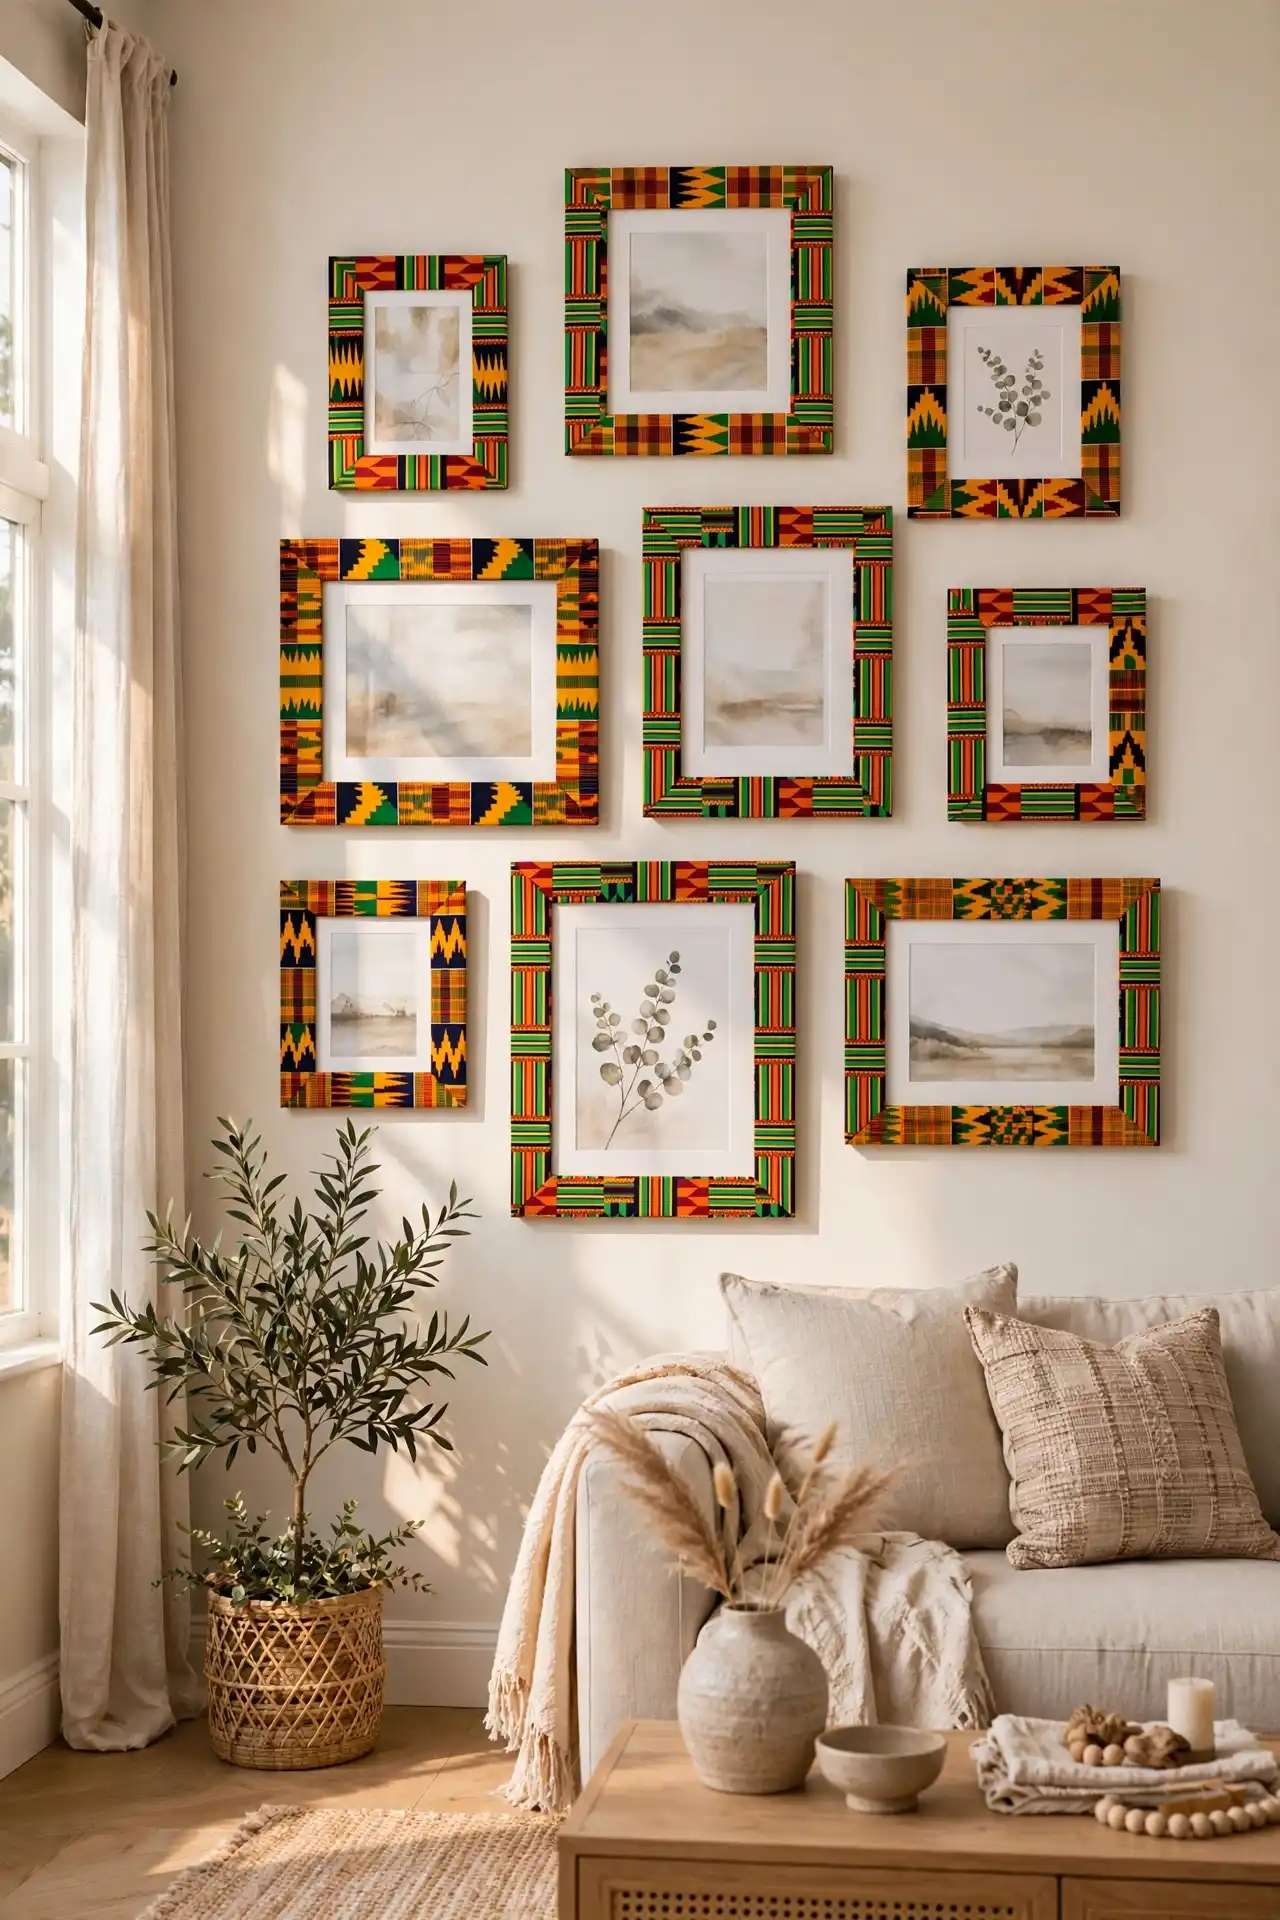
Standard white mat board disappears the second you stop looking at it. Kente strips cut to size and wrapped around a mat board insert give every frame in a gallery wall its own border without you having to buy new frames or repaint anything.
This works because the eye reads the wall as one grouping instead of a scattered mix of frame styles fighting each other.
Cut strips about two inches wide, wrap them around foam board or mat board, and hot glue the back edges flat so nothing shows from the front.
Once a few frames share the same border, even mismatched photo sizes start to feel like they belong together.
Group frames of different sizes together so the mat pattern reads as the connecting thread instead of the frames matching perfectly.
It also makes an odd batch of mismatched frames look deliberate instead of accidental, which solves a problem most gallery walls run into eventually.
2. Swap your everyday table runner for a Kente one
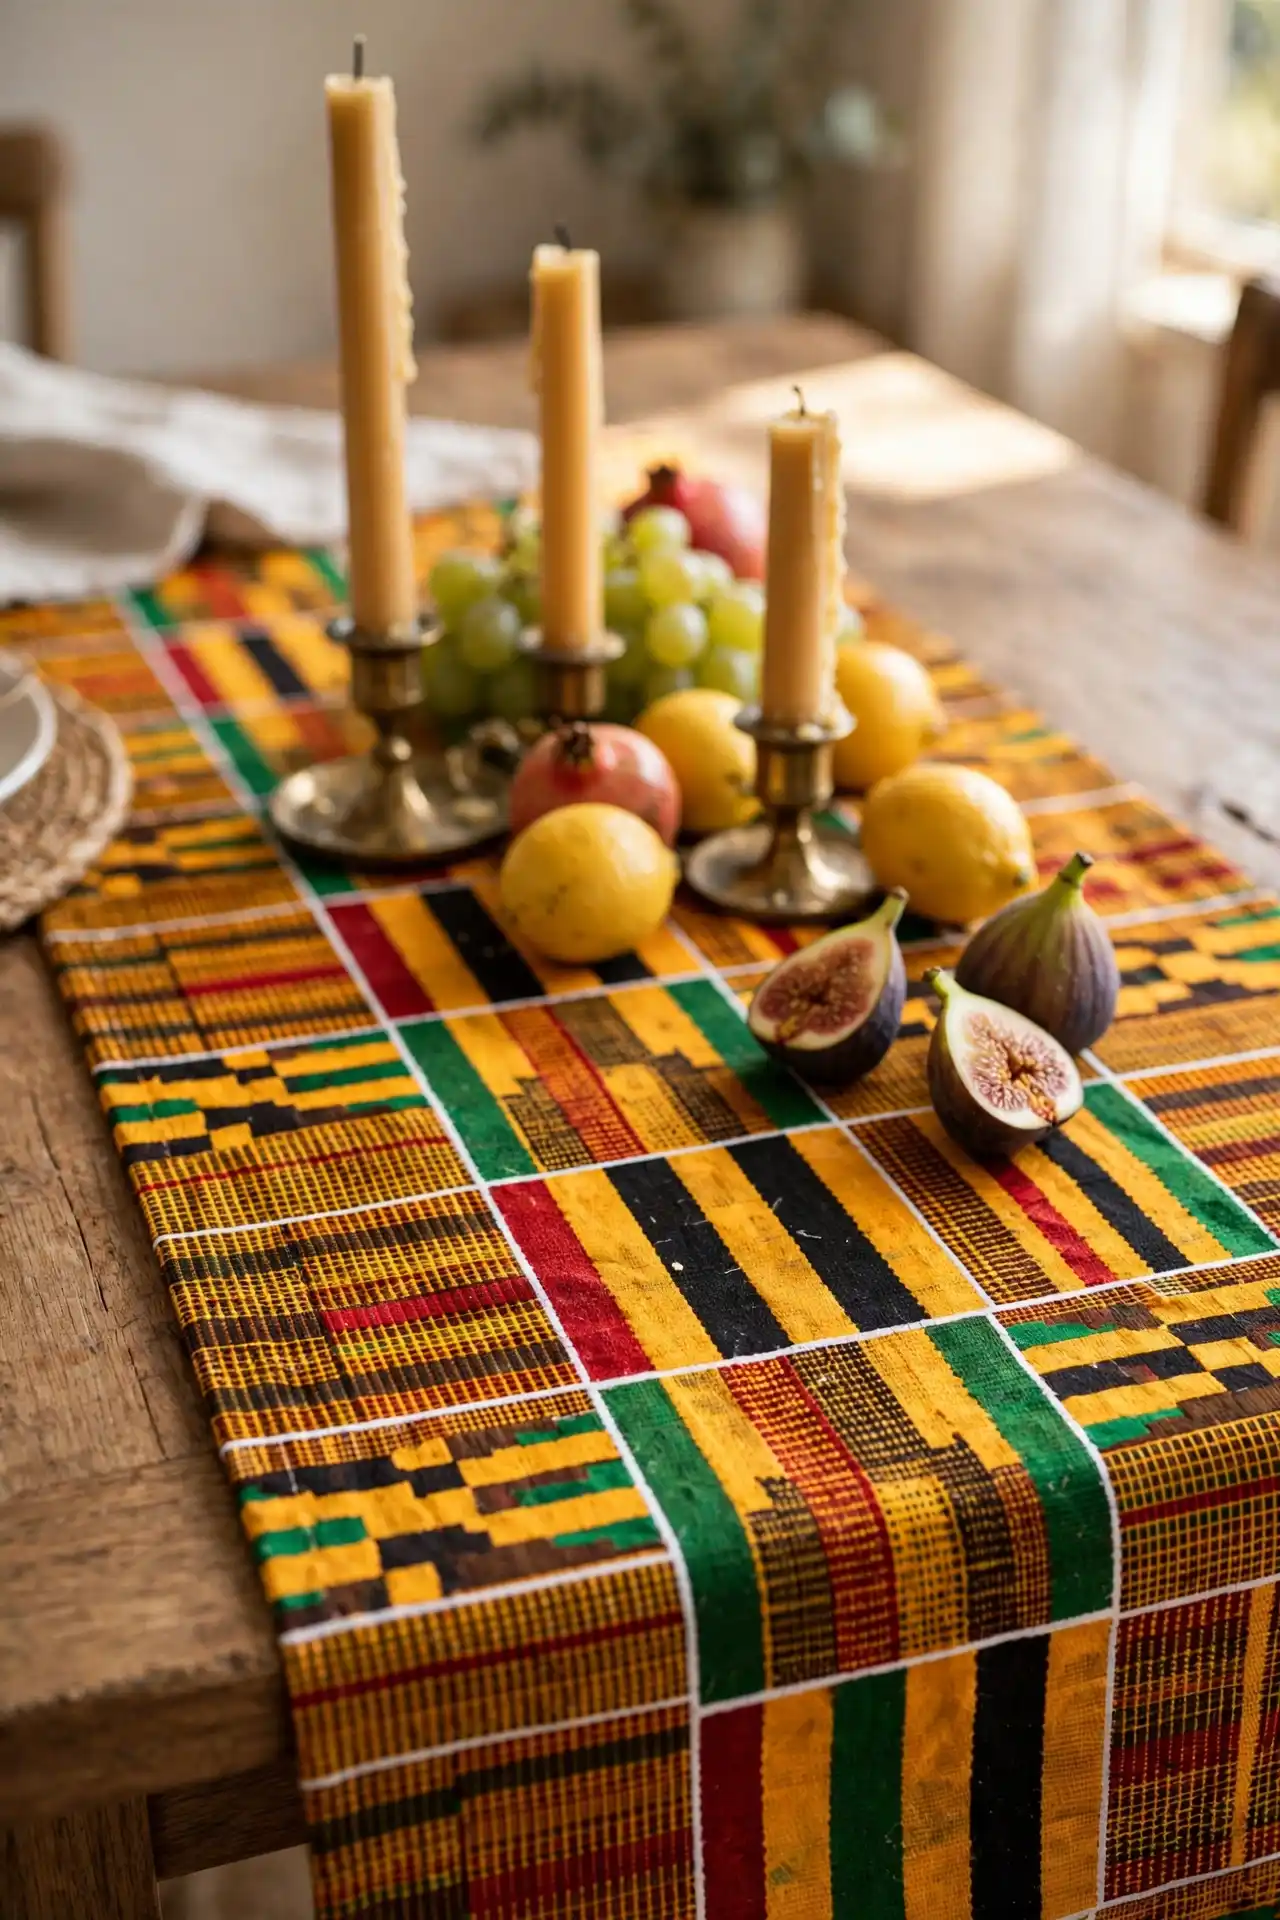
A plain linen runner does its job and disappears into the background of every meal.
A Kente runner does its job and gets noticed the second someone walks into the room.
The swap costs almost nothing if you already own the base table setting, since the runner is the only piece changing.
Layer it under, not over, your usual centerpiece so the pattern shows on both sides of whatever sits in the middle, whether that is a fruit bowl, candles, or a stack of mail you haven’t dealt with yet.
This keeps the runner from getting fully covered and losing the point of switching it in the first place.
Wipe it down after meals like any other linen. The tighter the weave, the less it shows wear, so look for a closer weave if the table gets used daily rather than only for guests.
💡 Quick Tip
Fold the runner in half lengthwise before laying it down. A narrower strip down the center reads as more intentional than one that covers the whole tabletop.
3. Bind your curtain tiebacks in Kente cloth

Plain curtains hanging loose against the window frame is the kind of thing that looks unfinished without anyone being able to say exactly why. The fix is smaller than it seems and does not touch the curtains themselves.
Cut two strips of Kente fabric, back them with a stiff interfacing so they hold shape instead of flopping, and finish the ends with small metal rings or fabric loops.
Wrap them around the pulled back curtain and hook to a wall mount on either side of the window.
The stiffness matters here, since a floppy tieback loses its shape by the end of the day and stops holding the curtain properly.
This is a fifteen minute project once the strips are cut, and it works on curtains you already own without needing a single new hardware piece or a trip to buy new panels.
Curtains hang loose, the window feels unstyled, and the fabric bunches at the floor.
The window has a clean shape, more light comes in, and the pattern frames the view.
4. Line your stair risers with Kente strips
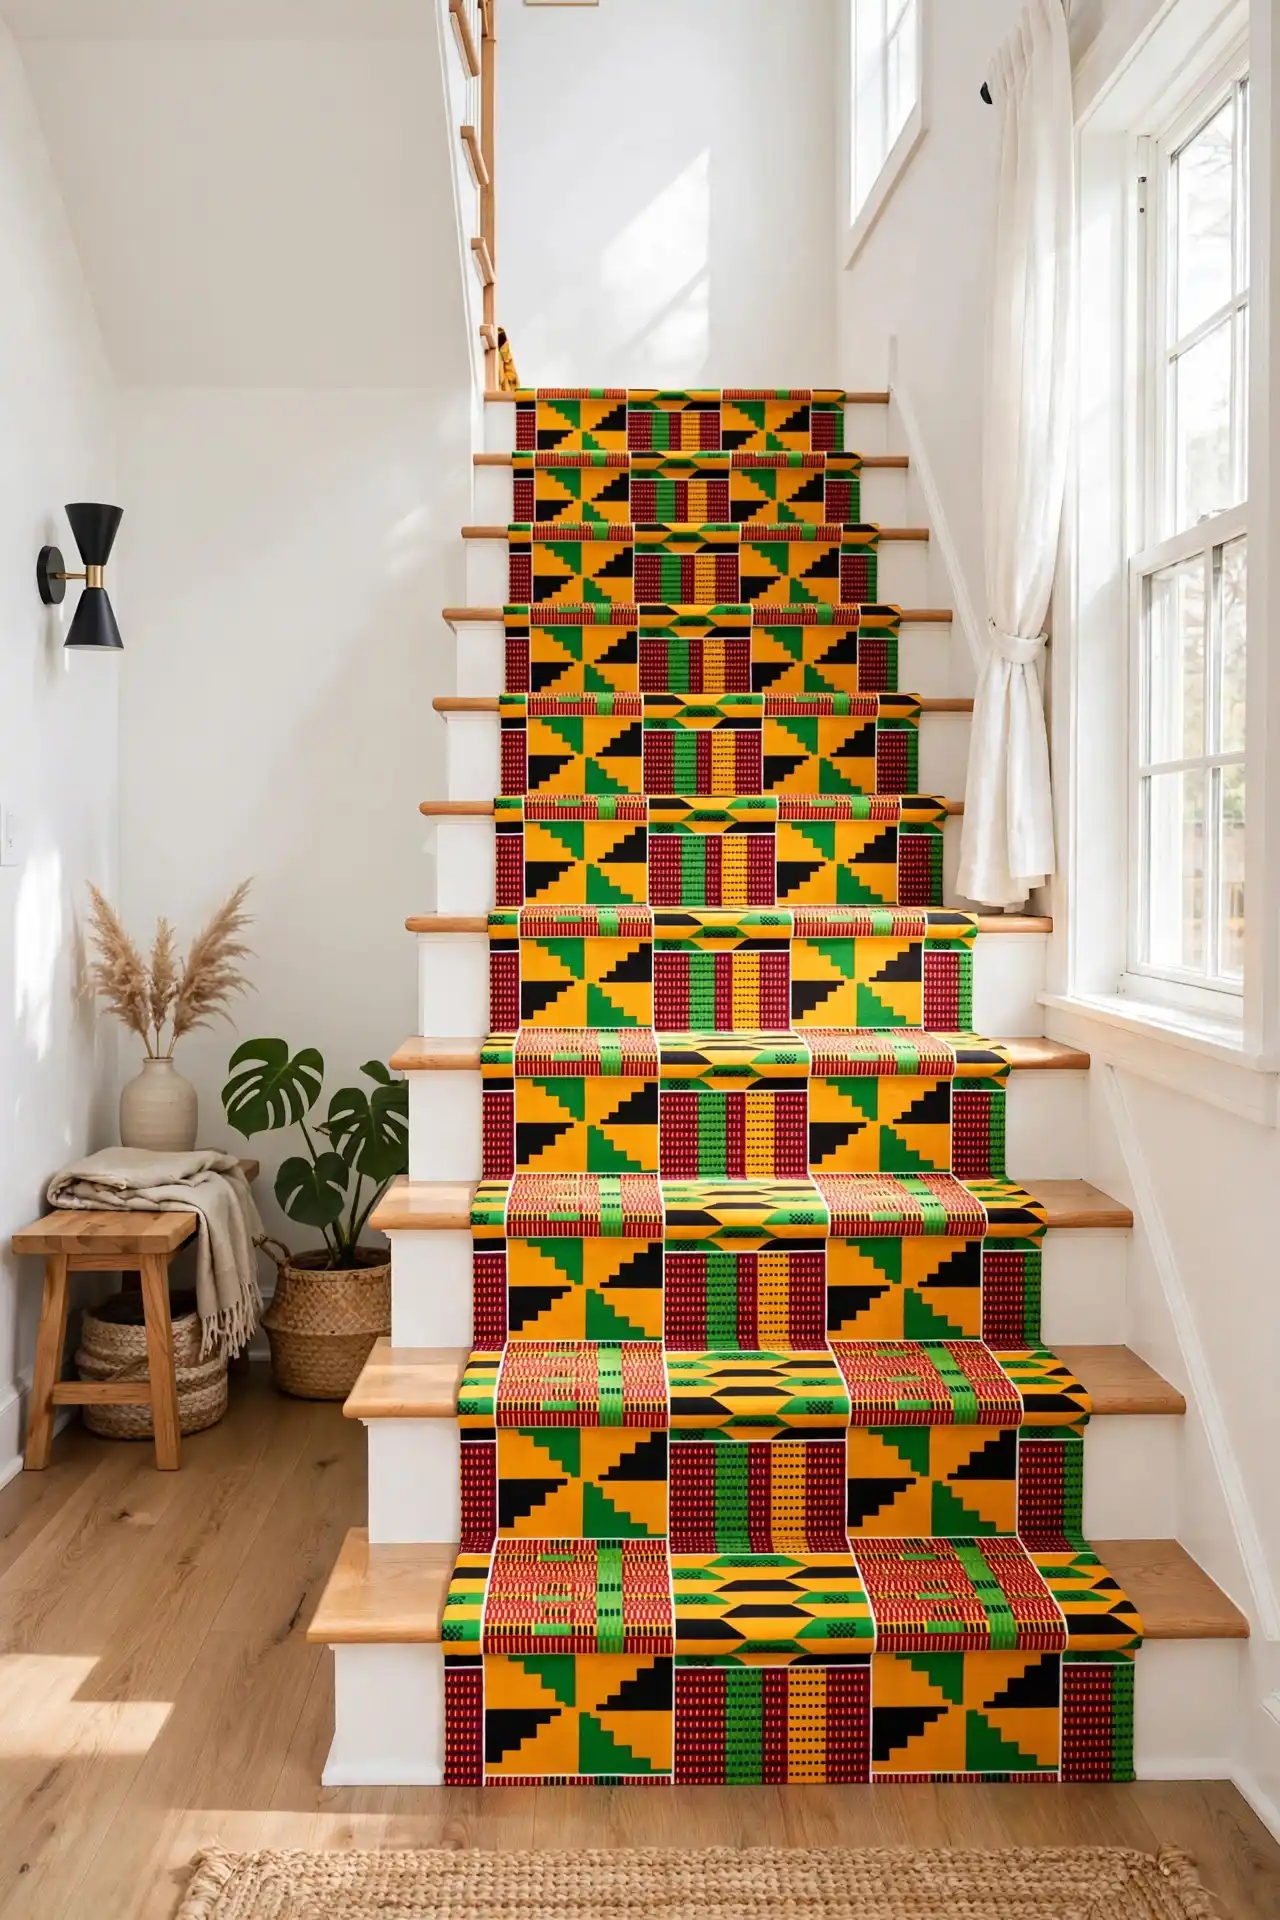
Stairs are one of the few surfaces in a house people see from multiple angles all day long, and most staircases leave the risers completely blank.
That blank space is an easy opportunity most people walk right past without ever considering it.
Measure each riser and cut fabric to size with an extra inch on all sides, apply spray adhesive to the riser, then press the fabric flat from the center out to avoid air bubbles.
Seal the raw edges with fabric glue or a thin trim strip along the bottom seam so nothing frays with foot traffic.
Skip stairs with heavy foot traffic if the fabric is loosely woven. Save this treatment for a lower level flight or a staircase mostly used by the household, since it holds up far longer with less scuffing over time than a stairwell used by guests daily.
Measure each riser and cut fabric to size with an extra inch on all sides.
Apply spray adhesive to the riser, then press the fabric flat from the center out.
Seal raw edges with fabric glue or a thin trim strip along the bottom seam.
5. Reupholster a bench or ottoman seat in Kente
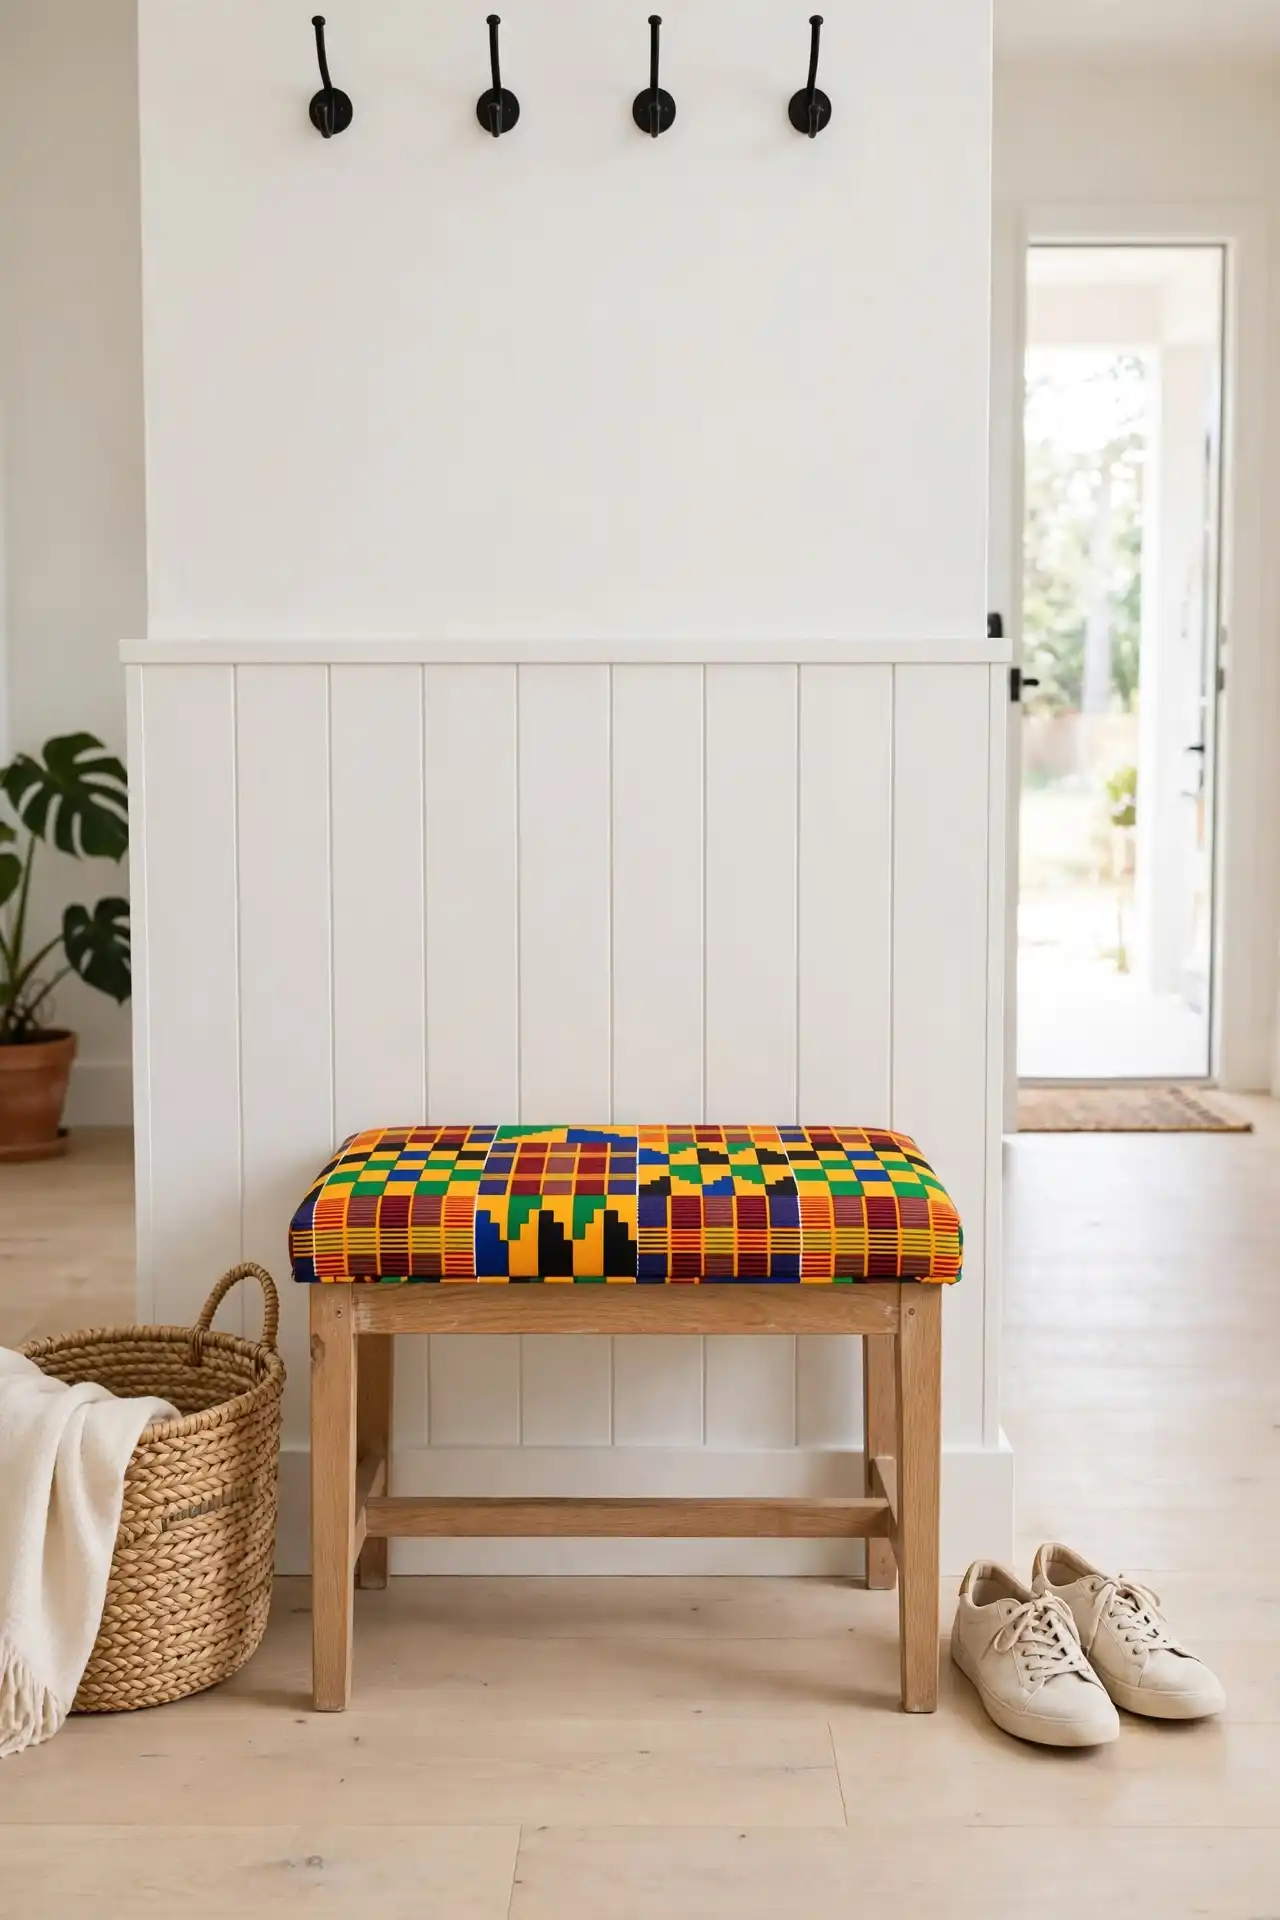
Most people think reupholstering means hiring someone and waiting weeks for a quote.
A bench seat or small ottoman top is actually small enough to do yourself with a staple gun and one afternoon, and it is one of the highest impact swaps on this list because seating gets seen and sat in constantly.
Remove the existing seat cushion if possible, lay the Kente fabric face down, center the cushion on top, and staple from the middle of each side outward, pulling the fabric taut as you go around.
Fold the corners the way you would wrap a gift box for a clean, finished edge instead of a bunched one.
A dining bench or entryway ottoman is the easiest place to start since the shape is usually flat, simple, and forgiving of small mistakes along the way.
Pull the fabric taut on opposite sides before stapling the corners.
Fold corners like wrapping a gift for a clean finish.
Don’t staple one side fully before checking the other three.
Don’t skip a staple test on a fabric scrap first.
6. Set your table with Kente napkin rings
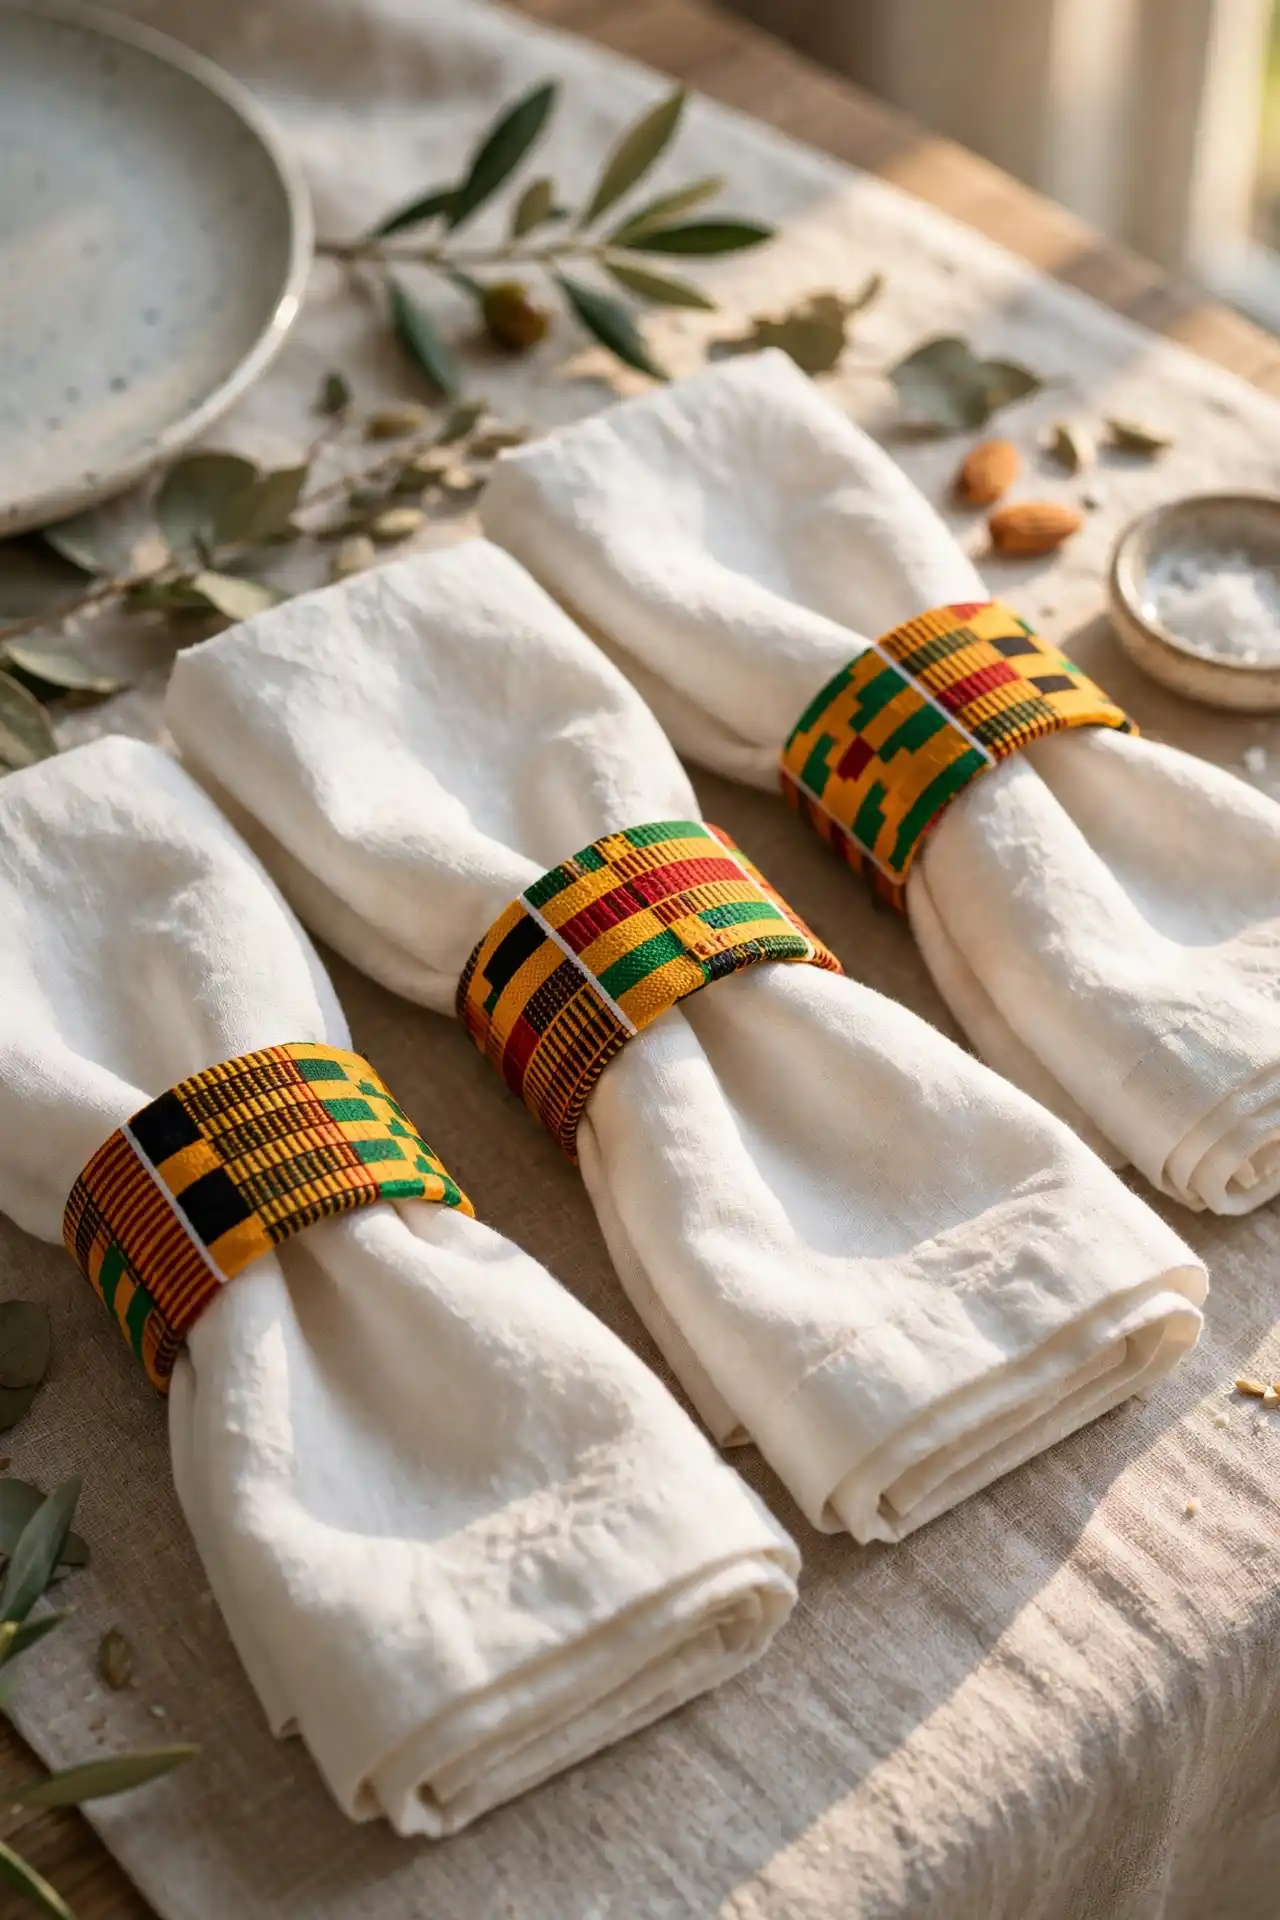
Napkin rings are one of the smallest decor decisions people make, and one of the easiest to overlook completely.
A set wrapped in Kente scraps turns a plain folded napkin into a small, deliberate detail on an otherwise ordinary table setting.
Cut narrow strips of leftover fabric, wrap them around a plastic or wooden ring base, and glue the seam on the inside where it won’t show.
Using scraps left over from a bigger project like the table runner means this idea costs almost nothing extra to pull off.
They work best on solid colored napkins so the print has room to stand out instead of competing with another pattern right next to it on the table.
What to grab first
7. Hang a Kente panel as standalone fabric art
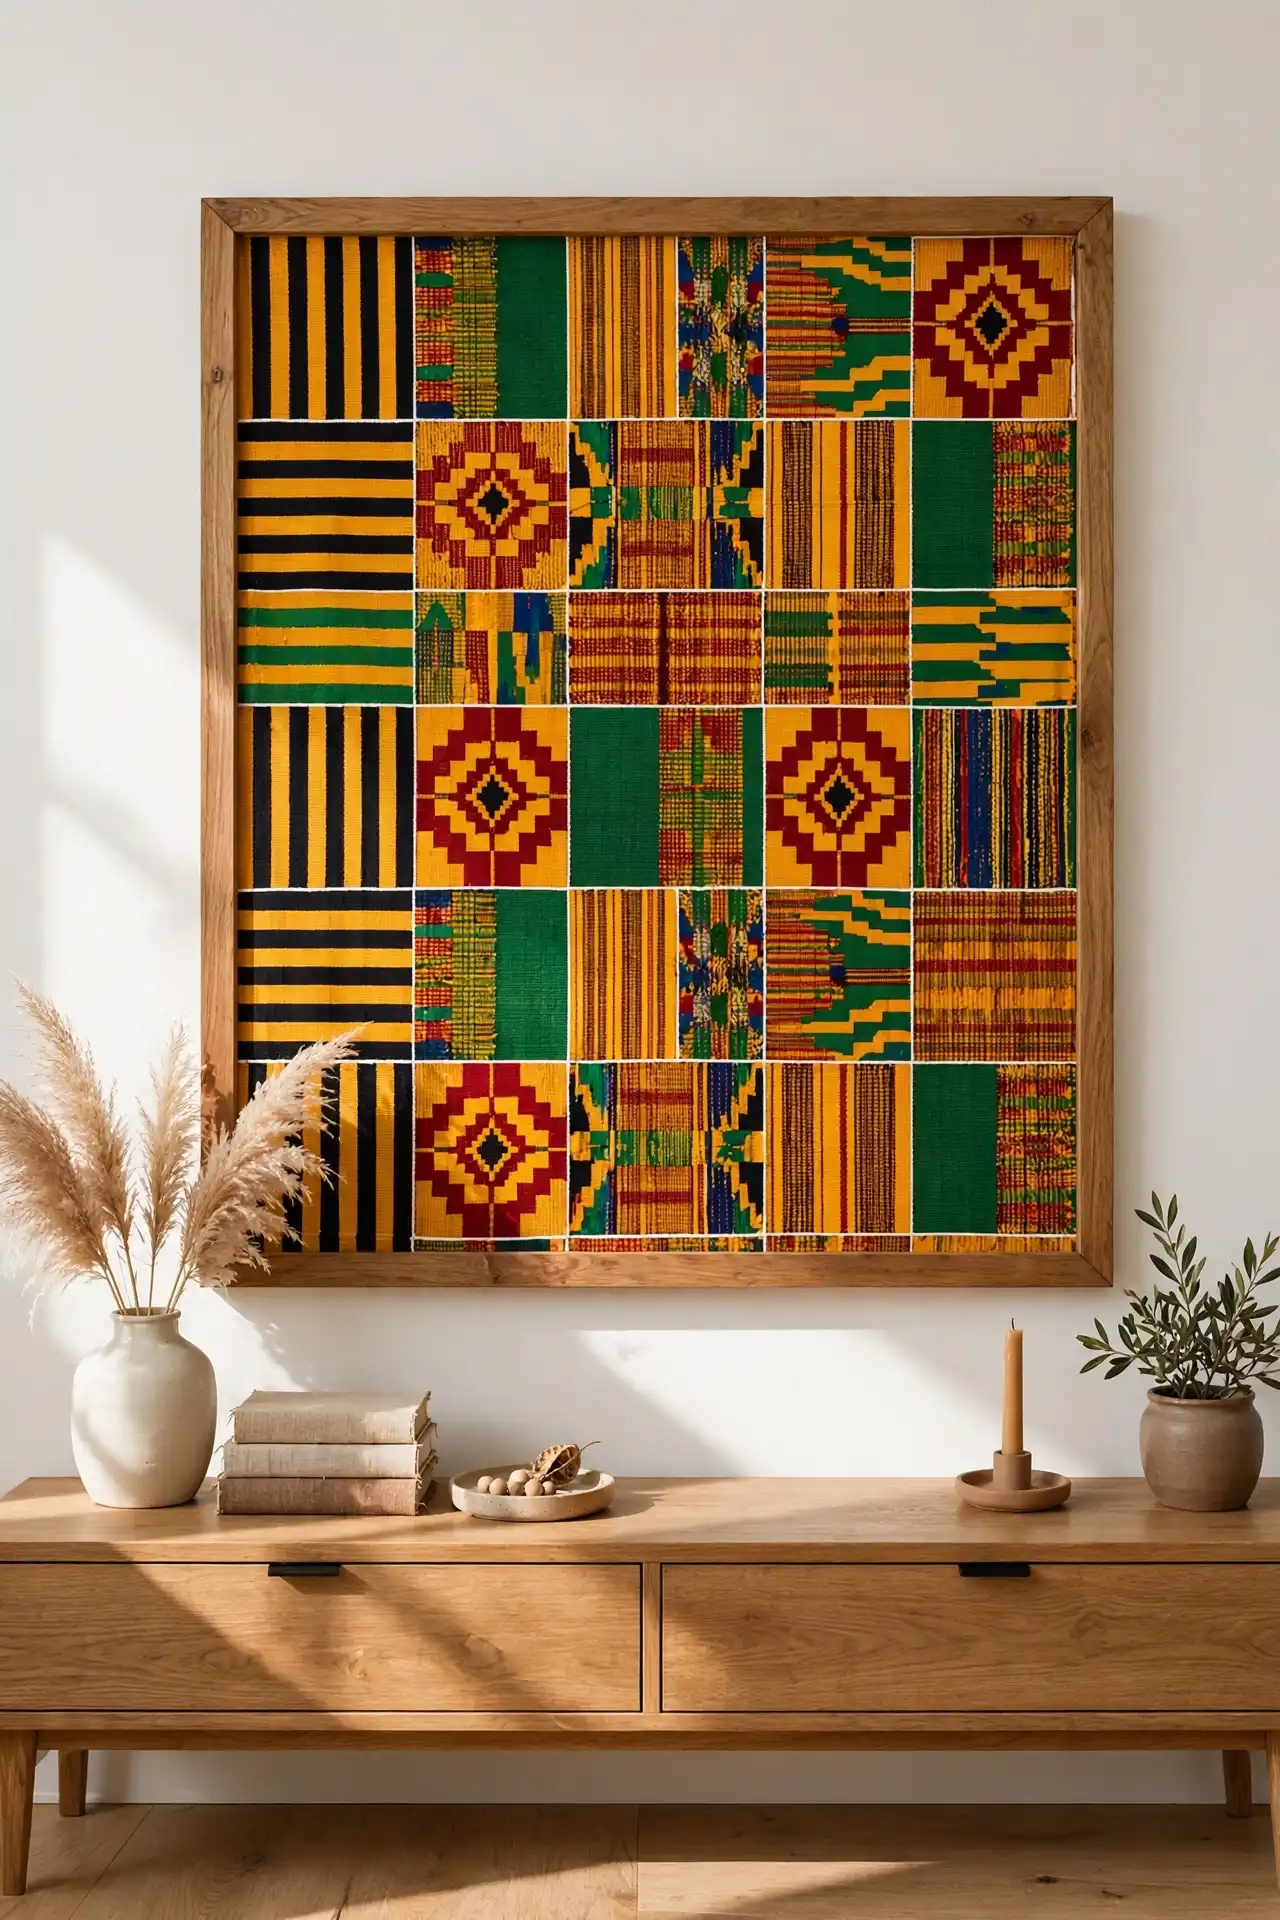
Not every piece of fabric needs to become something. Sometimes the cloth itself, stretched flat and framed, is the whole point.
A single Kente panel mounted on a wooden frame or hung from a slim dowel rod works as art on its own, no painting or print required.
Choose a wall that gets natural light during the day so the colors read clearly instead of getting lost in shadow by evening.
A simple dowel and cord hanging method keeps the whole project under an hour, while a stretched frame gives a more finished, gallery style look if you have the time.
This works especially well above a console table or sofa where a large blank wall usually calls for expensive artwork that this fabric can replace for a fraction of the cost.
8. Wrap a plain lampshade in Kente trim
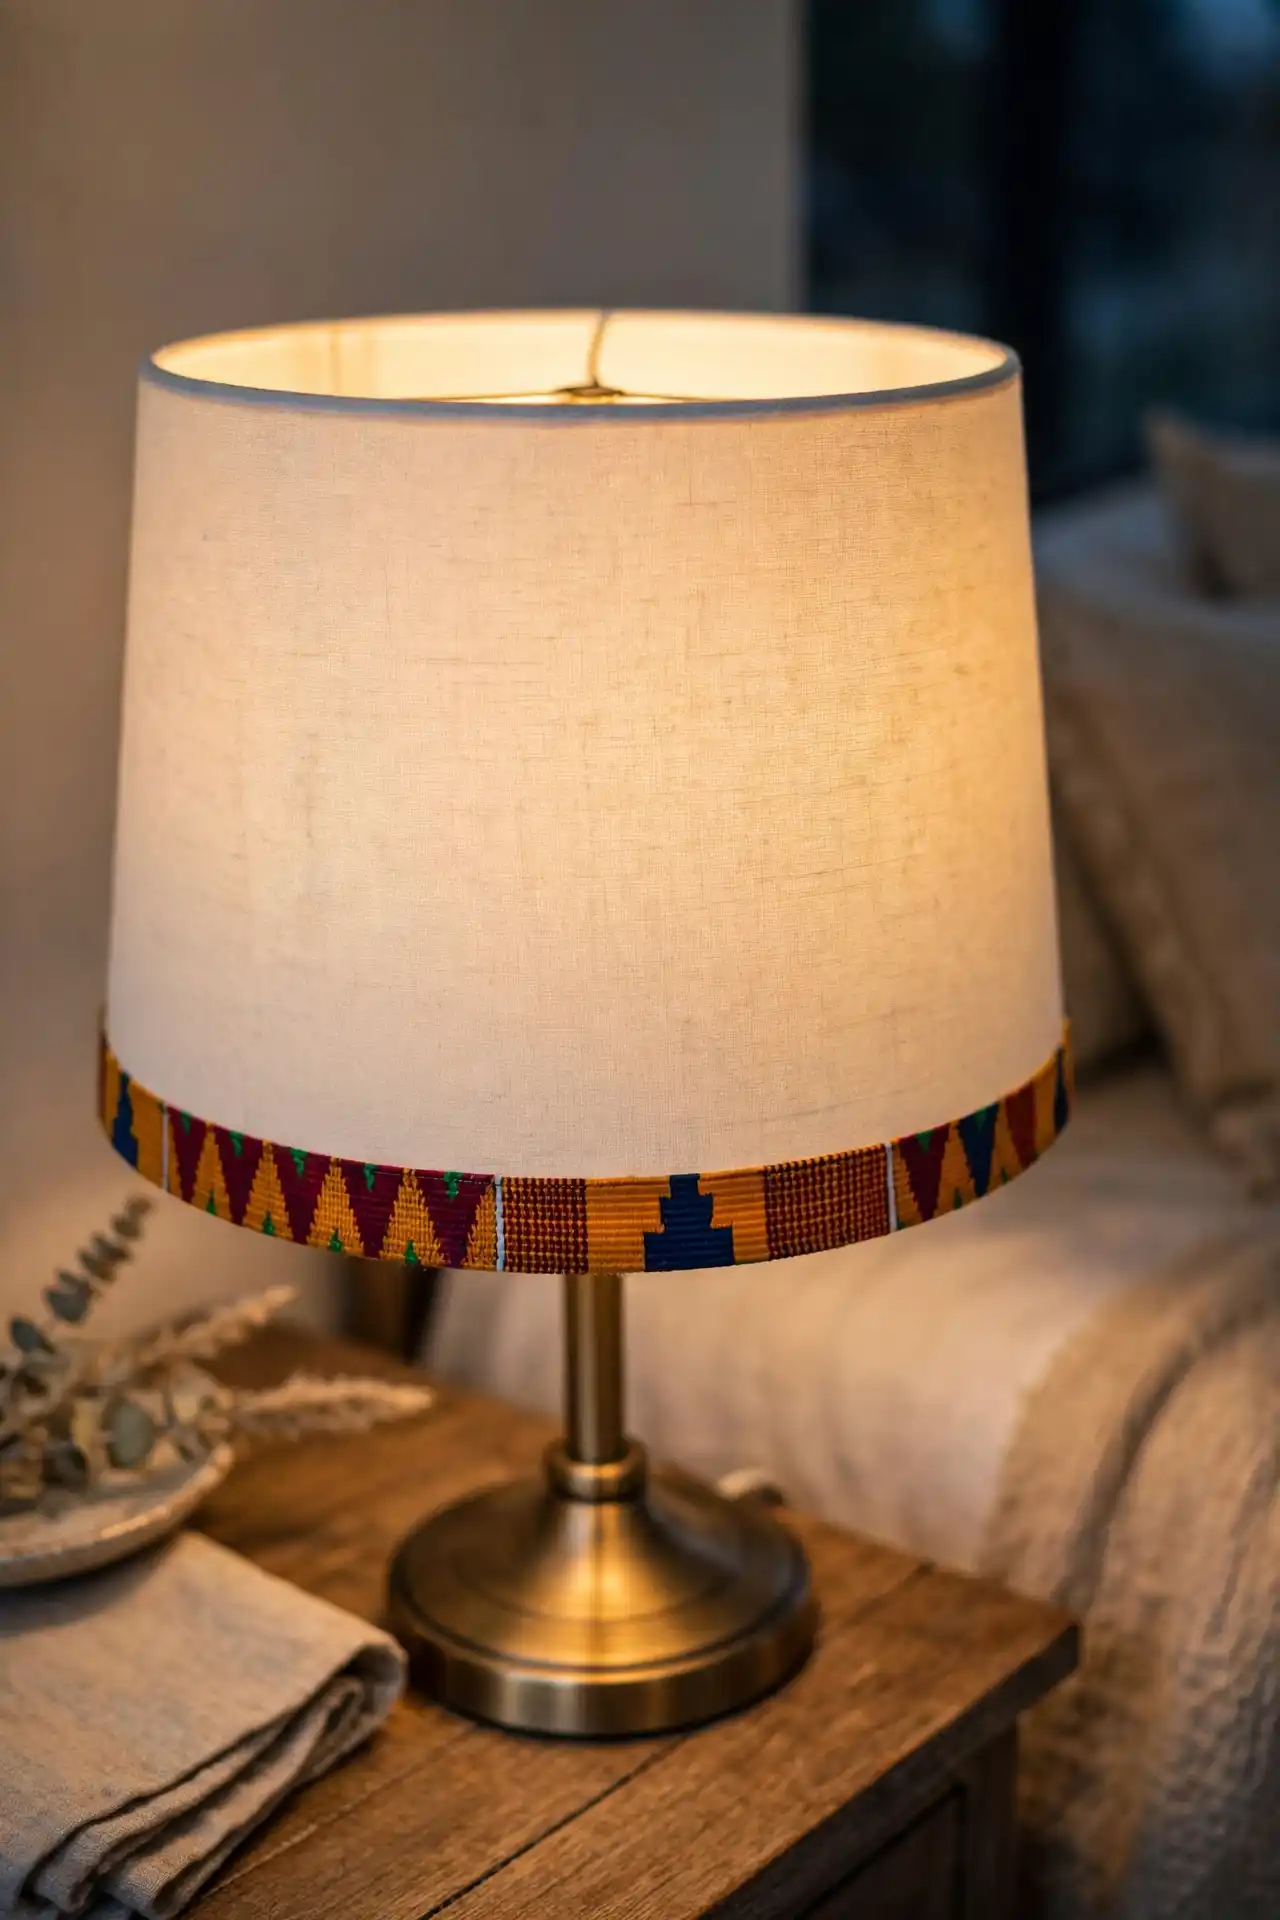
A plain drum lampshade is one of the most overlooked surfaces in a room, sitting right at eye level and doing nothing but holding a bulb.
A strip of Kente trim glued around the top or bottom rim changes that instantly without touching the wiring or the shade’s structure.
Measure the shade’s circumference before cutting, and add half an inch so the ends overlap cleanly instead of leaving a visible gap where the seam meets.
A full wrap covers the entire shade for a bolder look, while a trim only approach uses less fabric and works well if you’re just testing the idea.
Trim only is the safer starting point if you’re not sure how much pattern the room can handle, and it’s easy to remove later if you change your mind.
| Full wrap | Trim only |
|---|---|
| Covers the whole shade, bolder look, more fabric needed. | One or two inch band at the rim, subtle, uses scraps. |
| Best for a shade you plan to keep long term. | Best for renting or testing the look first. |
9. Back an open shelf with a Kente panel
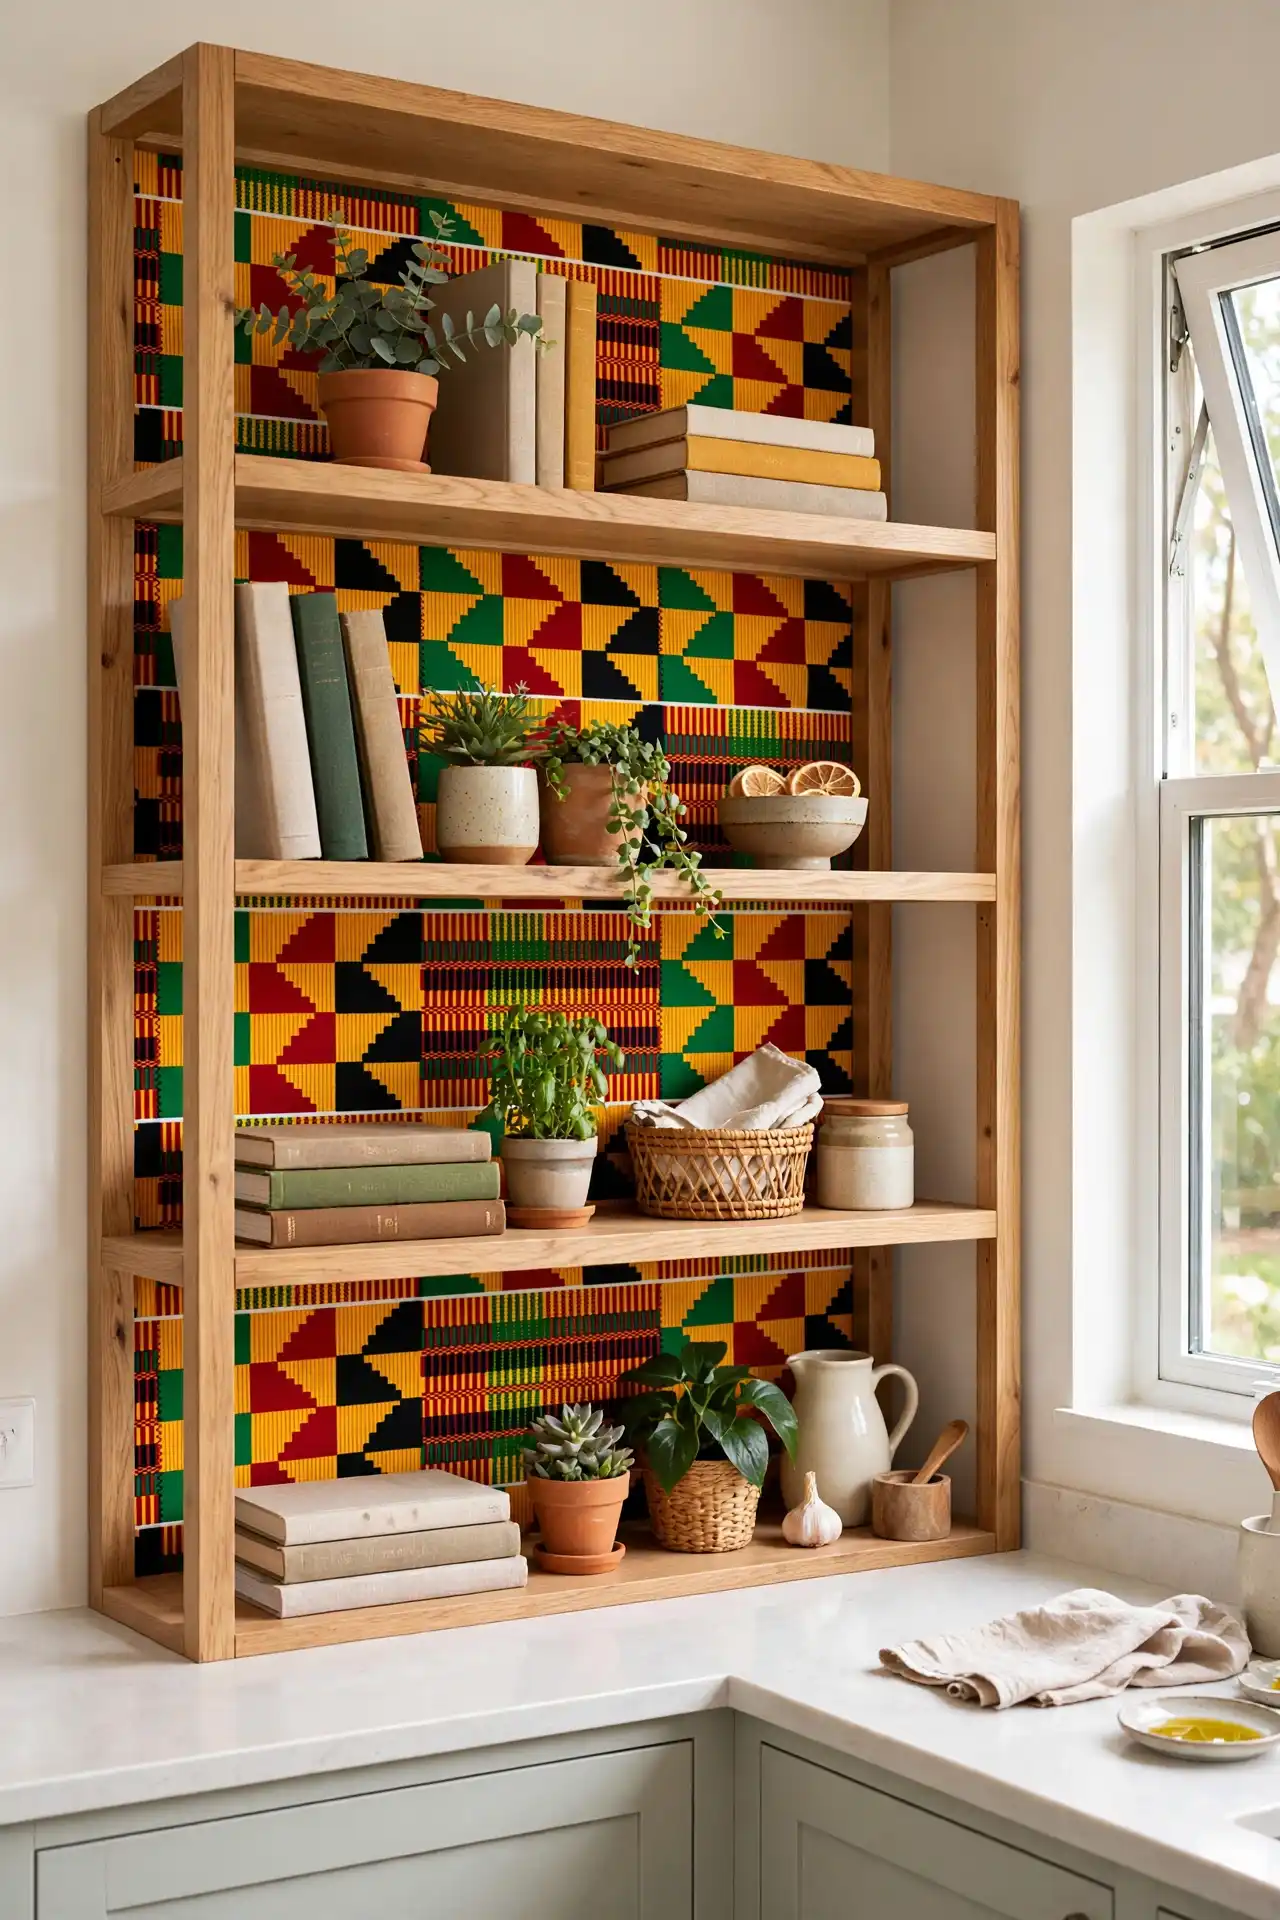
Open shelving looks good until the wall behind it goes empty and every gap between objects turns distracting.
Backing the shelf unit with a cut panel of Kente fabric, tacked or glued flat against the back wall, solves that instantly and gives every object on the shelf a reason to be there.
Cut the panel slightly larger than the shelf opening so it tucks in at the edges with no raw fabric showing once it’s mounted.
The pattern works as a backdrop here, not a competitor, so keeping the items on the shelf simple lets the fabric stay the main detail people notice.
This is a strong option for a bookshelf or kitchen open shelving where the objects on display are already a mixed bag of shapes and colors that need something to tie them together.
The pattern works as a backdrop, not a competitor. Keep the items on the shelf simple so the fabric gets to be the detail people notice.
10. Wrap book spines in Kente for a styled shelf
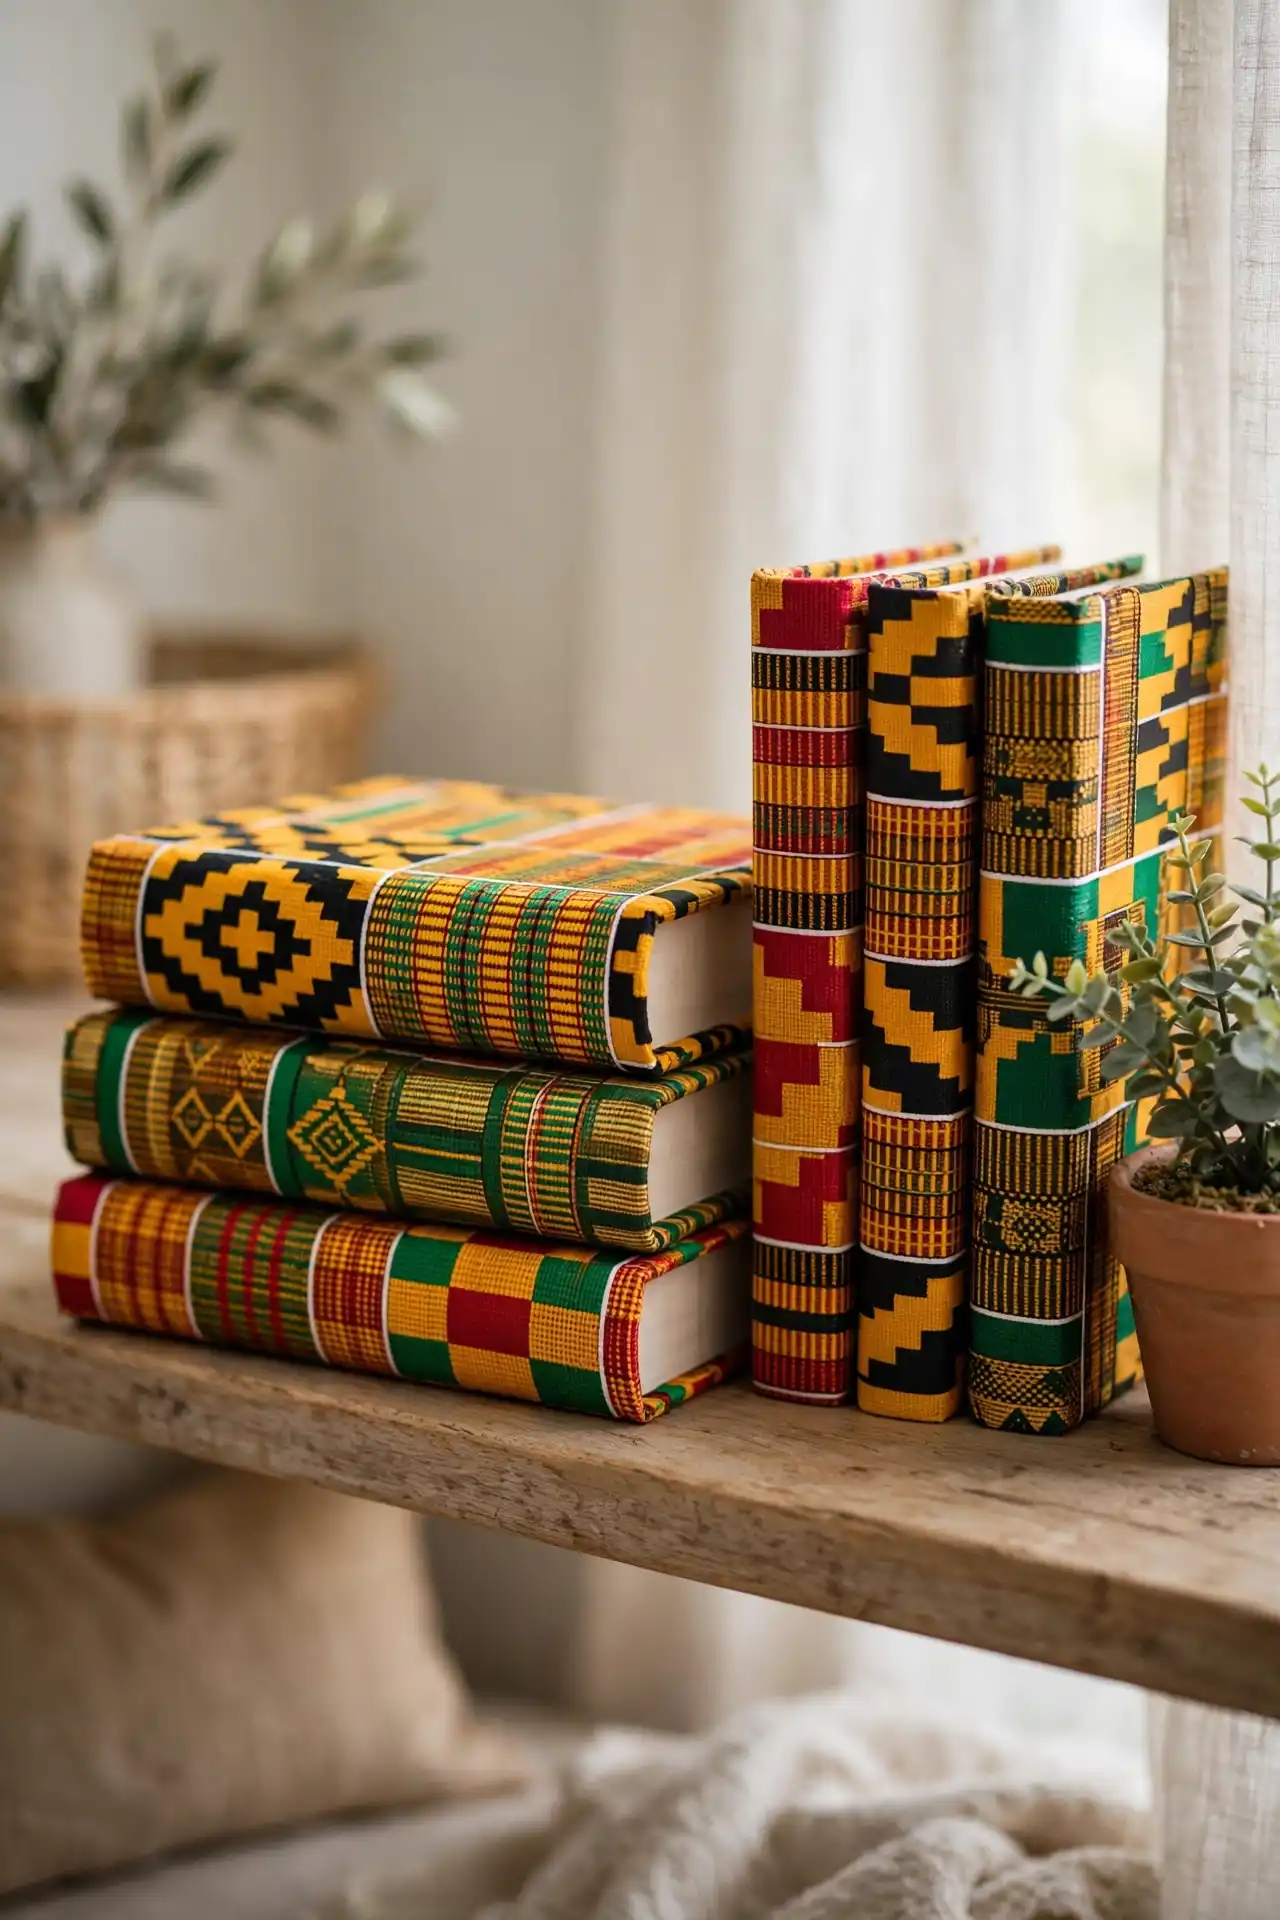
A shelf full of mismatched book spines, especially paperbacks with faded or busy covers, can look cluttered no matter how you arrange them.
Wrapping a stack of them in plain Kente paper or fabric, spine facing out, turns that same stack into a cohesive block of color and pattern.
Measure each book’s height and width, cut the fabric to wrap around like a book cover, and tuck the edges inside the front and back covers without any glue on the pages themselves.
Group wrapped books together instead of scattering them across the shelf, since a cluster of five or six reads as a styled moment while one or two scattered around just looks random.
Stick to books you actually reread often, since the covers won’t be visible once they’re wrapped and easy to identify by spine alone.
📌 Good To Know
Group wrapped books together instead of scattering them across the shelf. A cluster of five or six reads as a styled moment, while one or two scattered around just looks random.
11. Add a Kente accent panel to a plain headboard
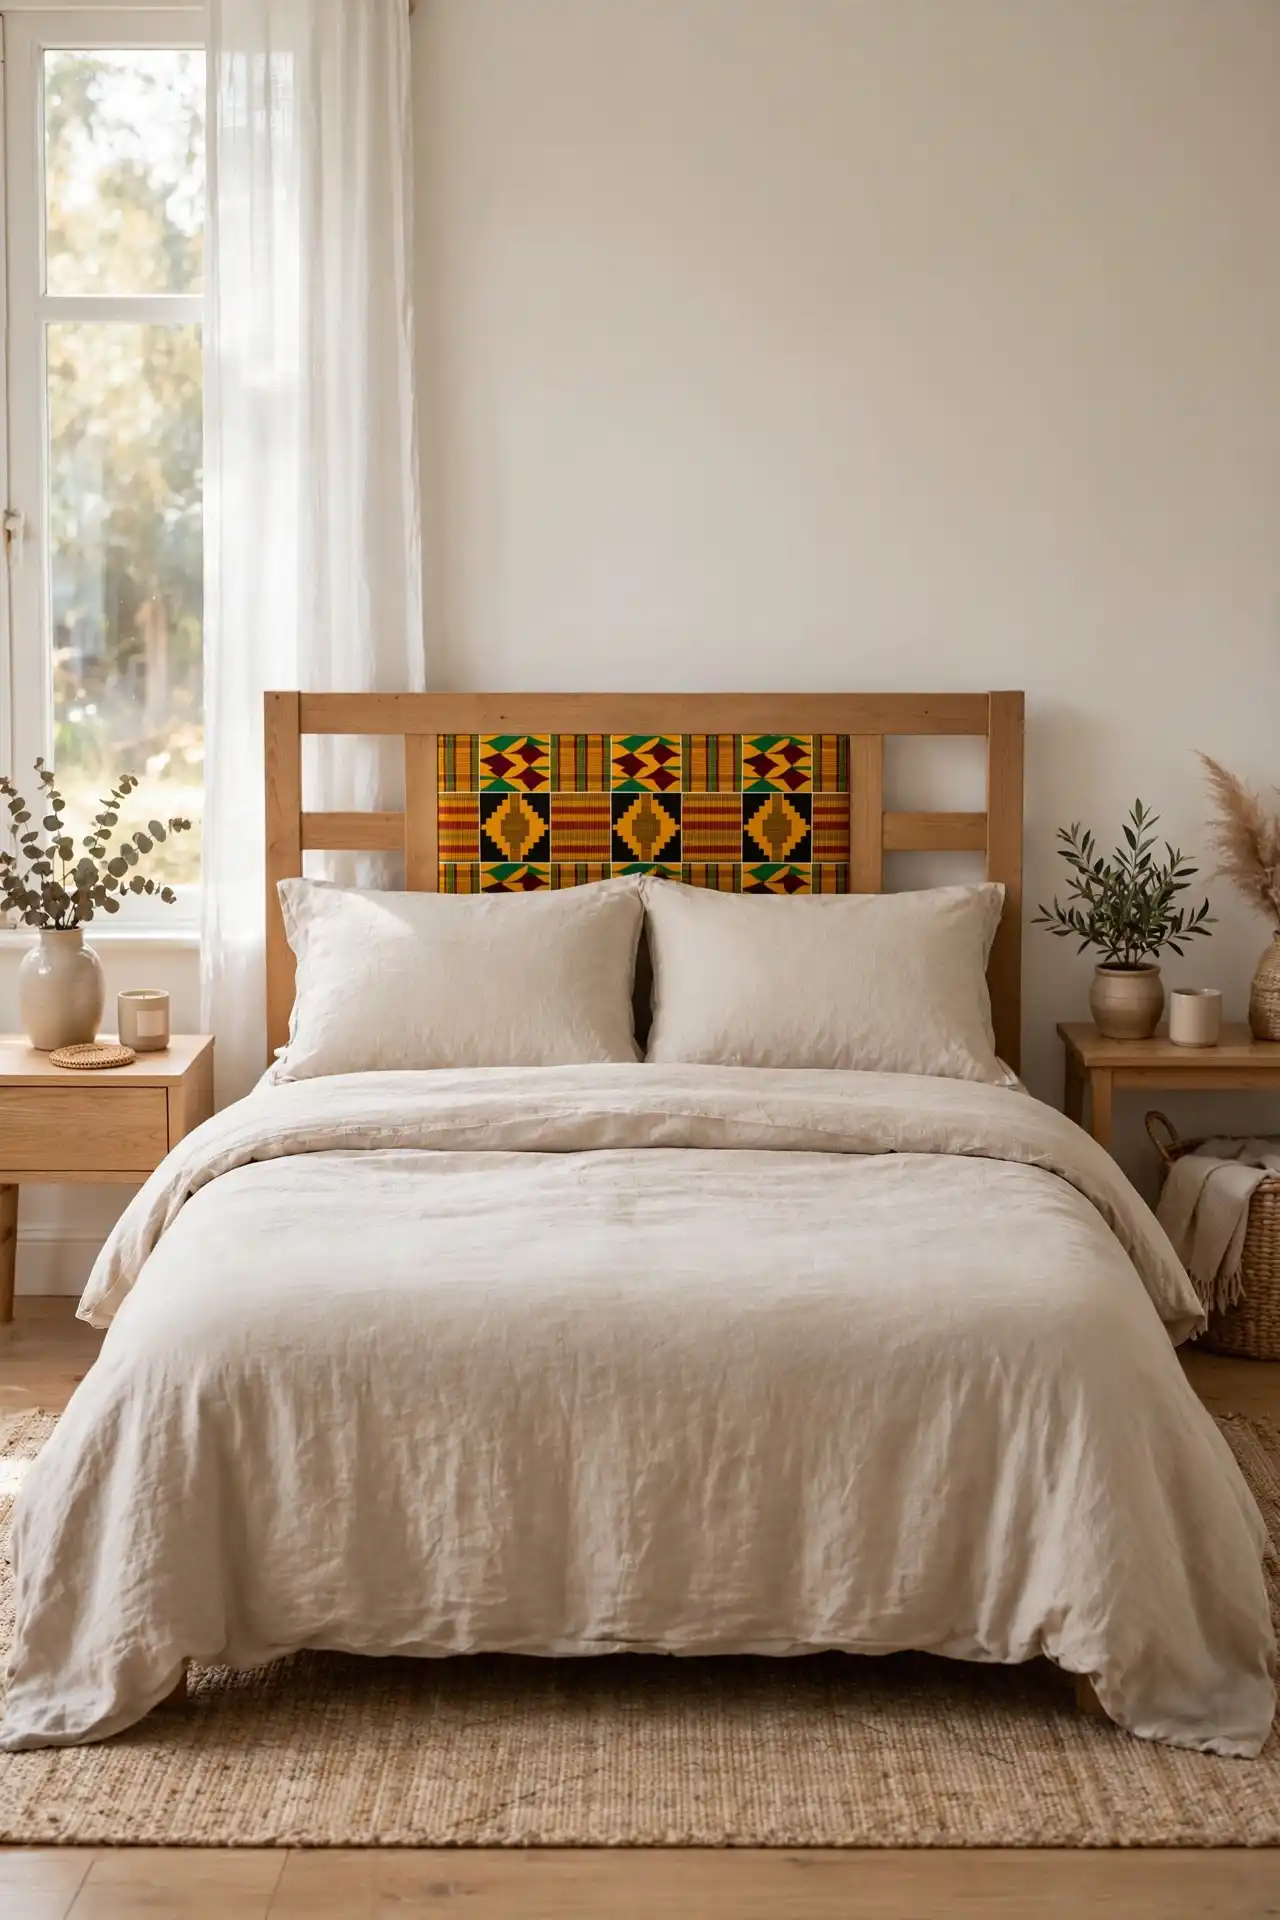
A plain upholstered or wooden headboard sits behind the bed doing nothing more than holding pillows in place.
A Kente panel mounted directly onto the headboard, either glued to the wood or stretched over the existing upholstery, turns that flat backdrop into the actual focal point of the room.
Measure the headboard’s front face and cut the fabric with a couple of extra inches on each side so it wraps around and tucks behind, stapling it in place along the back edge where it won’t be seen.
For wooden headboards, a thin frame of trim along the panel’s border keeps the fabric edges from fraying or lifting over time.
This works best on beds where the headboard is the main visual anchor of the room, since the pattern draws the eye there before anything else in the space competes for attention.
A blank headboard blends into the wall and the bed has no real focal point.
The headboard becomes the anchor of the room, and the whole wall feels finished.
12. Trim roman shades with a Kente border
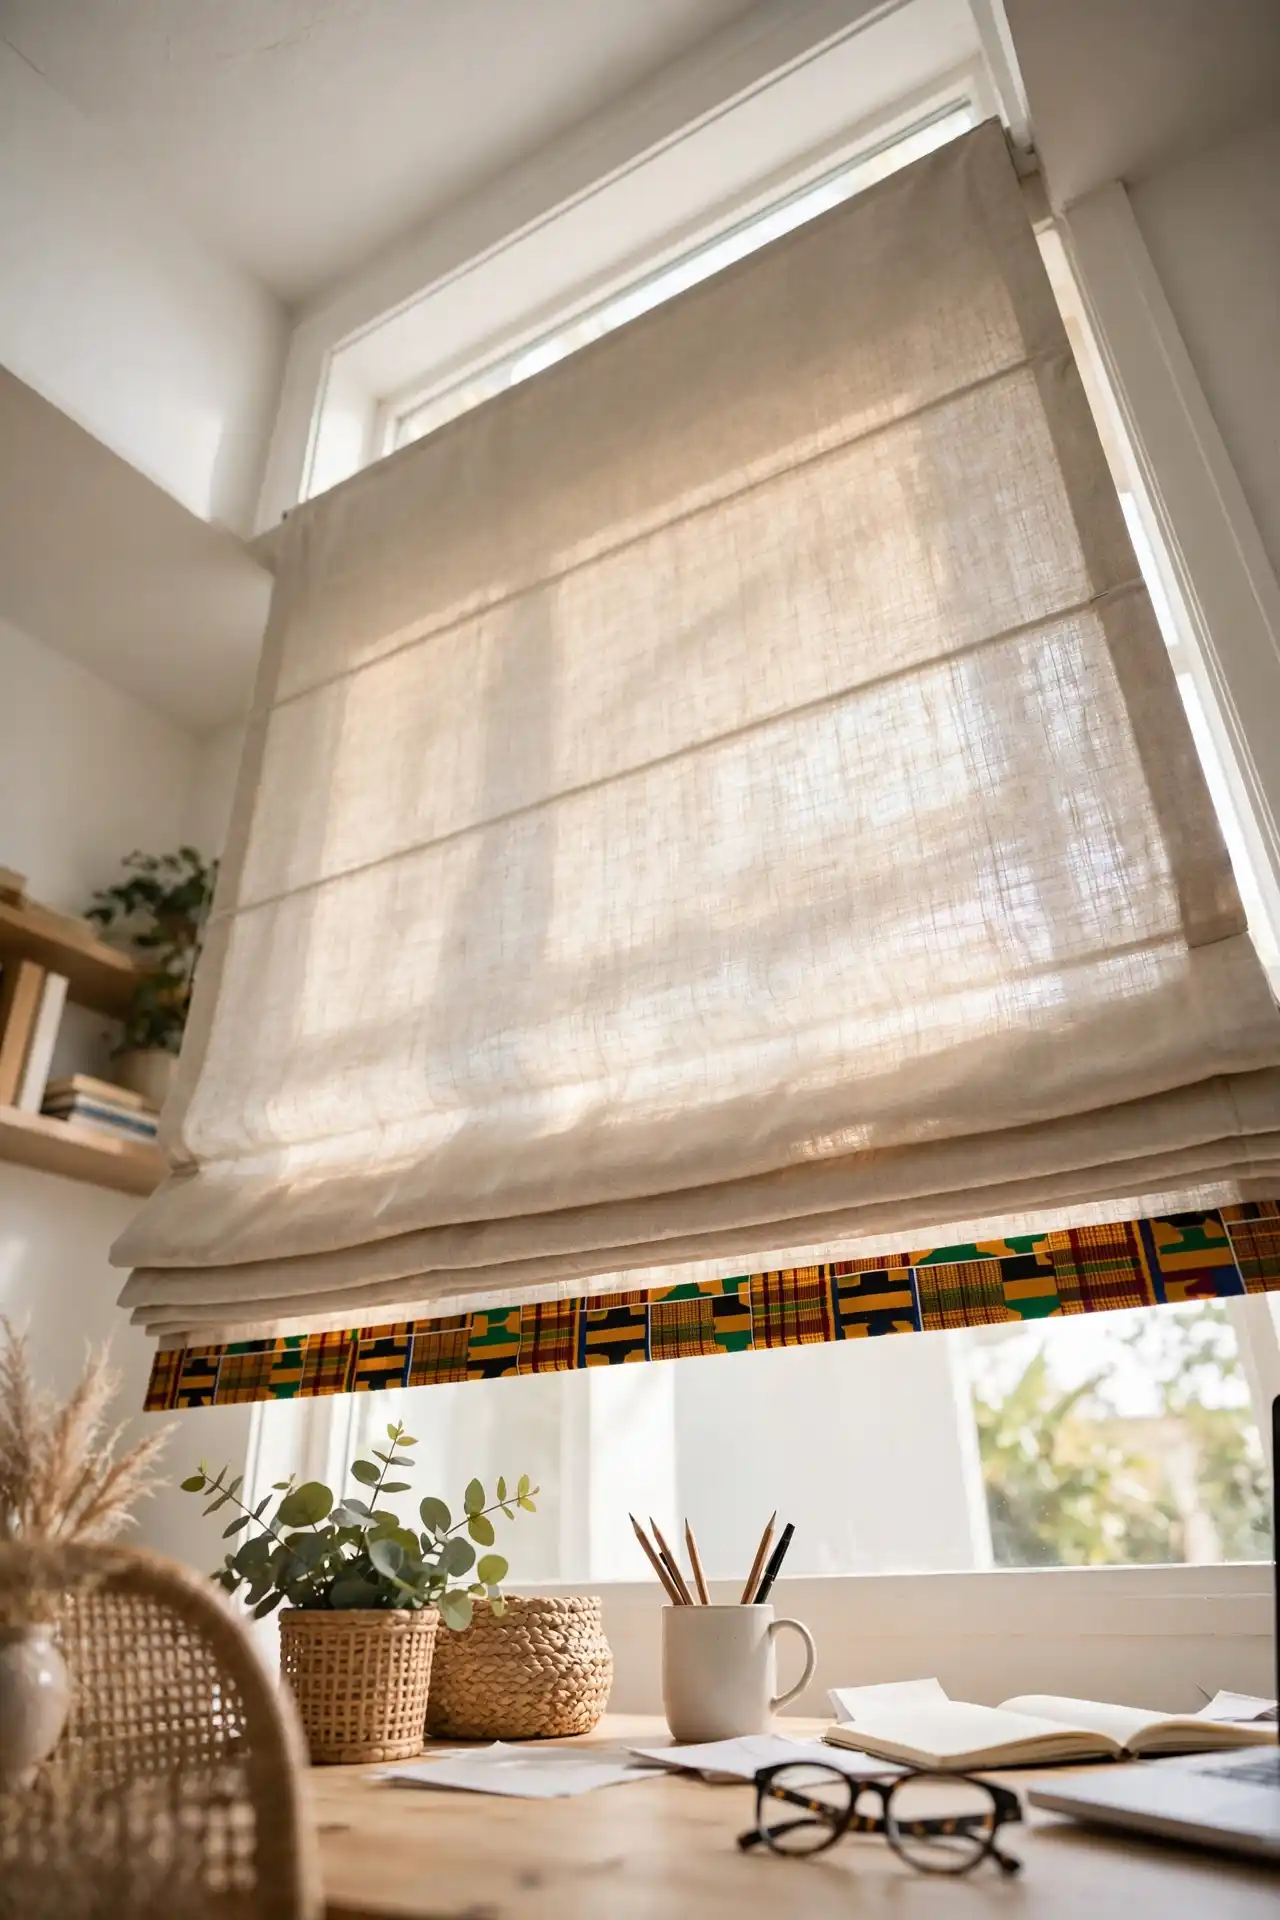
Roman shades in a solid neutral fabric are common because they’re safe, but that same safety often makes them forgettable against a window.
A Kente border stitched or glued along the bottom edge of the shade adds definition right where the eye naturally lands when the shade is down.
Measure the width of the shade’s bottom panel and cut a strip roughly two to three inches wide, then either sew it on with a straight seam or use fabric adhesive if sewing isn’t an option.
Press the strip flat before attaching it so the border lies smooth instead of puckering when the shade is raised and lowered.
Keep the border to just the bottom edge rather than framing the whole shade, since a single clean line reads as intentional while a full frame can start to look busy on a shade that’s already patterned with folds.
Measure the bottom panel width and cut a strip two to three inches wide.
Press the strip flat, then sew or glue it along the bottom edge only.
Raise and lower the shade once to check the border folds smoothly.
13. Line a drink tray or coaster set in Kente

A bare wooden or metal drink tray works fine for carrying glasses but rarely does anything for the room it sits in.
Lining the base of the tray with a cut piece of Kente fabric, sealed under a layer of clear resin or a fitted glass insert, turns a purely functional object into something worth leaving out on the coffee table.
Cut the fabric to the exact interior dimensions of the tray, glue it flat against the base, and seal it with a food safe sealant or a custom cut glass panel so spills wipe away instead of soaking into the cloth.
The same approach works for a small set of coasters, using scraps too small for anything else on this list.
This is one of the few ideas here that doubles as a gift, since a finished tray or coaster set takes an afternoon and uses very little fabric per piece.
14. Wrap planters in Kente for a patterned plant corner
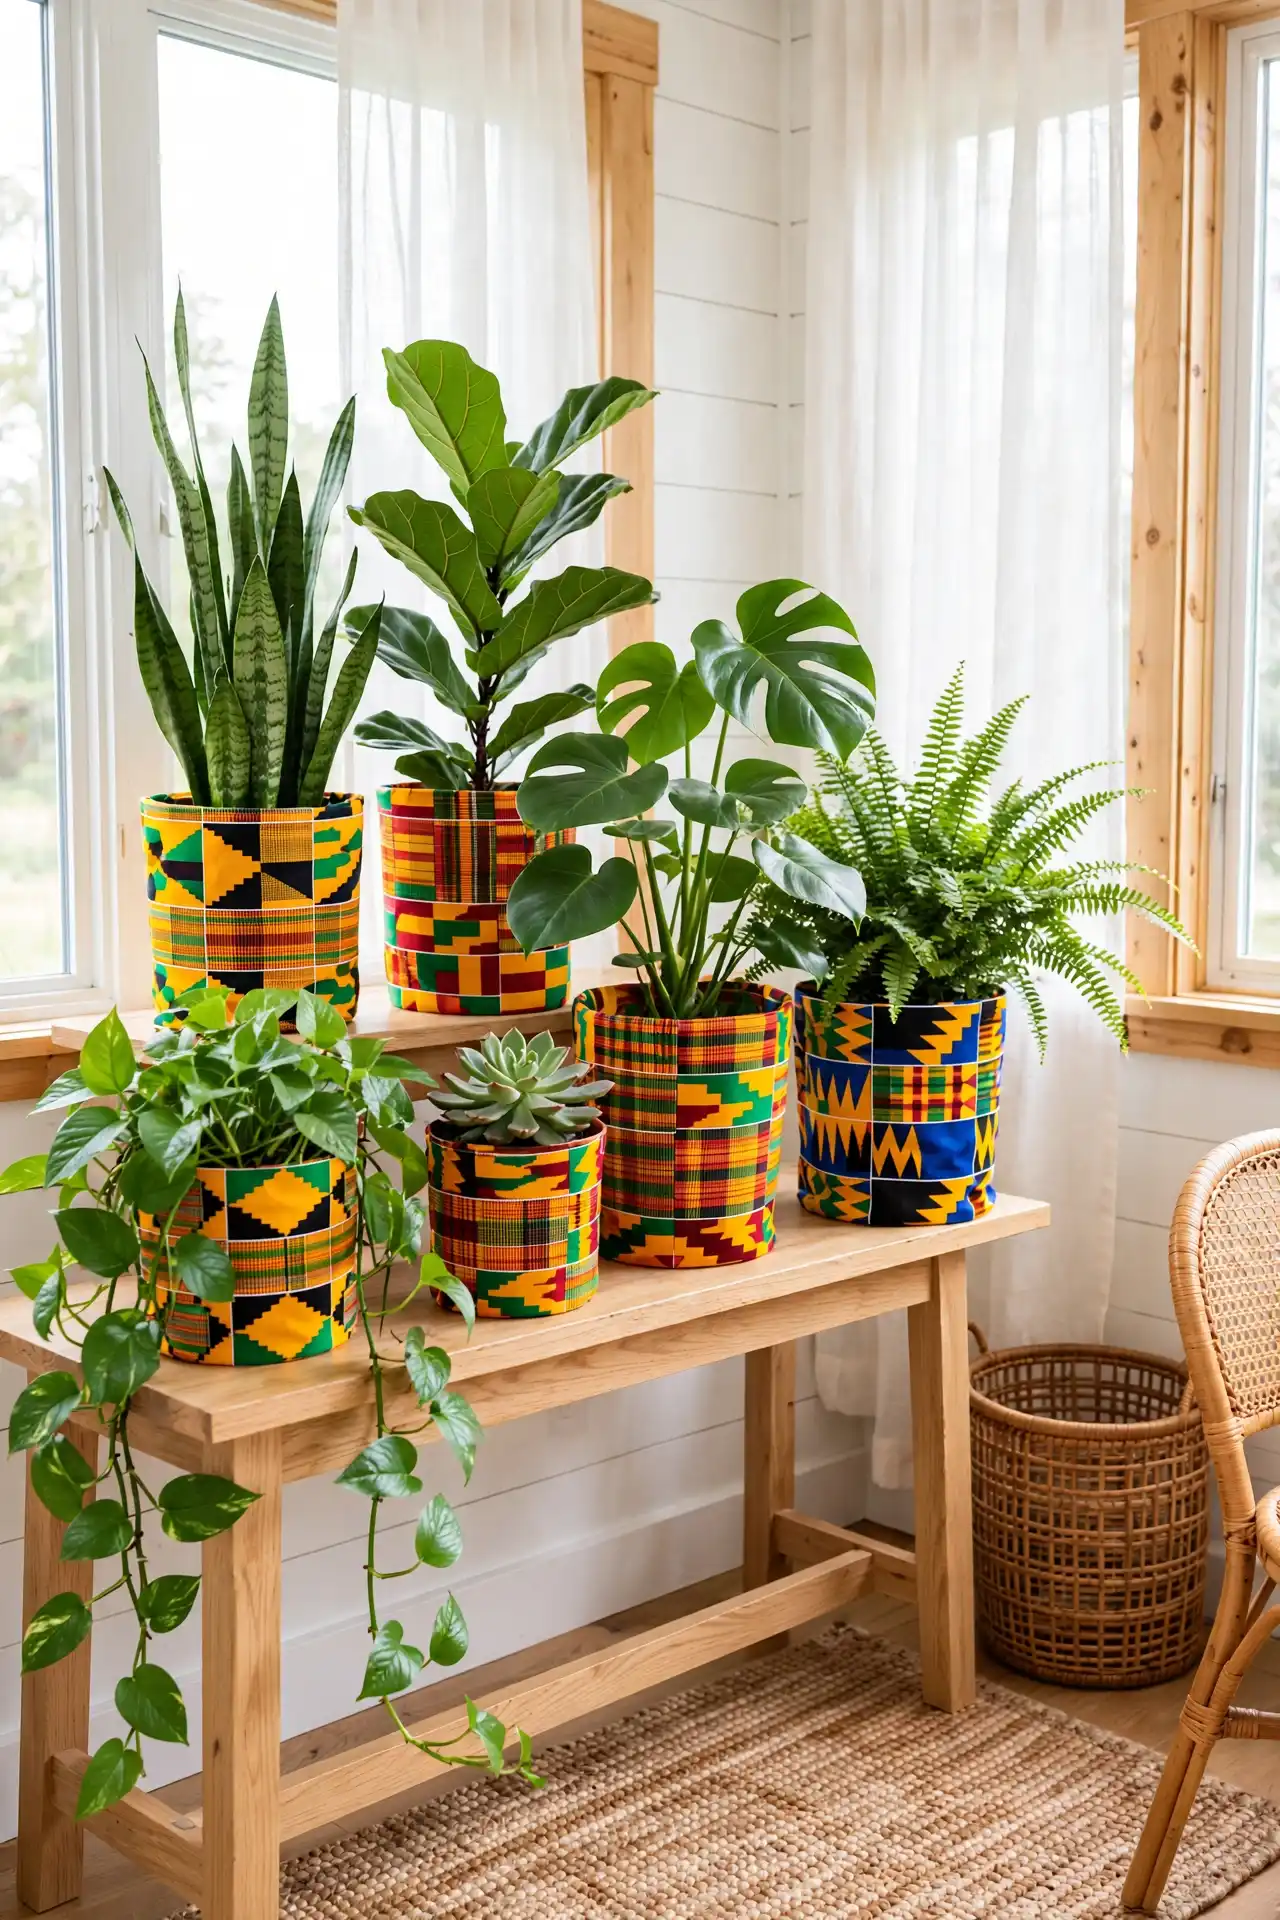
A cluster of plants in matching plastic nursery pots looks unfinished no matter how healthy the plants are.
Wrapping each pot in a fitted sleeve of Kente fabric turns that same cluster into a styled corner without repotting anything or risking root disturbance.
Cut the fabric slightly taller than the pot, wrap it around with a bit of overlap, and secure the seam with fabric glue or a few small stitches along the vertical edge.
Fold the top edge down about half an inch before securing it so the fabric has a clean, finished rim instead of a raw cut edge showing at the top.
Vary the plant heights within the same wrapped pattern so the corner reads as a grouping rather than a single repeated object lined up in a row.
What to grab first
15. Lay a Kente runner at the entryway
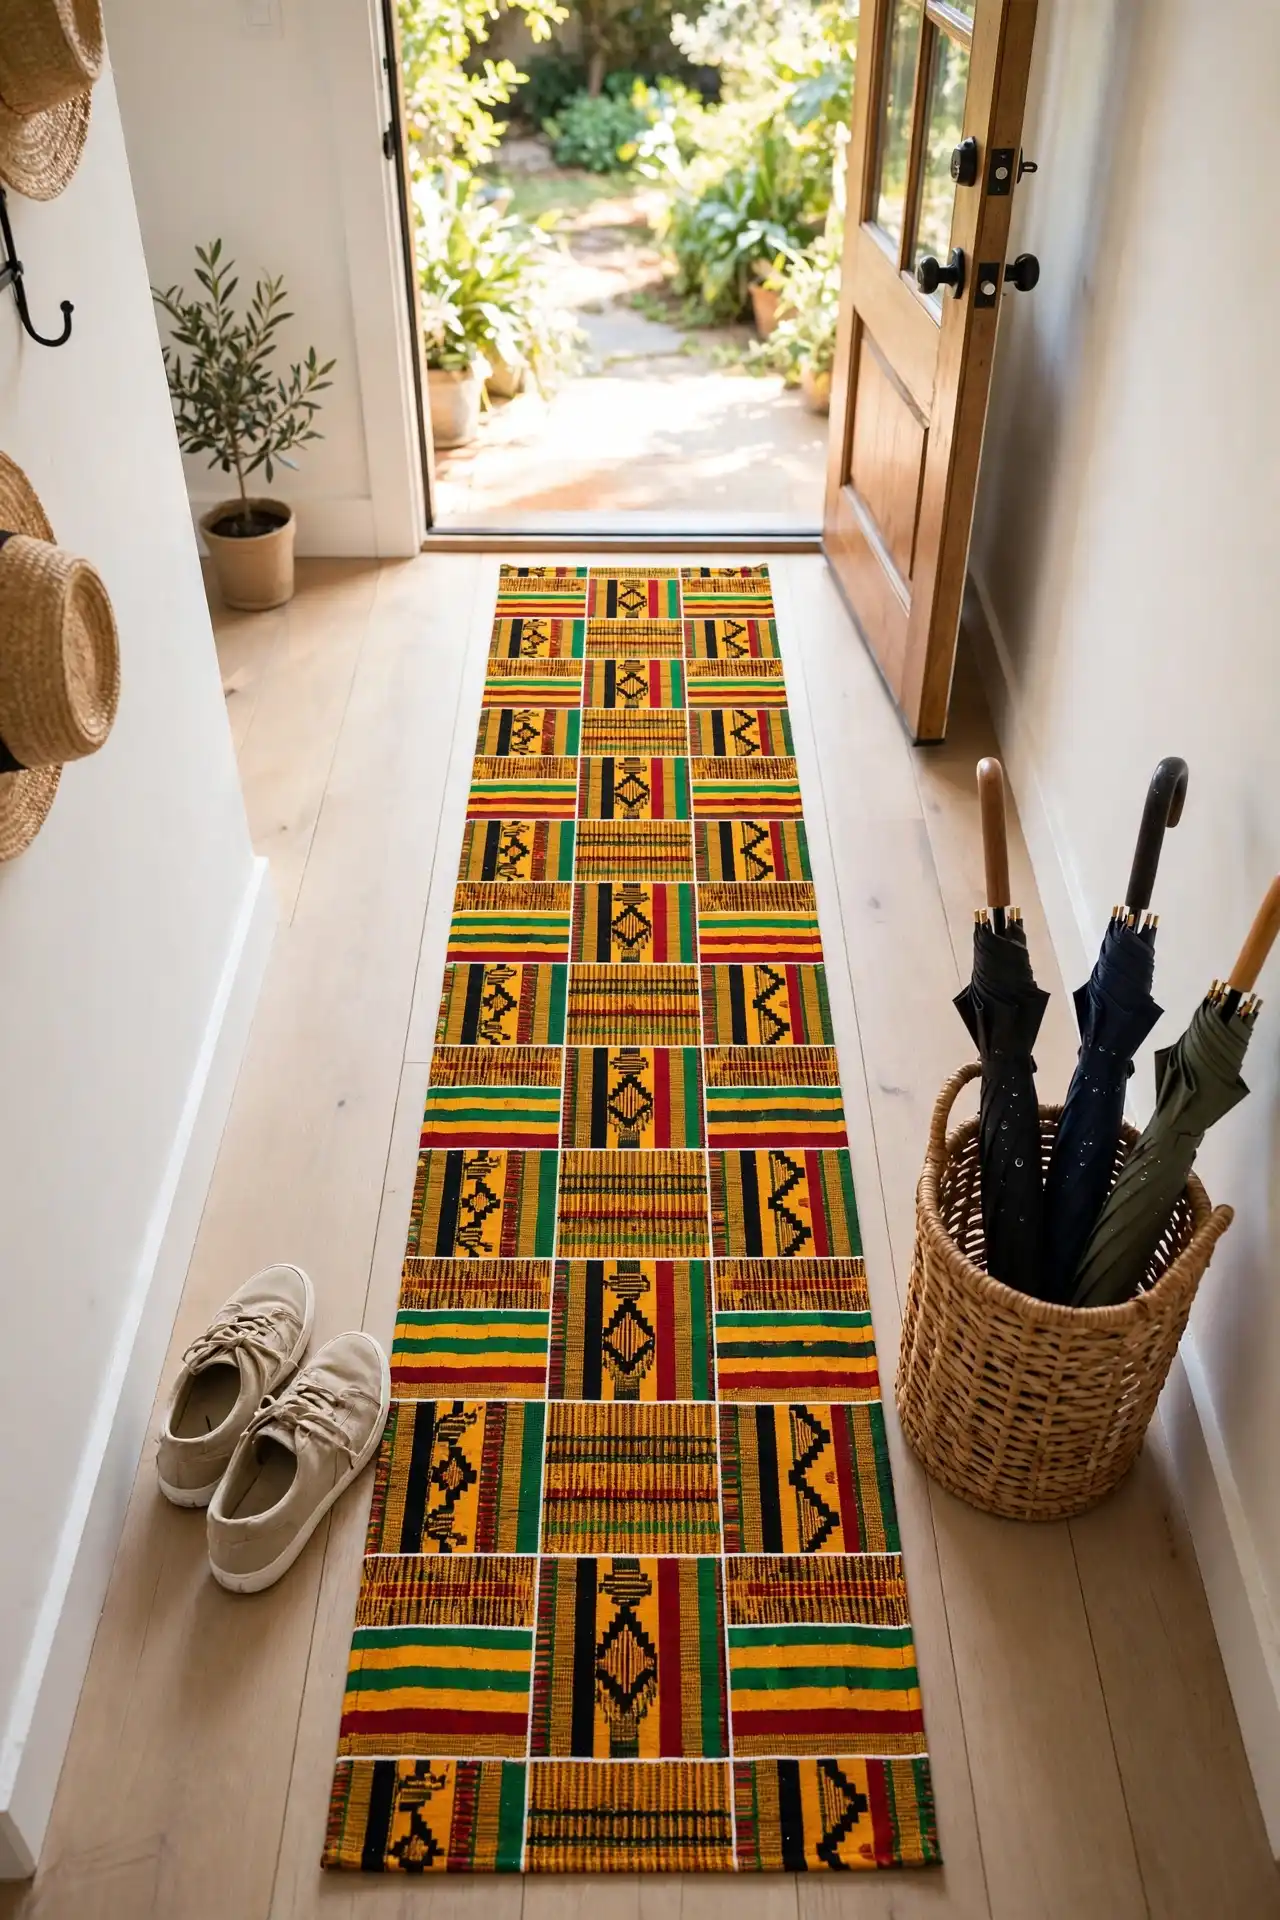
An entryway with bare flooring is usually the first thing anyone sees walking into the house, and it’s also one of the most overlooked spots for pattern.
A narrow Kente runner laid just inside the door gives that first impression some intention before a guest even reaches the living room.
Choose a runner with a tighter, sturdier weave than you might use elsewhere in the house, since entryway flooring takes more direct foot traffic and dirt than a dining table or a shelf ever will.
A thin rubber backing or non slip pad underneath keeps it from sliding on hardwood or tile.
Shake it out weekly and spot clean as needed, since this is the one placement on the list that earns its keep through daily wear rather than just being seen.
Choose a tighter weave built to handle daily foot traffic.
Add a non slip pad underneath on hardwood or tile.
Don’t use a loosely woven runner in a high traffic entry.
Don’t skip weekly shaking out and spot cleaning.
16. Wrap a plain mirror frame in Kente fabric
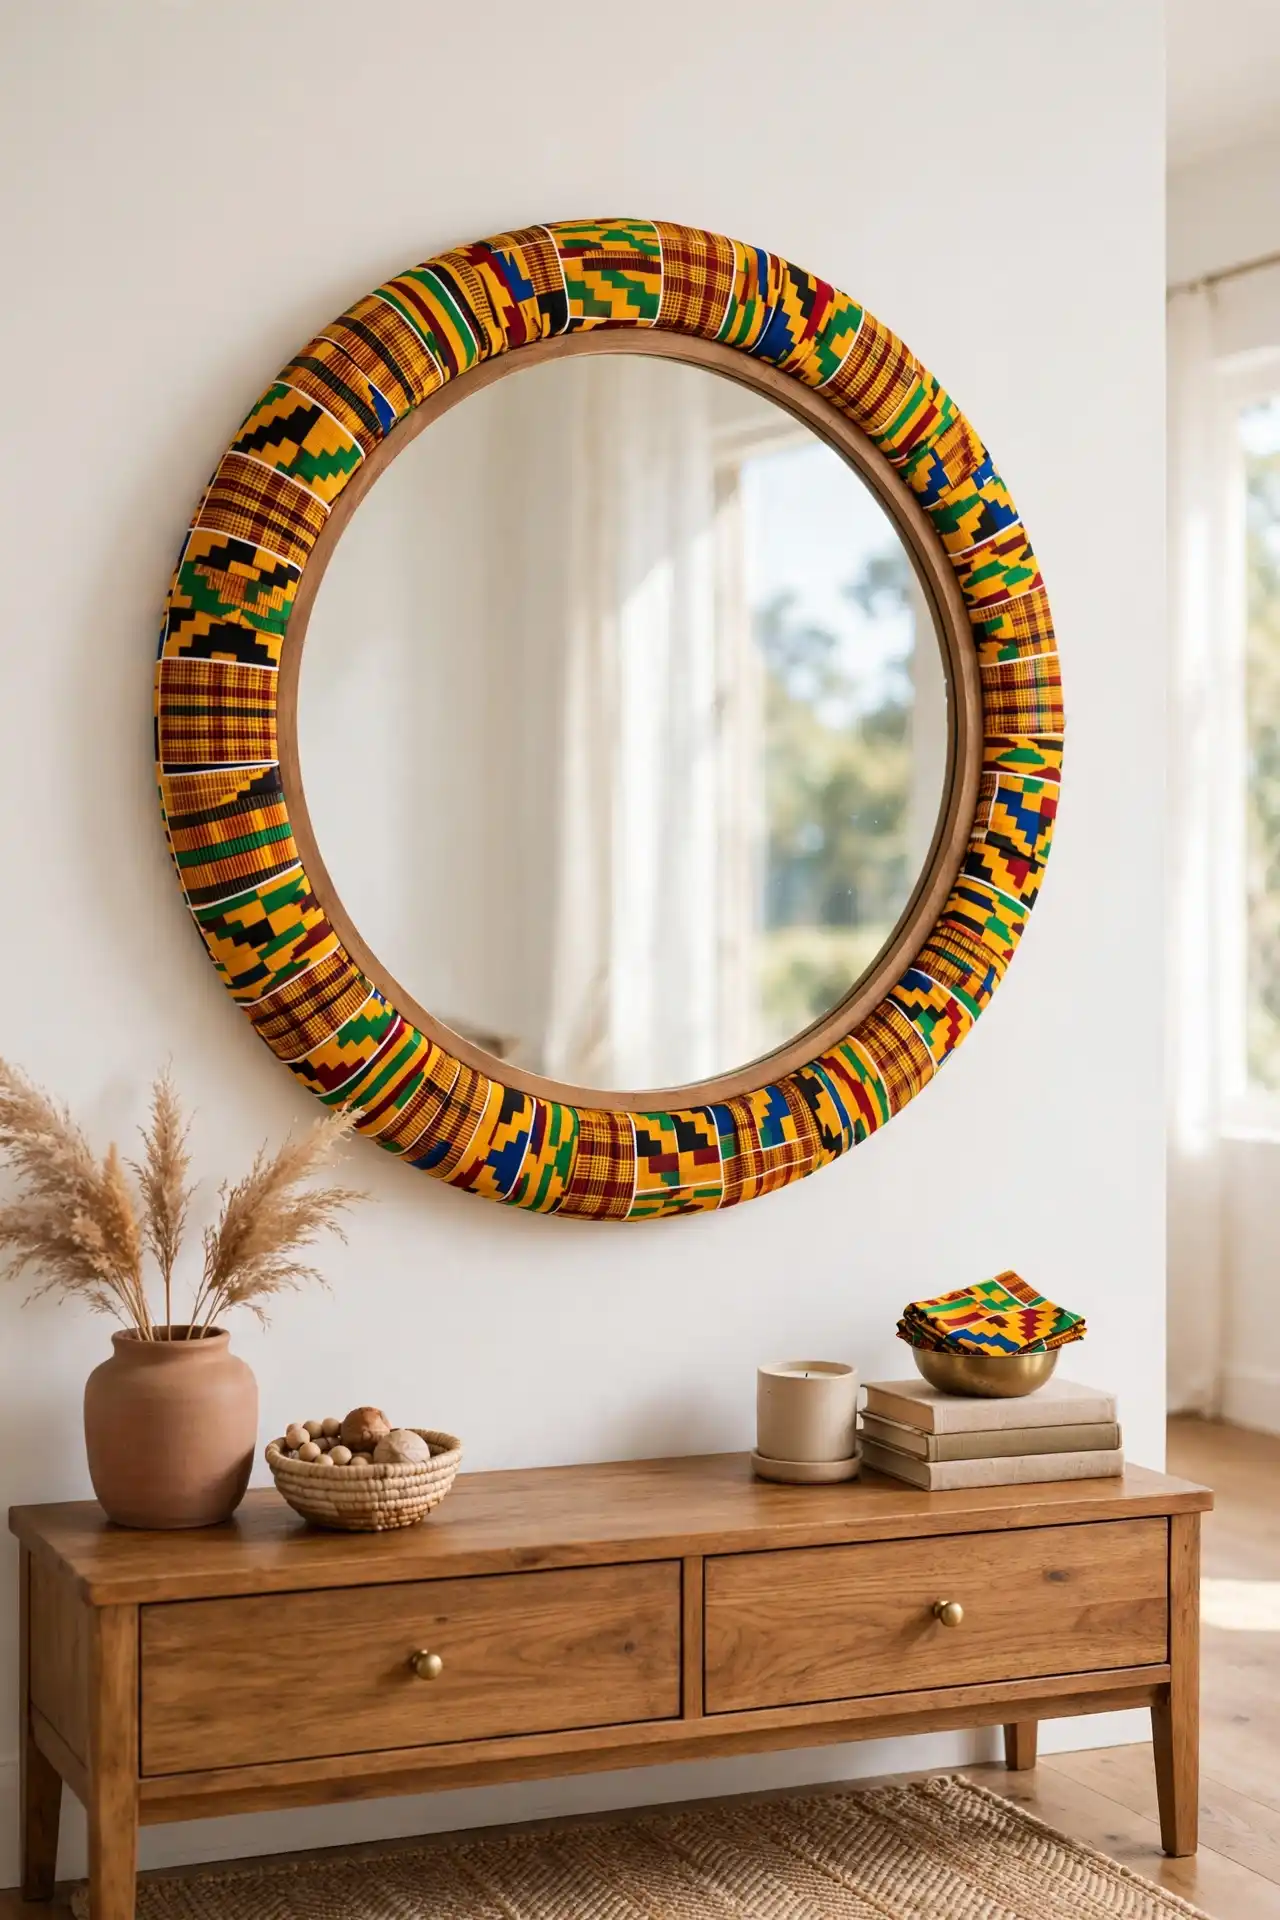
A plain wooden or plastic mirror frame is another one of those objects that just exists in a room without adding anything to it.
Wrapping the frame in a strip of Kente fabric turns it from a functional mirror into a small statement piece that catches the eye even when nobody’s looking at their reflection.
Remove the mirror from the wall if possible, cut fabric strips slightly wider than the frame’s edge, and wrap them around like a bandage, gluing the overlap on the back where it stays hidden.
Work in short sections rather than trying to wrap the whole frame in one long strip, since shorter pieces lay flatter around curves and corners.
This works especially well on a round or oval frame, where the curved edge gives the fabric a chance to wrap smoothly instead of folding at sharp corners the way a square frame sometimes does.
Conclusion
Fifteen ideas is a lot to look at once, but you don’t need all of them in your home at the same time.
Pick two or three that fit rooms you already use every day, the entryway, the seating you sit on most, the shelf you look at without thinking. That’s where the pattern earns its place instead of sitting in a corner nobody notices.
What ties these Kente print decor ideas for the home together is that none of them ask for a full room overhaul.
A wrapped lampshade, a lined tray, a bench reupholstered on a Saturday afternoon, these are small, contained projects that add up to a home that feels considered rather than staged.
Start with whichever one uses fabric you already have on hand. Save this list for the next project, and come back to it whenever the next blank surface catches your eye.